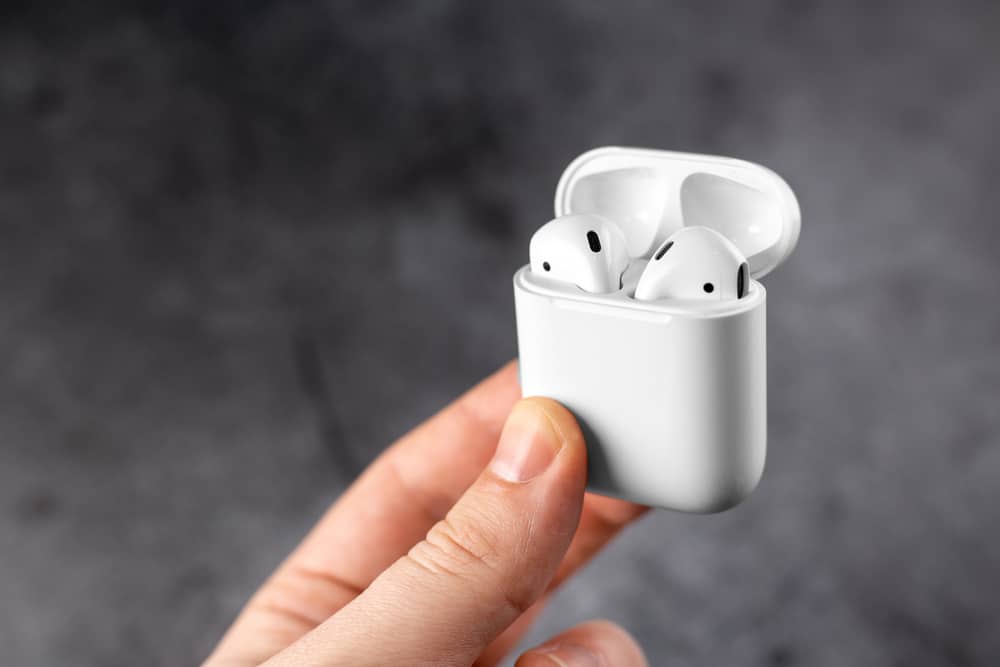
AirPods are great complimentary products for every apple user and are highly convenient given their cordless feature and compatibility with any iPhone, iPad, and other smartphones. Apple grew from wired earpods to the sleek AirPods design, with the individual pods shaped for the left and right ears, which launched users into a more comfortable listening experience. In addition, the various features of AirPods make them a favorite; they are armed with optical sensors that communicate when inserted in your ear, a Bluetooth connection, microphones, an integrated battery, and a charging case.
But while the AirPods have a considerably good battery life, you often may not know the state of your battery and when to stop using it. This is because its design does not allow a display of the battery status, thus, leaving you speculating from time to time or even dying while in use!
Have you wondered why your AirPods do not show the battery status and how you can check it? The good news is this article guides you toward all you need to know about your AirPods battery life and how to check its battery status on various devices. If you are an AirPods fan, read to the end and find out how you could optimize your AirPods usage.
Table of Contents
How long do AirPods last?

This is an essential question since every user desires unlimited time to use this product without fear of it dying too soon. The truth is the battery life of your AirPods depends on the model you’re using. Different AirPods models have features that distinguish them, which include their battery lives, so there’s no one-size-fits-all answer to this question.
Nonetheless, here’s a breakdown of how the AirPods battery last. Considering the similar features of 3rd generation AirPods (AirPods 2019 and AirPods Pro), a single charge of about 15 to 20 minutes should last up to 6 hours of listening time with the spatial audio turned off and 5 hours of talk time with the spatial audio on. Furthermore, the battery life of these AirPods can be extended to 20-30 hours of listening and talking time with its MagSafe charging case.
The second-generation AirPods will last approximately 4.5 hours of talk time and 6 hours of listening time with ANC (audio noise cancellation) on. Likewise, from a broader perspective, an AirPods lifespan depends on the battery as it is the first thing that goes bad when using them. This is primarily because of the charging cycle of the AirPods, which reduces its battery capacity. So to ensure the AirPod’s longevity, ensure that you only charge once it has gone down to 20%. So, how do you know when the AirPods is at 20% since you can’t see its battery status? Well, it’s about time we got into the crocs of this article.
How to check AirPods battery
There are different methods to check the battery status of your AirPod when paired with a device like an iPad, iPhone, or Mac. Consider these step-by-step guides to checking how much time your AirPods have to work before their next charge.
1. Check battery status with an iPhone or iPad
You can use an iPhone or iPad to check your battery level if you’ve paired the AirPods with your device at least once. Here’s how to do this:
- Pair your iPhone with the AirPods using Bluetooth. Next, place the AirPods case containing your AirPods close to your device and open it.
- Make sure your Bluetooth is on or go to the settings and switch it on. You will find the AirPods as part of the available devices, click on it and connect. If the AirPods show connected, it means the device has paired successfully.
- Now, to know your battery life, open the case lid and wait for a pop-up to appear at the bottom of your device. This will show the battery status of both your AirPods and case.
- To check the battery level of each AirPod, remove just one from the case and wait to see the read-out.
Note: this method works the same with an iPad

2. Use the battery widget
For this method, you do not need to have the AirPods in the case. Instead, you can check its battery level while it’s in use.
- Swipe to the right of your iPhone’s home page to locate the widget page at the far left.
- Scroll to the bottom of the widget page and tap edit, which displays a list of widgets
- Find the batteries widget ad click on it, and choose its position and size
- Click on the + icon when you’re done, then add the batteries widget to the top of the page
- You can now see your AirPods battery level every time you want to, just beneath your iPhone’s battery status
3. Check your battery level with a Mac
If you prefer to use your Mac more often with your AirPods, you can also check its battery health.
- Ensure your AirPods are safely shut in their charging case ad close to the Mac
- Locate the drop-down menu at the top of your Mac’s screen and click on the Bluetooth icon.
- Your AirPods should appear as part of the available Bluetooth devices. If not, then confirm your AirPods are not connected to other devices.
- Once you can connect your AirPods, you will find the battery status of each AirPod beside the device’s name.
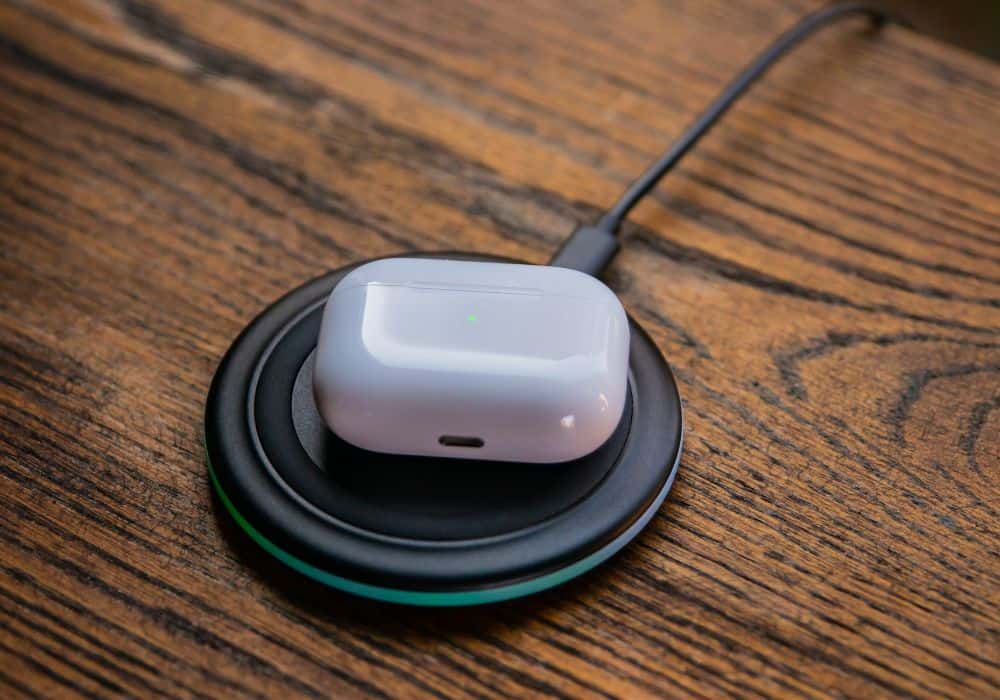
4. Use a charging case to check the battery level
This technique may not be explicit as to what level your battery is in, but it gives you an idea of how charged it is. It is also relevant to determine when and when not to charge without an iOS device. You can check your device’s battery status by observing the status light of the charging case; here’s how:
- Open the lid of the AirPod case and make sure the AirPods are inside.
- Look between the compartment inside or front of the AirPod case for a light. The light will appear green, orange/amber, or no light.
- If you see a green light, it means the AirPods are fully charged. If there aren’t AirPods in the case, it indicates the case is fully charged.
- An amber/orange light shows that the AirPods are charging but not complete yet.
- If there’s no light, your AirPods are likely dead or very low.
How to save AirPods battery life
No one wants to be cut off while listening to music or in the middle of a phone conversation because of a feeble AirPods battery life. How do you keep your AirPods alive with a single charge of the case for maximum hours? Here’s what you should do:
1. Always leave AirPods in their case
When the AirPods are not in use, place them in the case, which will keep them charged and ready whenever you need them. This will prevent you from running out of battery.
2. Keep AirPods case shut always
Constantly opening and closing the AirPods case will drain the battery. So unless you need to take the AirPods out, check the battery level or pair it with your device, ensure that the lids are closed. Likewise, leaving the lid open for a prolonged time contributes to draining the device’s battery level. Lastly, try to clean the AirPods case with a soft cloth or non-abrasive rag.
3. Charge the AirPods with your Mac to optimize battery life
One of the fastest charging you will get in charging AirPods is when they are connected to your Mac computer. The Mac optimizes and reduces charging time which relatively makes it more long-lasting.
4. Set your device right to fix weak battery life
There might be an issue that’s resulting in a quickly draining battery. To stop this, reset the AirPods by pressing down the button on the device for about 15 seconds until you see a blinking orange light. Then, you can reconnect the AirPods to your mobile device. If the draining issue persists, there might be a problem with your AirPods battery capacity as they tend to wane as they age.
Note: you can also measure and test your AirPods battery health by visiting apple’s product support page. Click on AirPods in the devices menu, and find the ‘power, battery, and charging in the next menu. Then, follow the instructions that come afterward.
Conclusion
Having AirPods is a great idea; it guarantees ease and convenience and makes your listening time worth it. However, after charging it, you want to know how much juice the AirPods have and when the charging time is complete. When you’re oblivious to this, you become a victim of constant cut-off while using your AirPods because it dies without you knowing its battery status.
This article has discussed different methods you can use to check your battery status. You have also been armed with tips on maintaining your battery life and ascertaining your AirPods’ longevity. Apple AirPods are most compatible with other apple products such as iPad, iPhone, or Mac, but can also be connected to android smartphones through its Bluetooth feature.