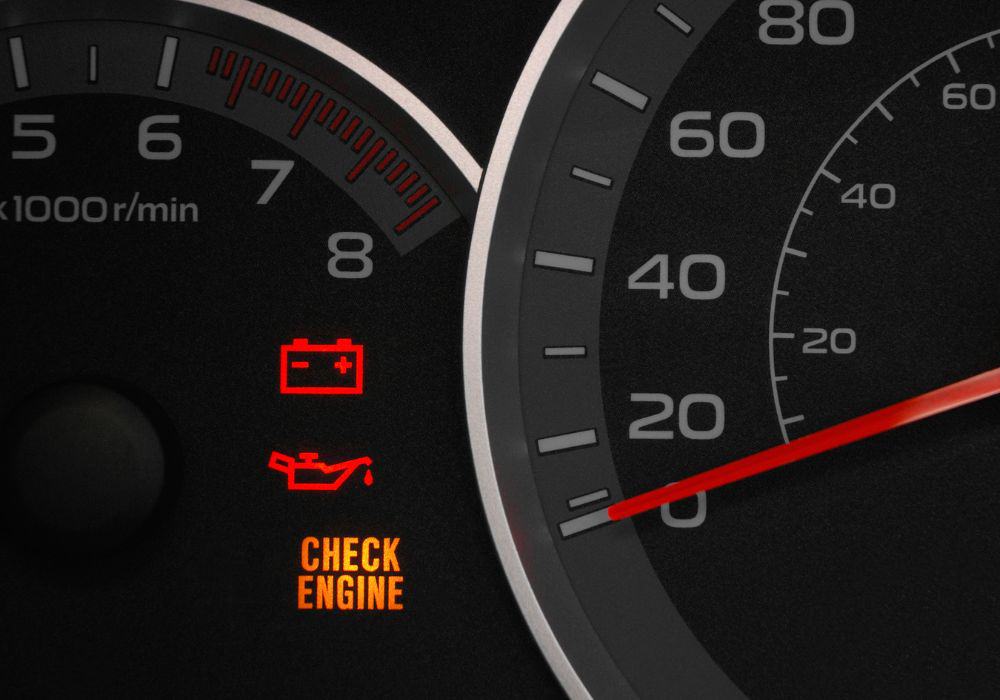
A battery light that comes on at any point is an issue, but this can be especially worrying if it comes on and off while you’re driving. It’s important to diagnose and resolve the issue as soon as possible to limit consequential issues and provide you peace of mind.
A battery light that comes on then goes off when accelerating isn’t always a major problem that requires the attention of a mechanic, but you need to proceed with caution.
In this article, we explain why this happens, what you should do when it happens, and how you can diagnose and resolve the issue.
Table of Contents
Reasons Battery Light Turns On then Off When Accelerating
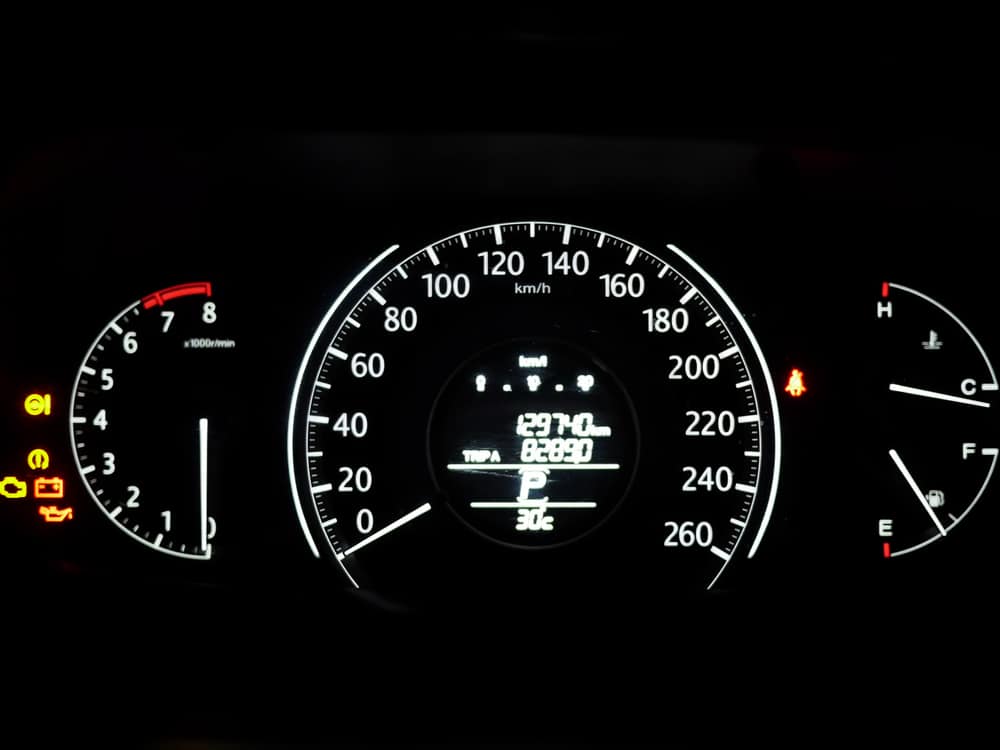
Most consumer vehicles use a 12 Volt rechargeable battery to make sure their engine starts up safely and provides a steady stream of power to all electrical components. Because this part is so vital, any issues with the electrical system trigger an indicator light on the dash.
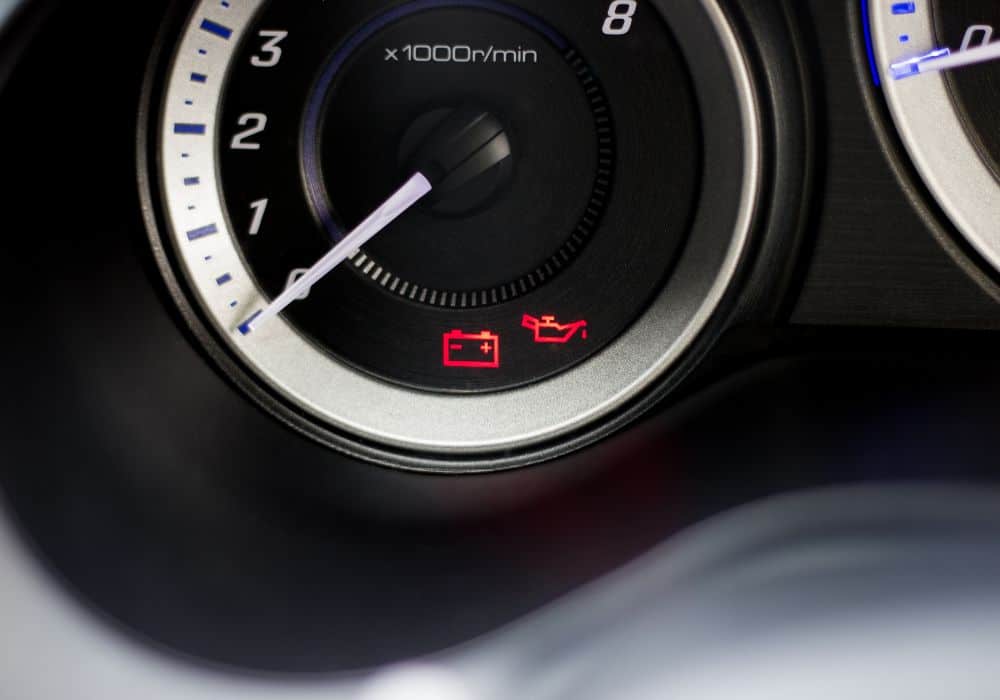
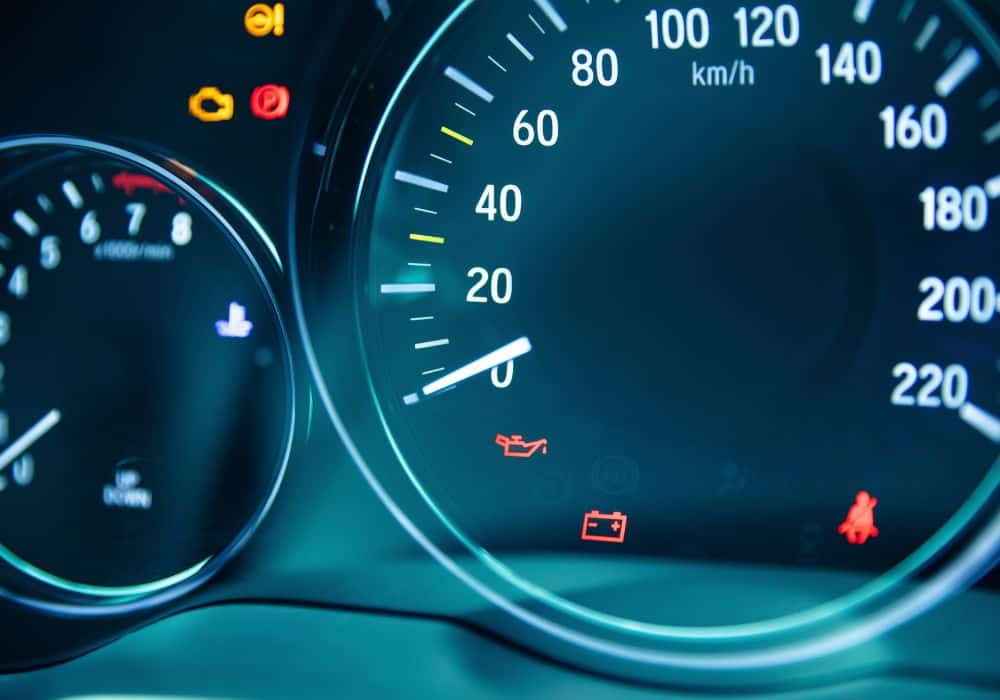
Any time this light comes on, it indicates an issue with the charge of the battery or the flow of electricity in your vehicle. When the battery warning light turns on then off, it’s usually because of a charging issue that causes the charger to kick on at a higher rate than normal at high RPMs.
Reasons for this include:
- A loose connection
- Corrosion on the battery terminals
- A bad alternator (or other charging component)
- A broken, improperly tightened, or misaligned belt
Even minor issues, like loose battery cables, require immediate attention.
What to Do When Battery Light Comes On?
While it’s inconvenient, ignoring a battery light for any period is likely to leave you stranded. Ignoring charging issues or a bad battery may work for a short while, but they’ll soon give out completely.
It’s better to make a diagnosis when the battery light comes on. Diagnosing the issue is usually easy and inexpensive, and you can do it on your own if you’re so inclined.
1. Determine Surrounding Circumstances
If you can safely test the surrounding circumstances of an intermittent battery light, do so. Verify when the battery turns on and turns off, and tuck this information away for later.
For example, if you notice the battery light turns on, then turns off while you’re accelerating, slow down and then accelerate again to see if the issue repeats.
Pay attention to what speed or RPM this occurs at, and whether it happens when you disconnect electronics in your vehicle.
This can help you or a mechanic diagnose the root of the problem and speed up the repair process later on.
2. Conserve Battery Power
Turn off all unnecessary electrical components to ensure that you have enough power to get where you’re going.
This includes:
- Shutting off heating or air conditioning in the car
- Turning off the car radio
- Turning off lights (if safe and possible)
Avoid turning the engine on and off unnecessarily until you solve the car’s problem. Start-up involves a high power draw that leeches off your battery charge, and your chances of a dead battery increase with each stop.
3. Initial Inspection
When you get the chance, pop the hood and look for any obvious issues.
Make sure all cables, especially your ground wire, are completely intact and without frays or tears that expose bare wires. Make sure all your connections are complete and held tightly in place.
Look for powder white buildup on electrical components, usually around your battery terminals. This corrosion prevents complete connections, and it may indicate a bigger problem.
4. Diagnose Issue: Charging System
Your car’s charging system includes three parts:
- Battery: holds the electrical power for the vehicle
- Alternator: converts AC power to DC power to recharge battery
- Voltage regulator: keeps the power output of the alternator between 13.5 and 14.5 volts
Issues with any one of these components turns the battery light on. You can test them on your own with a multimeter, or you can stop it at most auto parts stores for similar or more comprehensive tests, such as a load test on your battery.
- To test a battery: set your multimeter between 15 and 20 volts, then connect it to the positive and negative terminals. It should read voltage around 12.6 to 12.8 volts when turned off. When the car is running, it should read over 10 volts. Replace a battery that drops under 5 volts while running.
- To test an alternator: set your multimeter to DCV greater than 15, then connect it to the positive and negative terminals of the alternator; readings should be around 12.6 volts at rest and between 14.2 and 14.7 while running (never below 13).
- To test a voltage regulator: set your multimeter to 20V, then connect it to the battery while the car is off; start the vehicle, verify proper charge, then have someone press down on the gas to get up to 1,500 RPM; meter should stay between 13.5 and 15 volts.
5. Diagnose Issue: Belts
Some belts, such as your serpentine belt (drive belt) or alternator belt, may interfere with battery charging and performance at different points in your drive. If your electrical testing comes back inconclusive, inspect these belts for issues such as:
- Cracks
- Uneven wear (misalignment)
- Slipping at high speeds
- Loose pulleys
Damaged belts will not grip the pulleys well enough to drive your components and charge your battery. Likewise, improper tension causes the belt to slip, failing to push subsequent components to keep your car running properly.
Anything other than expected appearance and performance requires attention, either through tension adjustments or replacement of the belts and/or pulleys.
How to Fix a Battery Light Turning On then Off When Accelerating?
Once you diagnose your issue, you can fix the problem.
We’ll explain the general processes below, but it’s best to visit online forums or DIY videos that lay out the process for your specific vehicle. Some vehicles have unusual setups or special things to consider when making such repairs.
If the thoughts of working on your vehicle overwhelm you (especially with replacing certain parts or addressing belt issues), go ahead and get a quote from your mechanic. You’ve already diagnosed the issue, so you can give them more information for a more accurate estimate.
Step 1: Corrosion and Weak Battery Connections
Turn your car off and disconnect the battery (negative terminal first) before you make any repairs. You should also wear safety glasses when working on any corrosion
Clean any corrosion off the affected components. Sprinkle baking soda over the area to neutralize the battery acid, then add a bit of water.
This kicks off a chemical reaction to remove the corrosion. Use a soft toothbrush if you need some extra scrubbing power, then clean up the product with a paper towel and sponge.
Tighten down any loose clamps and make sure your wires make complete connections with the intended terminals.
Step 2: Replace Faulty Charging Components
If you have a dead or dying charging component, replace that as soon as possible.
Look for replacement guides specific to your vehicle to understand the best way to remove the part, what type of part you need, and any other nuance details for your repair.
It’s a good idea to replace any parts that are near their end of life, such as a battery older than 3 years or components that barely pass their diagnostics. This prevents you from repeating the process in the near future.
Step 3: Address Improperly Tightened, Misaligned, or Worn Down Belts
Replace any belts with obvious signs of wear, such as cracking, stretching, or uneven wear. Replace the pulleys for these belts if you suspect they led to the failure of the belt.
If you suspect the belt is loose, locate the adjustment component. For example, an alternator belt often has a fixed nut that allows you to hook a wrench on and adjust alternator position.
Loosen this component, make your adjustments, then tighten it to manufacturer’s specifications. Check over the belt tightness, then start the engine and pay attention to any abnormal sounds or activity.
You may need to make this adjustment several times before you reach the right tightness for the belt. Be prepared to go slow.
Conclusion
Don’t panic when your battery light comes on and don’t assume you’re in the clear if it suddenly turns off. When you get the chance, check over all electrical components to make sure you’re in the clear and deal with any problems early on.
Remember to:
- Conserve battery power until the problem is resolved
- Perform a visual inspection of all components
- Run diagnostics on your charging system
- Inspect belts and pulleys under your hood
It’s best to replace any affected components as soon as possible. The longer you wait, the more damage is likely to occur and the worse off you are.
Do you have a car battery light that turns on and off? Comment with any questions or other issues you may have.