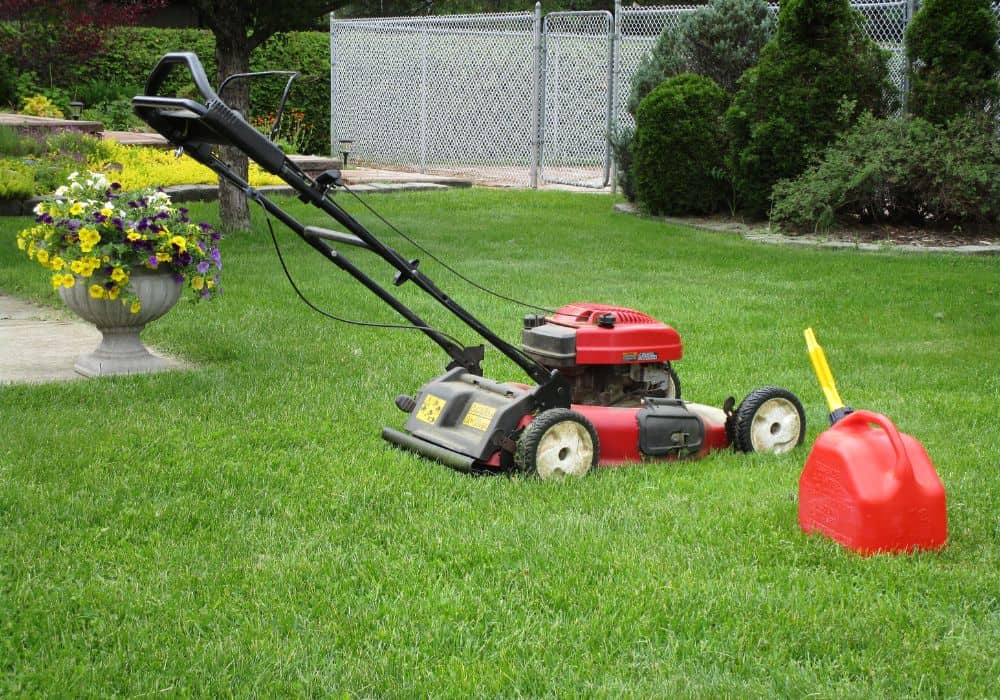
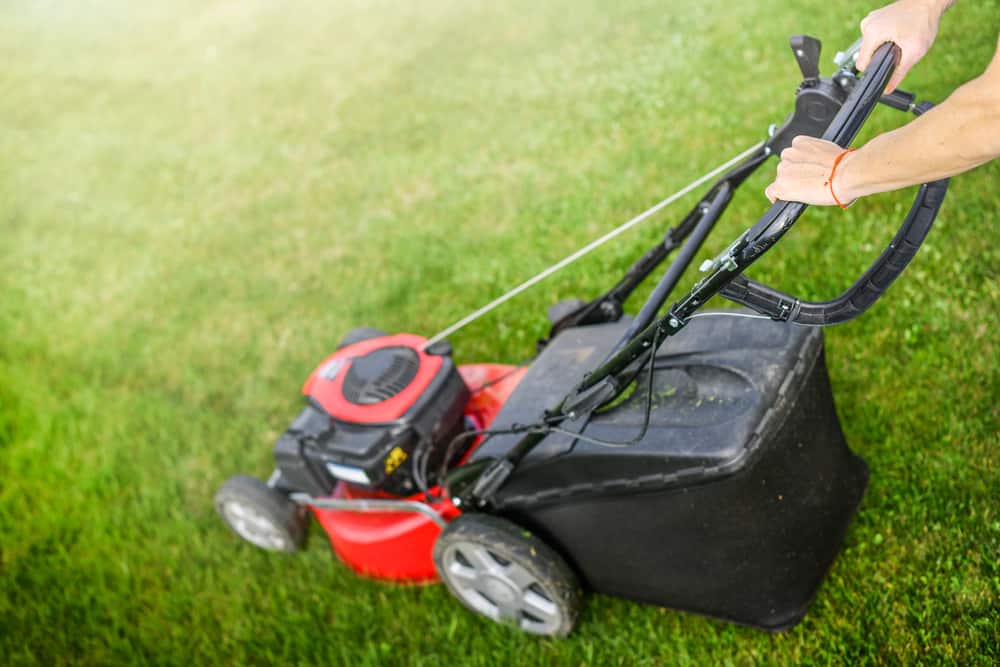
Mowing your lawns regularly is great practice. Not only does it help control pests, but it also encourages vibrant and uniform lawn growth. However, when the lawn mower’s battery is dead, can you start the lawn mower while charging the battery?
You can start your lawn mower while charging the battery. To do this, however, you need to get the positive jumper cable and peg it with the positive terminal, which gives the lawn mower enough juice to begin operation. In the meantime, a generator built into every lawn mower will control the battery charging process.
This guide is dedicated to walking you through how to safely start your lawn mower while charging the battery. Here you’ll learn how to charge a lawnmower and also get insight into how long charging will take according to battery type.
Table of Contents
How to Charge a Lawn Mower in 7 Simple Steps

Now that you know it is possible to start your lawn mower even while charging, do you know how to start one? It is pertinent that you follow the step-by-step process provided below to avoid any accidents.
Step 1: Ensure Safety
In starting a lawn mower, you will be dealing with the electrical system which poses the risks of sparks flying or explosion, making your safety a matter of great concern.
It would be best to take the necessary precautions by investing in safety materials like hand gloves and safety goggles. This helps to protect you from any electrical mishaps you may face.
Step 2: Identify the Mower’s Battery Position
Not all lawnmowers are built using the same structure, so you need to identify where the battery in your mower is situated. The battery is typically positioned under the rider’s seat for a riding lawnmower. This position is also applicable to the lawn tractor.
However, a riding mower has a separate structure from other kinds like push mowers, which usually come with smaller batteries. It would be best to refer to your owner’s manual because many manufacturers tend to include information like this in such manuals.
Once you can identify the lawnmower battery, you can make the necessary connections, which is an important step in this process.
Step 3: Connect the Charging Cables to the Battery Terminals
Every lawnmower battery has two cables: a red positive cable and a black negative cable. These are commonly referred to as the red cable and the black cable. The red cable is the positive one and the black points to the negative.
In making this connection, link the red cable to the positive battery terminal, then secure the black cable to the negative terminal. It is safer to make the positive terminal connection first to avoid melting.
Suppose you match these cables in the opposite order. In that case, you will risk electrical accidents and damage your mower’s engine permanently. This connection, when done properly, prompts the battery to charge.
Step 4: Check the Battery’s Voltage and Amp Rates

It is crucial that you match the charger’s voltage with the battery’s volts. Most lawnmowers manufactured after 1980 have a 12-volt battery, meaning they have to match the same voltage as the charger.
However, some batteries have a 6 volts battery and must be matched with the same charger voltage. This lower volts battery is commonly found in smaller lawnmower designs.
The amp ratings usually stipulate the battery voltage, responsible for the flow of electric charge. Should the amp rating be high, it would mean a stronger flow of electricity from the charger to the battery.
Step 5: Plug in the Charger
Now that you have successfully connected the cables needed for a full charge with the required amps and voltage charge, you can plug the charger into a wall socket, preferably in a properly aired area.
Confirm that no part of the cable you have connected is touching any body part of the lawn mower, especially a metallic part. This is relevant to avoid danger to you or your lawn mower.
The socket serves as a power source to the charger, so it has to be switched on for this step to be complete.
Step 6: Start Charging
When you plug in the charger of your lawnmower to a wall socket, it will immediately start charging and the indicator on the charger will confirm if the lawnmower is charging.
Some lawnmowers have other feature settings that can affect the charging time of a lawnmower. Together with the amp rates, features like fast charge, slow charge, or floating mode will determine how long it will take for the lawnmower to finish charging.
At this stage, you must do nothing other than exercise patience and wait for the battery to complete charging. You may decide to use this free time to complete other house chores you may need to do.
Step 7: Finish Charging
The major process is completed when the lawnmower battery is fully charged. Many new model batteries are built with an LED indicator that tells when the battery is fully charged and should be unplugged.
Even more recent lawnmower models have a shutoff feature that allows your lawnmower to stop charging even before you disconnect it manually. This helps to sustain the mower’s engine and battery life of the mower by preventing overcharging.
If your lawnmower has a switch, you should switch it off immediately, disconnect all the cables necessary, and then unplug the charger from the wall socket. Disconnect the negative cable first, then follow with the positive.
N.B: Should your battery type be the lead acid battery, it would be advisable to let it rest for at least five minutes before disconnecting the cables from the terminals. This is to allow for gas produced during charge to dissipate.
How Long Does it Take To Charge a Lawn Mower?
The charging process of a standard lawn mower is dependent on the features of the mower. These features are responsible for the period it will take for a full charge. What are some of these features and how do they affect the charge time?
1. The Battery Charger Feature
The feature of a battery charger is a very important determinant of how long a lawnmower battery will take to charge fully. These batteries are either lead-acid or lithium-ion batteries, so the features of the charger you use matter.
2. The Voltage and Ampere Specification
The voltage and ampere specification of your charger cable is the first thing to consider. You should know that a lawnmower battery should be charged using the same volts and amp current as the charger.
It would be best if you matched a battery with a 12- volt current with a charger that fits and should it be a 6- volts battery, do not pair it with the same charger as the 12- volt. Mismatching these chargers can lead to permanent damage to the battery.
Another important specification to consider for the charger is the amp rate which influences the speed of the battery charge.
Most lawnmower batteries today use the maximum capacity 10-amp charger, capable of charging your battery in approximately one hour. A higher amperage rating can cause overcharging and damage to the battery or charger.
3. The Charger Configuration

Many lawnmower batteries, especially the newly built ones, are configured with interesting features that affect how long a battery charge takes. These features include the fast charge, slow charge, and float mode.
This feature is configured in the battery’s settings, allowing it to charge faster than it normally would. The mower still has the normal 12 volts configuration but when using the fast charger cables, you get a full charge faster than the usual time.
The same rule is relevant when you use the slow charge configuration. This makes the battery charge at a slower rate. A timer can also be configured, allowing the battery to stop charging once it is full.
Other features include the jumpstart and changeable amp rates configuration. A dead battery can be jump-started when this configuration is applied and will charge at the designated finish time. Changeable amp rates also work if you need the charger to work faster.
4. Charging Time
Depending on the battery type, charging can take one hour to more than a day to get a full charge.
An electric lawnmower running on a lithium-ion battery will take about two hours to charge if it is a bigger mower like a tractor. However, the smaller push mower will only take half an hour to charge fully.
For a lead-acid battery, the charge for a smaller lawn mower battery will take twelve to sixteen hours before a full charge, and a larger battery will take up to thirty-six hours before a full charge.
If you are using a trickle charge, you should know that while it is enough to sustain the battery discharge, it is not a very suitable option for a quick charge.
The trickle charge runs at two amps, so achieving a full charge can take several hours and sometimes, days before the battery is full. However, we do not recommend plugging a battery for too long to avoid corrosion and other damage.
Final Thoughts
If you own an electric-powered lawn mower, you must consider the battery level before mowing your lawn. These electric-powered mowers are easy to use, but they require periodic charges.
