Whether using lead-acid or lithium batteries, you eventually have to deal with a dead battery at some point. Starting your motorcycle engine will become a nuisance when your battery needs to perform optimally.
Fortunately, dead batteries don’t always require replacement. These batteries can be charged to get your bike back on the road. Let’s dig into the details of charging your motorcycle battery.
Table of Contents
Safety First
Although the processor charging your motorcycle battery is simple, things can go wrong, creating several safety concerns. Batteries can emit harmful vapors if an incompatible battery charger is used or when it’s overcharging.
Likewise, an electric shock can burn the skin and even affect the heart, proving fatal. For complete safety, you’ll need mechanical gloves (non-conductive), safety goggles, a safety mask, and rubber boots.
When clamping the battery, attach them in a single motion to prevent sparking, and always clean the battery top of any debris, accumulated oil, or gasoline spills before charging.
Charging Your Motorcycle Battery
Gather the tools and the battery on a flat surface like the driveway or garage parking. Charging the battery in an open space is advisable to minimize any potential hazard.
1. Using a Jump-Starter To Charge Your Bike Battery
Step 1: Expose the battery by removing the motorcycle seat.
Step 2: Ensure the jump starter is fully charged or is plugged in.
Step 3: Most jump starters come with cables. Attach the respective wires to the negative and positive posts on the jump starter accordingly. You can use jumper cables to connect if the jump starter doesn’t have cords attached.
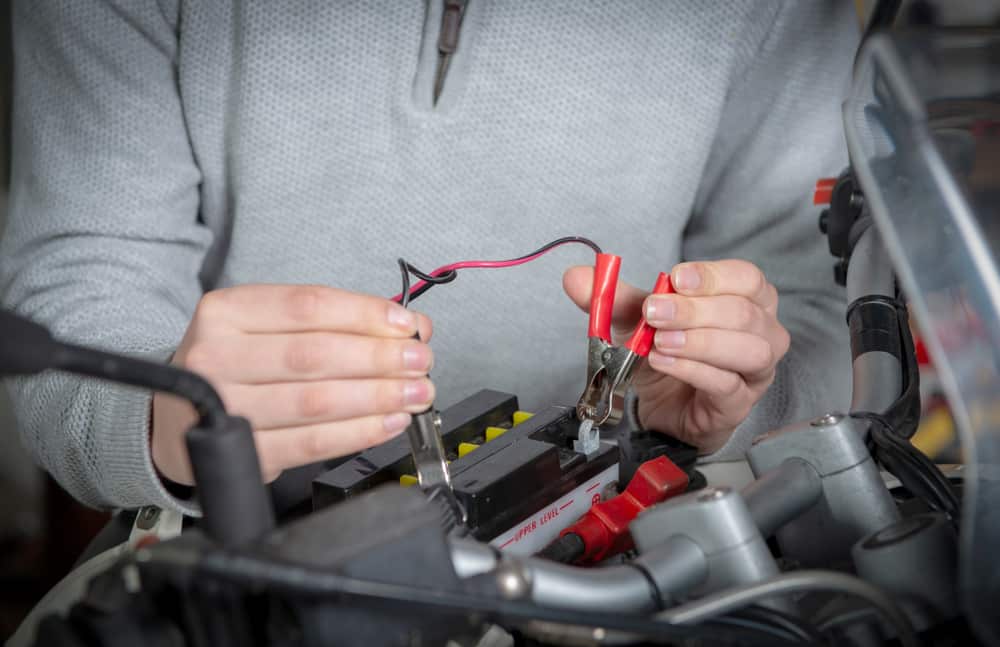
Step 4: The red clamp of the cable will attach to the positive post. You can look for the ‘+’ sign if the color is not evident.
Step 5: The black clamp must connect with a grounded surface on the motorcycle frame.
Step 6: Turn the jump starter on after everything is securely connected.
Step 7: Wait for a few minutes and then start the motorcycle.
Step 8: Hopefully, the bike will start. However, if the engine fails to start, keep the jump starter connected for a while and then try again.
Step 9: After ensuring the motorcycle engine starts, turn the jump starter off.
Step 10: First, remove the black clamp attached to the frame and then the red clamp attached to the battery’s positive terminal.
Instead of keeping the jump starter plugged in, keep the jump starter charged before you begin the charging process.
2. Using a Trickle Charger
The trickle charger works similarly to the jump starter but only takes a while longer to charge the battery.
Step 1: Access the battery by removing the motorcycle seat.
Step 2: Wait to plug in the trickle charger before you carry out the following steps.
Step 3: Connect the red clamp to the positive terminal of the dead battery.
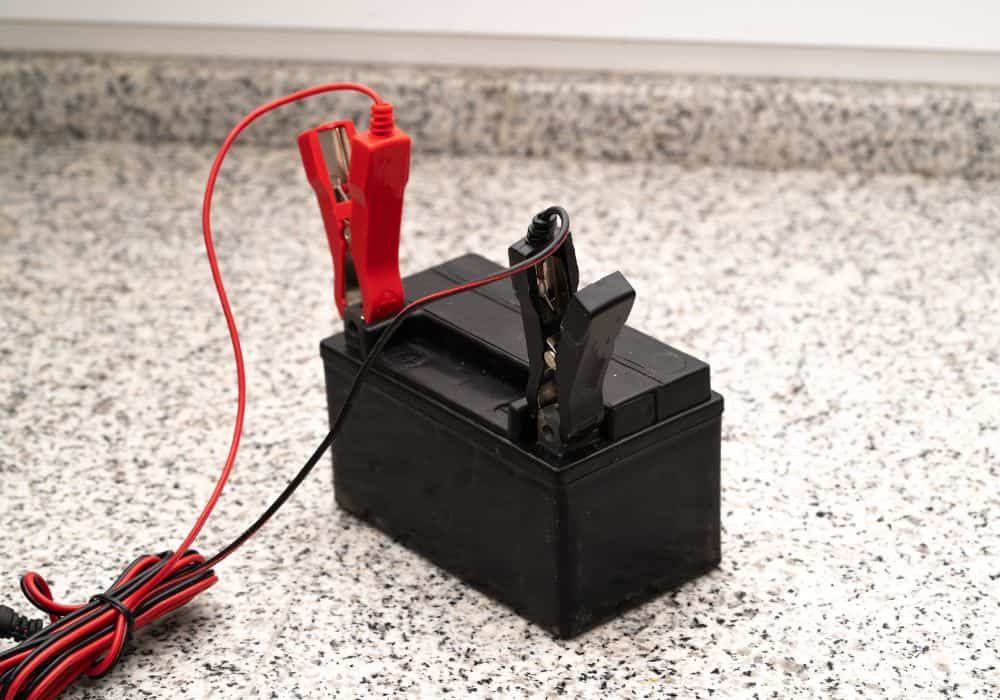
Step 4: The black clamp needs to be connected to the bike’s frame. Ensure the area you are attaching the black clamp is unpainted and grounded.
Step 5: Once the connections are established, plug in the charger,
Step 6: It will take several hours to a full day to charge a battery. Different battery types will have different charging times. Review the user manual that came with your trickle charger to know how many hours you need to charge the battery.
Step 7: After the specified time has passed, remove the clamps. Remove the black clamp before removing the clamp attached to the battery’s positive terminal.
Step 8: Start the engine to ensure charging is complete. If it doesn’t start, repeat the process and try again. Hopefully, the engine will start after the second charging session.
Besides using a trickle charger, you can use special chargers, including smart chargers and float chargers, to name a few.
3. Using a Second Motorcycle
Step 1: Expose the batteries of both bikes by removing the seats.
Step 2: Ensure the bike with the working battery has its engine turned off.
Step 3: Connect the dead battery’s positive terminal with the jumper cable’s red clamp.
Step 4: Now attach the other end of the clamp to the live battery’s positive terminal.
Step 5: Likewise, connect the black clamp to the negative terminal on the working battery.
Step 6: Clamp the opposite end of the black jumper wire with the bike frame.
Step 7: Start the engine on the motorcycle with the working battery.
Step 8: After a few minutes, start the motorcycle with the dead battery.
Step 9: If the engine fails to start, keep the motorcycle running for several more minutes and try again.
Step 10: As per the aforementioned instructions, remove the wires in reverse order, starting from the black wire and then disconnecting the red clamp.
4. Starting The Bike Without Tools
A battery can die anywhere. If that’s the case and you need access to the tools required for charging, you can still turn the bike by jump-starting it. You will need a friend or a person to help you push the bike.
Here’s how you can start the bike.
Step 1: Turn the bike ignition on and press the clutch.
Step 2: Now ask your friend to push the bike from behind until you gain enough momentum.
Step 3: Ensure the clutch is pressed and the bike is in first gear.
Step 4: After you have gained momentum, pop the clutch to make the engine kick over.
While this method can come in handy, it’s advisable to contact the battery manufacturer for a replacement battery immediately or to charge it if required.
Types of Motorcycle Batteries
If you have a vintage motorbike, it would most probably have a 6-volt battery. These are primarily lead-acid batteries and can provide the bike with the required voltage and amps for the vintage bike’s internal components.
However, as bikes’ requirements and components have changed significantly, AGM batteries are now preferred over their lead-acid counterparts. These 12-volt batteries can easily support components like headlights, indicators, and other electrical accessories.
Besides identifying the battery type, pay close attention to your bike’s voltage and battery capacity so you can choose an appropriate battery.
The 6-volt battery you want to charge should be checked for leaks, as lead-acid batteries can corrode over time, resulting in the electrolyte liquid flowing out. While charging these batteries, ensure you’re using safety gear because the battery can produce hydrogen gas emerging from the battery.
In contrast, AGM batteries have a glass mat in between the lead plates, suspending the electrolyte liquid and charging the battery effectively.
Tips To Maintain The Bike Battery
1. Choosing The Right Battery
Besides the two types mentioned above, an extensive range of motorcycle batteries is available in the market. Choosing a maintenance-free battery can make things much easier because these batteries don’t require maintenance.
These batteries are sealed to prevent the electrolyte liquid from flowing out and ensure there are no leaks. Even batteries with sensors can alert the owner that the battery needs to be replaced.
2. Checking Fluid Levels
If you have a lead-acid battery, it’s crucial to maintain the electrolyte levels in the battery. Over time, the fluid evaporates, leaving the lead plates dry and prone to corrosion. It’s easy to maintain fluid levels.
Looking closely, you’ll notice a level marking on the battery indicating the optimum electrolyte level. If it falls below the marked line, open the screw caps on top of the battery and slowly replenish the levels. Ensure you are only using distilled water and avoid using any other fluid.
Wear safety gloves to prevent skin contact with the electrolyte liquid when refilling the battery
3. Cleaning The Battery
Use a dusting cloth to wipe off any unwanted debris or oil accumulating on top of the battery. Corrosion can be kept at bay by spraying the battery terminals with an anti-corrosion spray and wiping them dry with a clean cloth.
4. Storing The Battery
If you’re not using the bike for long periods, it’s recommended to disconnect the battery from the bike and store it in a cool and dry place. Avoid storing the battery in areas with direct sunlight or where the temperature rises above room temperature. A hot environment can affect the performance of the battery.
Remember never to charge the battery 100 percent and store it as it can decrease its performance. What percentage to keep your battery on depends on the battery type. Therefore, always review the user manual to know how to store the battery correctly.
FAQ
1. How To Locate The Battery
Different motorcycle models will have the battery securely fastened in other places. However, most of the time, the battery can be found tucked under the motorcycle seat.
If you cannot find the battery under the seat, refer to the owner’s manual that came with the motorcycle to know where to look.
2. How Often Is Charging Required?
While motorcycles have a system that keeps the battery charged when the bike is in use, the battery will not require charging until the specified lifespan of the battery. Bike riders who are not using the bike too often will require charging the battery every other month.
Bottom Line
Charging your motorcycle battery can give it new life. However, remember that this is a temporary solution if the battery life is up.
If you’re still determining whether the battery will work after charging, it’s best to visit a certified technician who can give you suitable suggestions.
Refer to this guide to properly maintain your motorcycle battery.