
There are several ways to connect two batteries in the car. The way that is most used is the parallel connection, but in that same type of connection, there are also many variants and different purposes to connect a second battery.
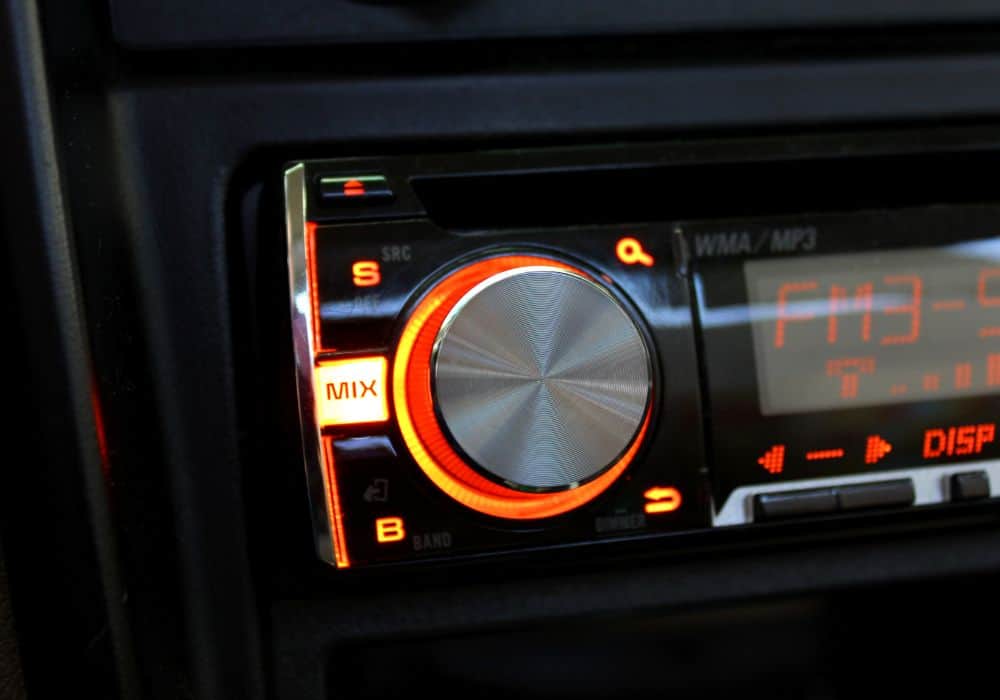
In this article, we will focus on connecting a second battery to the sound system. The battery connected to the engine is already responsible for powering the car’s sound system, but thanks to new technologies, we now have really powerful sound equipment and great sound quality.
If what you want is to install a very good sound system, it is recommended that you use a second battery, and in this article, we will see step by step how to install that extra battery and the materials you will need.
We will also give extra advice such as what type of battery you should use and tips for the installation process.
Table of Contents
Materials You’ll Need
- Second Battery
- Battery tray
- Straps
- Pliers
- Drill
- Wrench
- Clamps
- Multimeter
- Wire Crimper
- Gauge wires
- Battery isolator
Steps to Install Second Battery For Car Audio
Step 1: Find the right place for the battery
It may sound silly, but one of the most important steps for a successful second battery installation is finding the ideal place to install it.
The most optimal thing would be for them to be close and if possible also close to the engine, but we know that this is not the case in all car models.
Some cars have tight spaces, so there is another place in the car to put a secondary battery. It is important that the place has enough space so that you can put the battery in a comfortable and stable way.
Due to the lack of space, some people tend to accommodate the battery vertically or with certain unevenness. This is not recommended, as normal batteries are very sensitive to car vibration and shock.
A battery that is not placed properly will perform less and will deteriorate more easily. There are some types of batteries that are more resistant to vibrations or being placed in unconventional positions, but we’ll talk about that when we look at the types of batteries you can use.
Step 2: Place the battery tray
Use the drill to install the battery tray on the floor of your car or truck. If you have a van make sure you have enough wires to cover the length of the connections.
Many people install their batteries without a battery tray, but this is not recommended as the tray will help reduce vibrations from the car toward the battery.
If at any time your battery suffers an accident and there is corrosion or some liquid begins to leak from the inside, the tray will be very useful to contain it and thus not stain other parts of the car.
Step 3: Disconnect the primary battery
Before starting any installation it is necessary to turn off the power of the car. For this, we are going to have to remove the cables from the main battery, which is used to start the car.
When disconnecting the cables you must start by disconnecting the negative cable from the battery and then the positive one. Finally, disconnect the positive cable that connects the alternator to the battery.
Remember that the positive cables will always be red, while the negative cables are represented by the color black or blue.
You can also see on the terminals the positive or negative sign for each wire.
Step 4: Installing the battery isolator
When you install two batteries you run the risk that both will discharge at the same time or that both will be used to start the car.
What you want is for the primary battery to continue starting the engine and the secondary battery to take care of all the other electrical components of the car, such as the sound.
To do this you must install a battery isolator or split relay device. We recommend that you use a Voltage-Sensitive Relay (VSR).
The VSR device will redirect power from the main battery to the secondary battery once it is full, and in the same way, it will disconnect the main battery and use the secondary battery when the car is off. This will allow you a dual battery system.
Find a location close to the engine but away from heat and high vibration. Strip the end of the alternator wire and connect it to the insulator terminals on the side.
Step 5: Connect the second battery
Do the same as in step four, but with the stock battery. Remember to connect the positive terminal of the additional battery to the adhesive mark on the VSR that indicates where the second positive terminal should be connected.
Step 6: Connect the ground wires
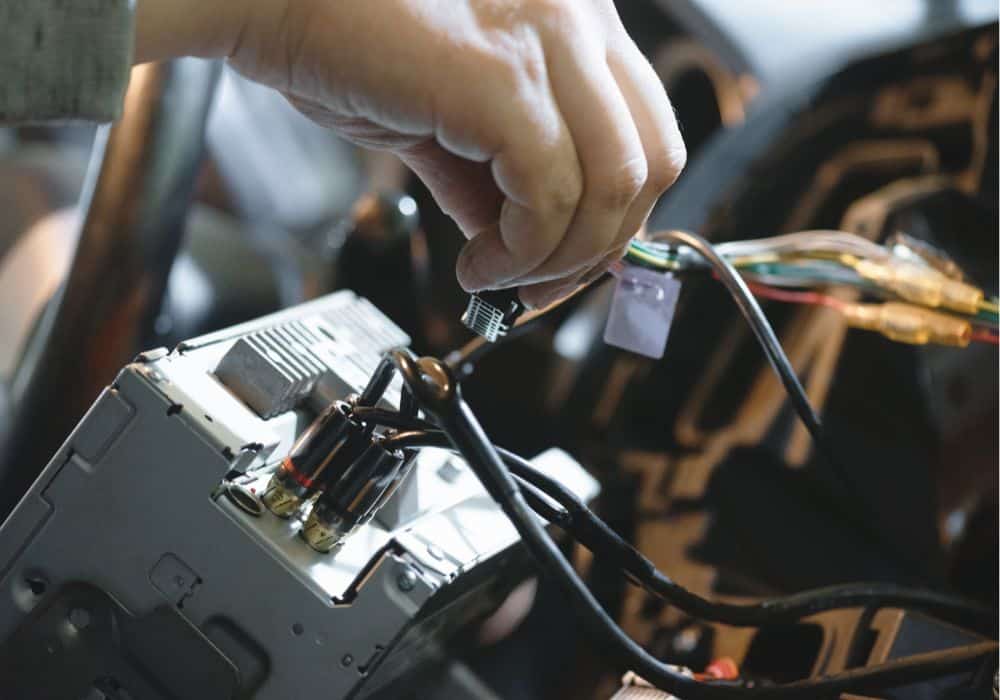
You must finish the connections, installing the terminal to the electrical connector that will feed the sound system. Remember that you always start with the positive cables, that is, the red cables, and end with the negative cables, black or blue.
Remember that both the primary and secondary batteries must be grounded. Always start by connecting the main one and then the second one.
Make sure that you have made the correct wiring, that it is clean, and that no wire is in danger of being damaged.
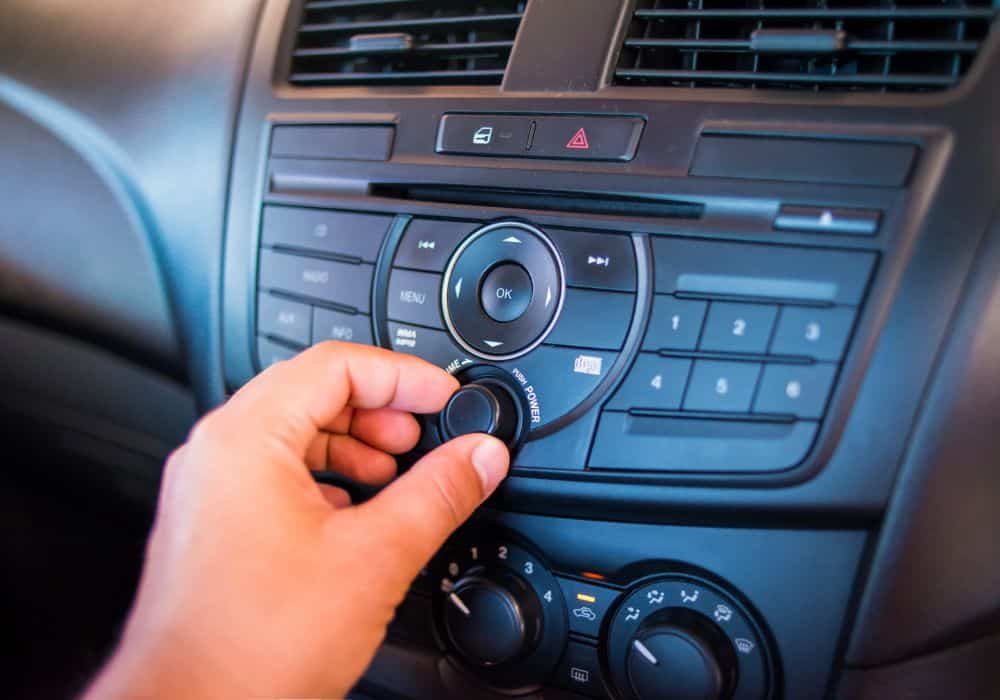
Step 7: Do a system test
After you’ve dealt with all the wiring and left nothing loose, it’s time to test our connection. Help yourself with a multimeter to take a battery reading.
Whenever the battery voltage is greater than 13 volts, the VSR will click and illuminate a light, most often red, to indicate another battery is connected.
These two signals tell you that your installation has been successful and you are ready to use the two batteries separately.
What Type of Battery Should You Use for a Secondary Battery?
If you are installing a second battery for the car stereo, we advise you to do so when you have to change the main battery.
We recommend two batteries of the same type, the same size, and preferably have the same lifetime.
If you install a second battery with less capacity or with less lifetime, it will suffer much more and will not give you the performance you expect. We offer you a summary of the batteries you could use for your car.
1. Wet cell batteries
They are the most common and cheapest batteries on the market. These batteries are not very durable and sensitive to how you treat them. A bad maintenance habit can quickly deteriorate them.
They also have electrolytes inside made up of a mixture of water with sulfuric acid and these liquids it is prone to spills and leaks if it is not placed in a suitable place.
2. Deep cycle batteries
Battery chargers and batteries designed for high-demand vehicles are among the most common batteries. They are easy to charge and discharge.
3. Calcium batteries
Calcium batteries are an excellent option for audio systems since they are designed to provide a lot of power. The main difference between these batteries is that they do not have antimony in their grids, but a calcium component that makes them very resistant to extreme temperatures and lasts for a long time.
4. Lithium batteries
Lithium batteries are an increasingly popular option. They are lighter batteries and last thousands instead of hundreds of charges like conventional batteries. They are also more expensive but it is worth evaluating the cost-benefit of your purchase. You will also have less voltage drop and suffer lower discharges.
5. AGM batteries
These lead-acid batteries are the ones we recommend the most. Although they are still lead-acid, they have an anti-spill system. Positive and negative plates are separated by glass cells to prevent acid leakage. This type of battery avoids leaks by compressing all its components and using a gel electrolyte rather than a liquid.
They are more expensive than conventional batteries but are cheaper than lithium batteries.
Tips and Advice
- The easiest connection that can be made for a battery system is a parallel system. Negative with negative and positive with positive.
- The voltage indicated by the multimeter must be the same in the two batteries. Always test the voltage of your batteries after installation.
- Remember that you have to have the same type of battery with the same specifications for both batteries.
- Relays and a diode box are the most popular options for managing power from the two batteries.
- There should be a fuse on each connection.
- Use 100 or 200-amp fuses for the two battery systems.
- Remember that if your audio system is big, two batteries will not make a difference. You have to remove the alternator and put in a high amp one so it can charge both batteries and cover the power demands of the sound system.
Conclusion
Each installation of a double battery system is very personalized and you will have to evaluate which method is best for you as well as the products that you will use.
However, we wanted to give you an informative guide to the general installation of two batteries. We hope the article gave you a clear understanding of how to install a second battery for your car’s sound system.