Are your flashlight batteries corroded? If yes, don’t worry because this is a very common issue!
We all leave batteries in the flashlight – thinking that the device will be ready to use the next time we need it. But, when that next time finally arrives, the batteries have been sitting unused for a long time, and so they have corroded.
This does not mean that the flashlight is unusable, though. The chemicals may have oozed out of the batteries and stuck to the flashlight’s body. But you can still restore its functionality by getting rid of the corroded battery.
So, in today’s post, we will discuss how to remove a corroded battery from flashlight in detail. Let’s dive in!
Table of Contents
What Causes Flashlight Battery to Corrode?
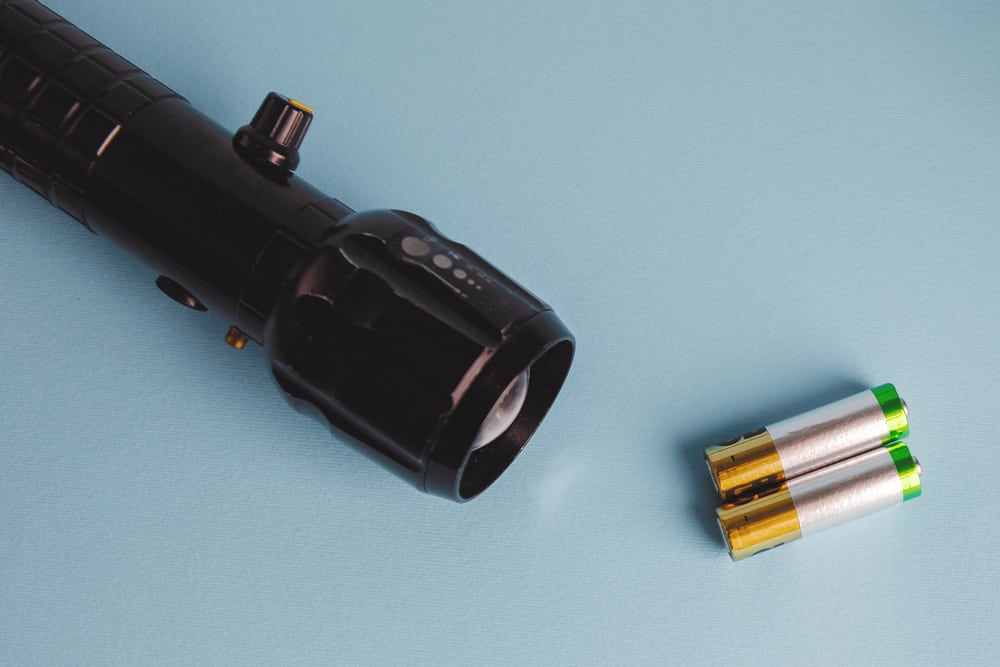
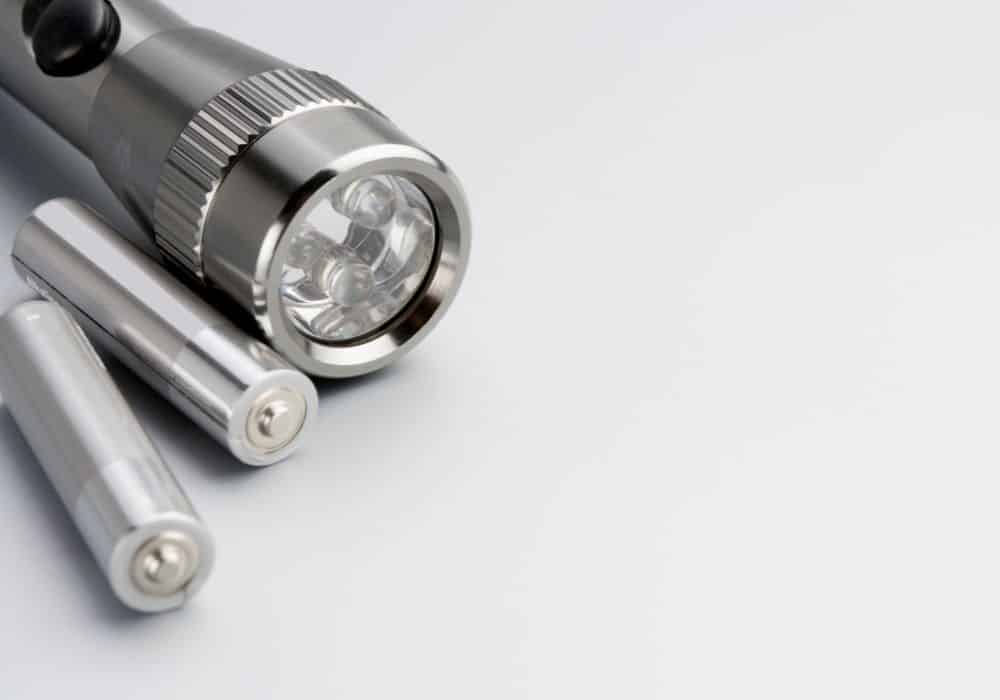
First things first, alkaline batteries are used in a flashlight. These are the regular AA and AAA batteries we use in daily consumer products.
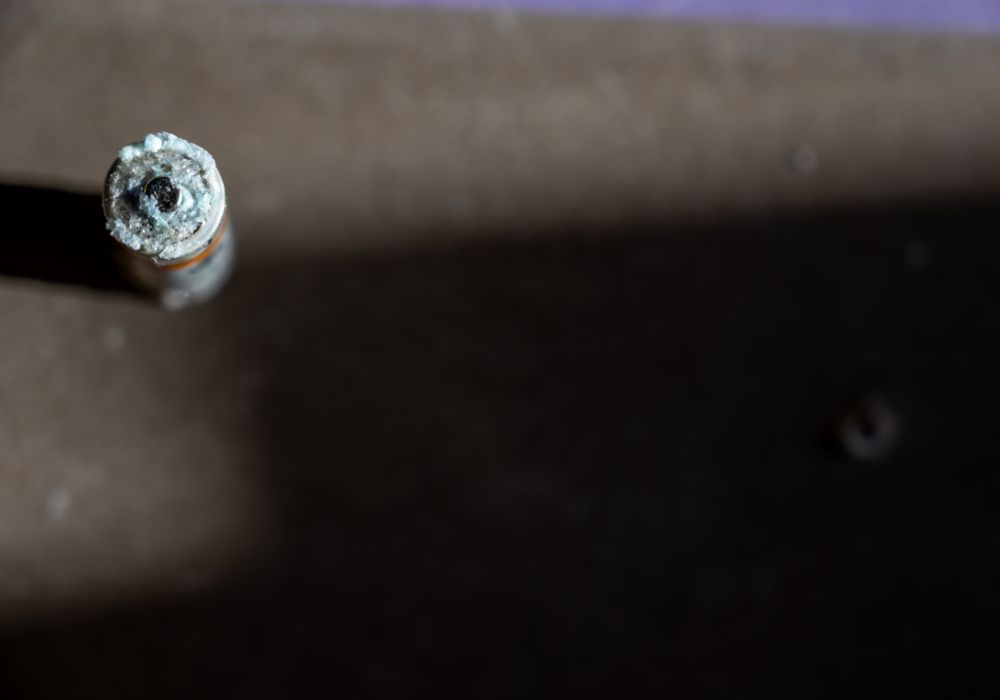
Potassium hydroxide is the alkali in these batteries. When this chemical leaks out, it reacts with the air to form potassium carbonate. This is a white fluffy material that sticks on the corroded batteries and the flashlight.
But why does battery corrosion occur? There are 2-primary reasons behind it:
Parasitic Drain
When left installed in the flashlight, batteries keep on discharging. It means that the chemical reaction continues to occur. This results in the release of hydrogen gas, which builds up and creates pressure inside the battery.
Eventually, the pressure gets too much, and the battery seal is ruptured. The potassium hydroxide oozes out and forms the white material.
High Temperatures
Storing the battery properly is important to elongate its life. But if you put the flashlight with batteries in a hot place, the temperature speeds up the chemical reaction inside. This causes the hydrogen gas to build up and the battery seal to break open.
How to Remove Corroded Battery from Flashlight?
Battery corrosion is very dangerous and toxic to human skin. Upon contact, it can cause redness, irritation, and even blacked skin (chemical burns). So, make sure to wear gloves and goggles before starting the removal process.
Here are the 5 simple steps to remove a corroded battery from the flashlight:
Step 1: Access the Corroded Batteries
With the protective gear on, the first thing you should do is access the battery compartment in the flashlight. It is usually on the lower end of the backside.
Check whether the cover of the battery compartment is secured with screws. If it is, get a screwdriver to open the cover. In other cases, you will have to push and move the cover in the indicated direction to remove the cover.
Step 2: Remove the Corroded Batteries
When you’ve accessed the corroded batteries, place the flashlight on a smooth work surface. Then, pick a wooden dowel rod or stick and insert it on one end of the battery. Push the battery out using the rod.
If this doesn’t work, find a hammer or a heavy object and use it to tap the wooden stick. This will break the potassium carbonate and loosen the battery. Push the stick more to knock it out, and make sure to dispose of it properly.
There are several companies that recycle corroded batteries. If you have a pickup point of any organization near your residence, collect the batteries in a clear bag and drop them at the location. Or you can contact the organization and ask a representative to collect it.
Sometimes, the battery won’t get out – no matter how hard you push. In this case, don’t worry and proceed to the next steps.
Step 3: Make Vinegar & Baking Soda Paste
Vinegar and baking soda are known to do wonders for cleaning things. It’s because baking soda (or bicarbonate of soda) is alkaline in nature. Meanwhile, vinegar is mildly acidic with a pH value of 2 to 3.
So, when vinegar is added to baking soda, a chemical reaction occurs as acid breaks down the alkaline soda particles. This releases carbon dioxide gas, which lifts up the stain and dirt from the surfaces.
Remember that neutralization doesn’t happen because we always combine vinegar and baking soda in unequal quantities.
To remove battery corrosion, you will have to combine 1 tbsp of baking soda with some white distilled vinegar (more than 1 tablespoon). Mix the ingredients to create a thick, white paste.
Step 4: Clean the Corrosion
Now, first, analyze whether the battery compartment of the flashlight is separate from the electrical parts. Based on your findings, proceed with any one of the methods below:
If Battery Compartment is with Electrical Parts:
Use a cotton bud to dab the vinegar and baking soda paste on the corroded areas and battery terminals. If the corrosion is too much, soak a clean cloth in vinegar and squeeze out the excess. Then, use it to rub the corrosion away.
If Battery Compartment is Separate from the Electrical Parts:
Pour the vinegar and baking soda mixture into the battery compartment. Replace the battery cover to prevent the liquid from getting out. If it’s loose, wrap a tin foil securely around the battery compartment.
Now, shake the flashlight to dislodge all the corrosion residue inside. Remove the battery cap/tin foil carefully and dispose of the paste. If the corrosion still remains, pour a little white vinegar and use a small brush to scrub. You can also use an old toothbrush or wire brush.
In both cases, if the battery didn’t come out before, it should be loosened enough to be removed now. Tap the flashlight torch lightly or push it with a wooden rod to get it out.
Step 5: Dry the Flashlight
Once done, soak a clean cloth in water and clean the battery holder with it. Then, use a hair dryer or towel to dry everything. Put the flashlight in an airy place to dry it further.
Last Thoughts
All in all, removing the corroded battery from the flashlight is simple. Just follow these 5 steps:
- Access the battery
- Remove the battery
- Make vinegar and baking soda paste
- Clean the corrosion
- Dry the flashlight
However, make sure to wear protective gear to avoid chemical burns and other injuries. Do this process in a well-lit and ventilated area too. Good luck!