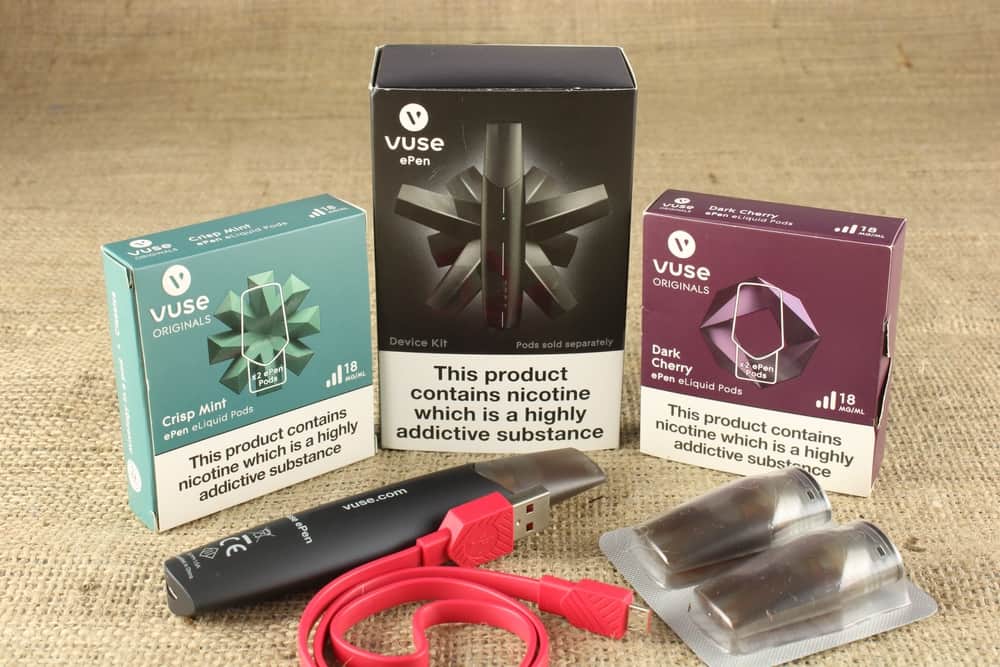
Taking apart your vuse alto battery is a simple process that can save you money in the long run. Besides, it can help you diagnose what is wrong with the vape battery which will allow you to tackle the problem with ease. The more you know about what’s going on inside, the better off you’ll be when the time comes to replace that old battery or recharge it.
This article is a compilation of all you need to know on how to take apart a Vuse Alto battery, so let’s get started!
Table of Contents
- What is the Problem With your Vuse Alto Battery?
- How Do I Know When My Vuse Needs a New Battery?
- Practical Step-by-Step on How to Take Apart a Vuse Alto Battery
- How Do I Put My Vuse Battery Back Together?
- What To Do If your Vuse Battery is Not Working
- How Long Does a Vuse Battery Usually Last?
- What to Watch for While Taking Apart my Vuse Alto Battery
- Conclusion
What is the Problem With your Vuse Alto Battery?
If you’re having trouble with your vuse alto battery, it’s probably due to one of three things: the coil, the cartridge, or the connection. Luckily, all of these problems have relatively simple solutions that you can do at home.
- If your coil is the problem, it either signifies that there is dust or debris build-up on the cloth or it needs a replacement.
- If your cartridge is the problem, it may have either become loose or leaking which can be dangerous. If your device seems to be charging fine but just not producing any vapor, then chances are good that there’s an issue with the Vuse cartridge.
- The irt contacts inside both the battery hat and the cartridge may be causing a problem too, if there’s any dirt buildup.
- Finally, your battery isn’t making a good connection with the Vuse epod cartridge.
All of these can be due to a number of reasons, including age, damage, or simply wear and tear.

How Do I Know When My Vuse Needs a New Battery?
There are a few things to keep in mind when trying to determine if your Vuse needs a new vape battery.
- First, pay attention to how long the Vuse device takes to charge. If it seems to be taking longer than usual, it may be a sign that the battery is losing its capacity. Compare the current Vuse alto’s charge life to know if it’s declining or not.
- Second, take note of how long the device lasts on a full charge. If it isn’t holding a charge as long as it used to, then this could also be another sign that you need to replace the old one with something newer and better.
- Finally, keep an eye on the performance of the device. If it’s running slower than usual or having other issues, it could be due to a weak battery.
If you notice any of these things, it’s probably time to invest in a new battery for your Vuse. A newer Vuse alto battery supports a better Vuse vibe!
Practical Step-by-Step on How to Take Apart a Vuse Alto Battery
For those experiencing issues with their vuse alto battery, it might be time for some repairs or replacement. Taking apart your battery and giving it a good cleaning can often fix performance problems. Here’s a simple guide on how to do just that:
- Remove the mouthpiece from the battery. You should see two screws holding it in place; remove them with a Phillips screwdriver. (Keep the screwdriver next to you as you’ll be needing it for the next step)
- Next, unscrew the battery cap which is located at the bottom of the device with the Phillips screwdriver.
- With the battery cap removed, you should now be able to see the center of the Vuse Alto battery. There are three main parts to pay attention to here: the atomizer, the wick, and the heating coil.
- Start by removing the e-cigarette atomizer. This is the small metal piece that sits on top of the wick. Simply unscrew it and set it aside.
- Next, remove the wick. This is a small piece of cotton that sits underneath the e-cigarette atomizer. Gently pull it out and set it aside.
- The last thing to remove is the heating coil. It’s a small metal spiral that sits at the bottom of the battery chamber. Unscrew it and set it aside with the other parts.
- Now that all of the parts are removed, it’s time to give them a good cleaning. The best way to do this is to soak them in rubbing alcohol for about 30 minutes. This will break down any gunk or build-up that might be causing problems with your battery charge and performance.
- Once everything has been soaked, rinse them off with clean water and dry thoroughly with a lint-free and dry cloth before reassembling your vuse alto battery. If there are any obstructions such as dirt or dust in there, use a cotton swab or q-tip instead. This type of tool is helpful because it allows users to get deep into crevices without worrying about damaging anything important like circuit boards or other sensitive devices inside their pods!
How Do I Put My Vuse Battery Back Together?
You did it! You took apart your vuse alto battery and now it’s time to put it back together. This can be a tricky process, but with a little patience and carefulness, you’ll be able to do it. Here are a few tips to help you along the way:
1. Assemble every piece
Make sure all the pieces are accounted for before you start reassembling. It’s easy to lose track of small parts, so it’s best to have everything laid out in front of you.
Take your time putting the battery back together. There’s no rush, as it could result in mistakes.
2. Return it to Rightful Position
Take your new battery and place it in its designated spot on the deck of an electric car.
Be extra careful with the delicate parts of the battery. Handle them gently and mindfully to avoid damage.
3. Connect The Battery
Plug one end into a socket or power point (make sure that you do not short out any electrical parts). This will be connected to the car’s ignition system, so that when you turn on your vehicle everything starts working properly once again!
With these tips in mind, you should be able to successfully put your vuse alto battery back together.

What To Do If your Vuse Battery is Not Working
- If your vuse battery is not charging, the first thing to do is check the charging cable. Make sure it’s not loose or broken and that there are no tears in it. (A loose charging cable can cause problems with your device and make it unable to charge properly).
- If you still can’t get your vuse device to charge after checking all these things, try taking apart its pod (the part that you hold in your vape) so that you can check if there’s anything wrong with either one of them.
- You’ll also want to make sure there isn’t any debris inside this Vuse alto pod when opening up because this could potentially damage other parts of your device while trying out various methods of cleaning them out.
How Long Does a Vuse Battery Usually Last?
The vuse alto’s charge time and battery life are one of the most important factors to consider when choosing longer-lasting pods. The more time you spend vaping, the more likely it is that you’ll need to connect it to a Vuse power unit to recharge.
Depending on the device and your individual vape vibes, a fully charged vape pen device should provide up to 550 puffs per charge and a fully charged ePod should provide up to 400 puffs per change.
If you’re only using this Vuse Pod for 20 minutes every day (or less), then there’s no need for concern, you should be able to easily make it through an entire week with just one charge (although we recommend charging overnight)
However, based on a daily charge, your Vuse ePen device will take about 9 months and beyond. All you need to extend the life of your Vuse ePen battery is by keeping it charged.
What to Watch for While Taking Apart my Vuse Alto Battery
When you’re taking apart your Vape battery, there are a few things to keep in mind.
● Use the Right Tools and Equipment
You’ll want to use a sturdy pair of tweezers that can handle the job, as well as a Phillips screwdriver (a flathead and crosshead are also good), which will be required for removing the positive terminal from your pack and replacing it with one from a new pack.
● Work in a Clean Environment
Make sure you’re in a clean environment before beginning any work on this battery so that there’s no chance of accidentally breaking anything along the way.
Also, remember not to touch any surfaces marked with ink or grease!
Conclusion
The Vuse Alto is a very popular vape and we hope you enjoyed this practical step-by-step guide on how to take apart a Vuse Alto pod.
Remember, a better understanding of how to use and care for your vape will improve your vaping experience.