When it comes to cleaning debris without lifting your finger, it’s hard to deny the awesomeness that iRobot Roombas offer. These robotic vacuums can pick up dirt on their own—no need to push around buttons.
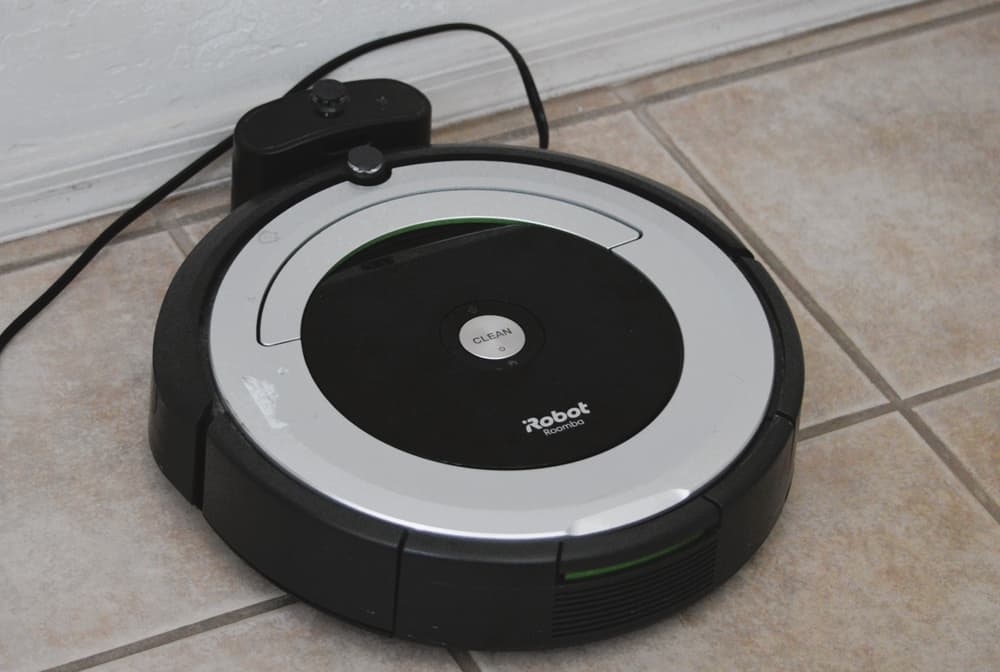
The iRobot Roomba charges itself by parking on top of a charging plate. These send power to the Roomba battery. But, what happens if your Roomba’s battery isn’t charging the way it should? Let’s look at the most common reasons why your device might be failing.
Table of Contents
iRobot’s battery won’t charge: causes and fixes
There are several reasons why your vacuum might not be charging the way that you want it to. Let’s take a look at the most common issues that could cause your robot to stop charging and how to fix them.
1. The charger does not plug in
It’s a rookie mistake that happens more often than you would think. Thus, the first thing you want to make sure is that you actually plug the charging plate in.
At times, changing the power outlet you use also fixes the problem. After all, bad outlets can make anything refuse to charge. If you recently tripped a breaker, double-check to see that your fuses are all in working order.
On a similar note, it’s important to remember that your Roomba needs a level surface to be able to charge in its dock. If your Roomba base light doesn’t turn green or blink when your vacuum gets on the platform or if it doesn’t light up when it’s plugged in, you may have a bad charger platform.
2. Your robot’s home base or caster wheel needs a cleaning
Your charging station works by having contact with the Roomba’s charging contacts. If the connection is too dirty for your Roomba to transfer energy, you are going to end up with a robot that won’t charge.
To fix this, you should:
- Check the home base first. If you notice a lot of dust, wipe the area down with a microfiber towel spritzed with rubbing alcohol. Then, finish wiping down the entire charger base to see if this fixes the issue.
- Next, check your Roomba’s caster wheel. If you notice a lot of grit and grime, it’s time to wipe that wheel down. The microfiber towel with the rubbing alcohol will work. This should solve quite a few charging problems.
- Finally, clean off the other two wheels if they are unusually dirty. Once again, the microfiber cloth you used will work well here.
3. Software failure
Believe it or not, your iRobot’s software can be a cause of a “stubborn battery.” The software can interrupt cleaning cycles and charging cycles, making it impossible for the battery to charge. In a lot of cases, doing a reboot of your robot is enough to fix this issue.
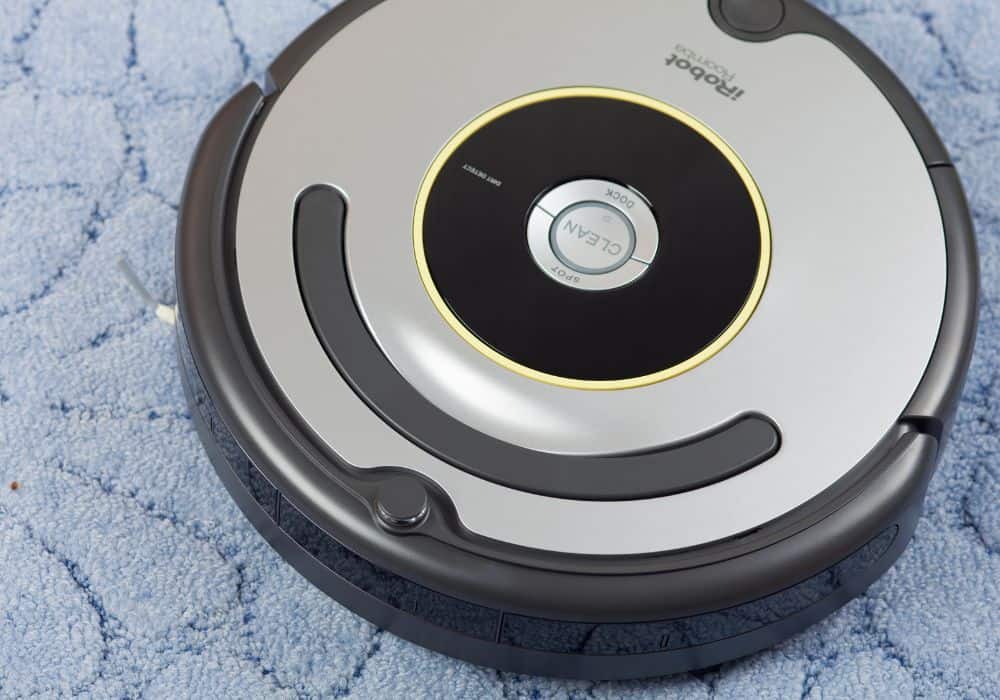
If your Roomba doesn’t have a “RESET” button, then you can reset it by holding the “HOME,” “SPOT CLEAN,” and “CLEAN” buttons all at the same time. Keep those three buttons pressed until you hear a beep.
A hard reset is often a smart move, primarily because it returns everything back to its factory default settings. This troubleshooting move will help clear out any software bugs that could have been causing issues.
You may have to reconnect your Roomba to your iRobot app if you do this. Make sure you have a good wi-fi connection if you do.
4. Wrong battery insertion
If you have a brand new Roomba that doesn’t charge, it could be that your robot’s battery could have been jostled around during delivery. Turn the Roomba upside-down and make sure that your battery is properly inserted.
Once you’ve made sure that your batteries are properly tucked inside, put the battery cover back. Wait a moment, and then see if your Roomba starts charging now. If it doesn’t, try a reboot and then if it works.
Still nothing? Try new batteries, if your Roomba uses standard batteries. New lithium-ion batteries can take a little time to charge, so if you replaced the battery, wait a while before you assume it’s a problem with the Roomba not charging.
5. The battery is dead
Think back to the past couple of weeks or months. Did your Roomba suddenly drop in battery power at random points? Did it seem like it barely got any cleaning done before that red light flickered on?
If your battery stopped charging altogether, get ready to go online to order a new battery. This may be a sign that it’s time to replace the original battery. It’s just out of juice and needs to be updated.
To get the best results, replace your original battery with an iRobot lithium-ion battery designed for your specific Roomba model. It’s literally made for your robot, unlike other li-ion batteries on the market.
6. You got a defective service
Good brands can still have bad things happen to them, and that includes a defective vacuum cleaner. If your Roomba suddenly won’t charge after everything, it could be that there is an internal part that has worn out. Or, if it’s new, it may just be a defective item. It happens.
One of the reasons why Roomba robots are so popular deals with their customer service. They stand behind their product and can help you with everything from troubleshooting the product to replacement parts. It’s a good thing to have in your back pocket!
When calling the iRobot customer service line, make sure to mention how long you have had the Roomba and whether it’s under warranty. This can help them determine what they can do to help you out.
If you have a warranty or proof of purchase, keep it handy when you’re talking to your customer service rep. You will have a better chance at getting a replacement.
How long does it take to charge a Roomba?
This can depend on the Roomba model, but you should give at least two hours for a Roomba to fully charge. If you notice an amber light rapidly blinking, your Roomba may have entered a 16-hour charging cycle to help reduce the use of energy.
A flashing amber light (not flickering) means that your Roomba is currently charging at a steady pace. When it turns green, your Roomba’s charging session has been completed.
How long do you have to return or replace a Roomba?
Per the iRobot website, you have 60 days to try out the Roomba before you can no longer return it. If the Roomba got damaged on its shipping, it’s best to call them immediately so that they can fast-track your return.
How long does Roomba’s warranty last?
This depends on how you bought it, and whether you paid extra for extended warranties or protection.
- Used Roombas do not have a warranty unless it’s a Roomba Refurbished robot.
- In this case, you have a 90-day limited warranty with the option of a 2-year extended warranty.
- Brand new iRobot Roombas typically have a 1-year limited warranty.
- You can buy additional device protection from the Roomba site, or through approved retailers.
How much does device protection cost for a Roomba?
This can vary greatly depending on the protection level you choose (Protection or Protection+) and the actual make and model of the Roomba you’re protecting. The good news is that you can find a personalized quote on the iRobot website.
Is buying extended protection for an iRobot Roomba worth it?
This is up to you to decide. Most people find that it is not a good investment, simply because most people don’t use extended warranties or protections. If you are not likely to use it, then there’s no point in buying it.
With that said, it’s still a personal choice. If you feel it will give you peace of mind, then it may make sense to get your Roomba protected. It does offer you the ability to get basic repairs if your Roomba breaks.
In conclusion
If you have an iRobot Roomba, you need to clean it regularly and make sure it’s plugged in before you assume that there’s something wrong with it. However, batteries can fail, even with newer robotic vacuums.
If you find yourself in a situation where things are going seriously wrong with your Roomba, you may need to do a reboot or talk to an iRobot customer service rep. They can help you figure out how to make it work again.