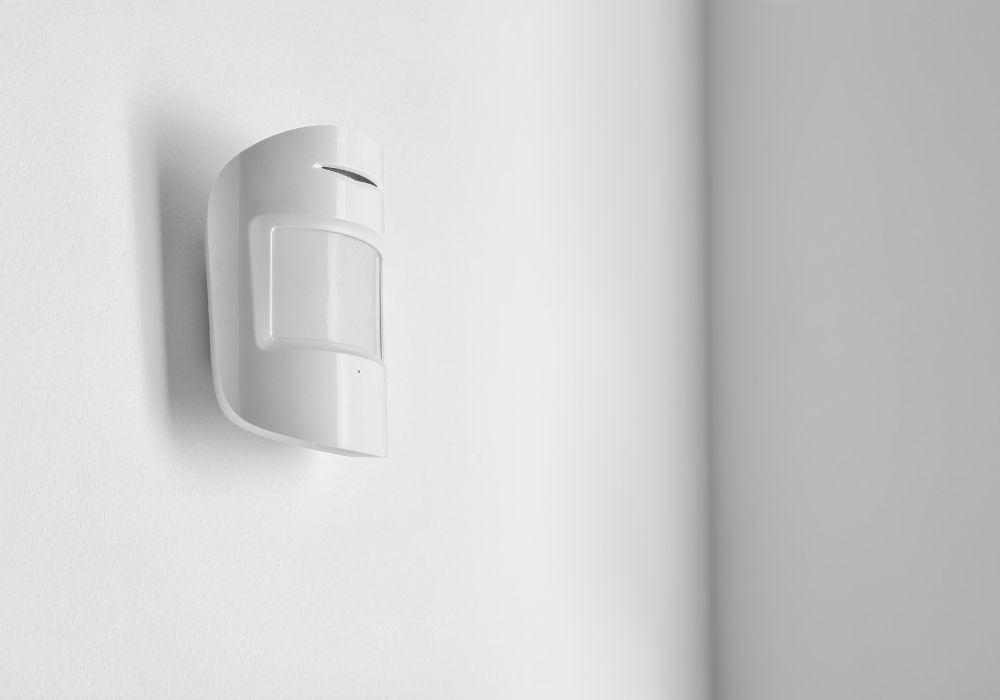
Nowadays, ADT motion sensors have become an important accessory to optimize the security of your house. This system helps with staying informed about the activity around your house. Obviously, for such a sensitive task, they must have strong and reliable batteries, however, regardless of how strong the batteries maybe you will have to replace them eventually.
While you can keep procrastinating on when to call someone to change the batteries for you, it won’t help to keep your house security system on hold. So, why not attend to this task right away and yourself? It’s certainly not that difficult, and with the easy-to-follow steps, that we have laid down below, you can get this done swiftly.
Table of Contents
Steps to Changing ADT Motion Sensor Battery
The average battery life of ADT motion sensors is up to three years, and you will receive a notification message alerting you to consider replacing the batteries when they are close to a discharge. This can vary with varied temperatures and use. So around that time, you need to think of replacing the batteries.
Another way you know when your batteries need replacement is by using the zone trouble indicator method. The indicator appears on the alarm keypad that can always send a notification directly to you on the Pulse App. When this happens, replace the batteries ASAP. If nothing happens, you can allow the batteries to run their course till they become dead or start causing false alarms.
Things You’ll Need
- You just need a screwdriver.
- And, new batteries!
Below, we have all the steps you need to take to change the batteries smoothly. So let’s start with the following steps:
Step 1. Putting Motion Sensor in Test Mode
Before opening the sensor, you need first to disarm and put it on test mode. This is to avoid any false alarms. It is simple, just go to the ADT website and put on the test mode option. You can do this by clicking “My Alarm” on the dashboard.
This will take you to system management, where you can press the “Test System” option, and instantly, your sensor will go into test mode. Your device will beep for half a minute after short intervals. So no need to panic.
Step 2. Unscrew the Motion Sensor
Unscrew the cover of the ADT motion sensor using a screwdriver. You have to unscrew the top and bottom to open the cover. Remember to use a flat screwdriver for the screws. If your model does not have screws, it can be opened by clicking the top and bottom. You can also remove it from the wall frame by pressing on both sides of the sensor. Use a screwdriver with an insulated body for safe operation.

Step 3. Insert New Battery & Cover It Up
Now simply remove the battery. Wait for at least 30 seconds. Then put in the new one at the right angle and polarity. If all of this technical jargon makes you feel nervous, just be sure to put the positive and negative sides in their respective positions. Do not mess up the polarity, or your device won’t work.
Close the cover and put back the screws. Do this perfectly, or else the detector will become faulty. Tighten the screws so that the sensor turns on and works fine. To make it work right, wait at least 4 minutes before you activate it. Cross in front of it after that time and activate it. Your crossing over will visually verify the activation.
Step 4. Exit Test Mode
Don’t forget to exit the test mode from the ADT website and log out. The process is complete. You may recycle your old battery. You will receive a message on the ADT app when you need a battery replacement. Then you can follow this method and replace the battery in absolutely no time. But do it because otherwise, it will compromise the reliability of the motion sensor.
Things to Be Mindful Of
You should keep a few handy tips in mind when replacing the batteries for your ADT motion detector. These can turn out to be a lifesaver in helping you avoid any future complicated issues with the batteries:
1. Keep an Eye on Alert Sign
The alert sign flashes even when the new battery is in. It goes away after a few moments, but if it doesn’t, it shows that your new battery is either faulty, not working out, or there is a problem with polarity. If after you have replaced the battery and the sign is still showing, you need to open the cover again, correct the polarity and snap the cover back correctly to avoid any problems.
2. Watch Out For The Sensor Disappearing from ADT App
Your ADT app has a device list to show the connected devices. If your motion sensor is missing from the list, it is a classic case of improper placement of the motion sensor. What does that mean? It means the sensor is about 350 feet away from the central device hub. However, don’t panic, as this is not a battery problem, just a problem of distance. Remember this and spare yourself some horror.

3. Don’t Underestimate Test Mode!
Not only for false alarms but putting the ADT sensor on test mode is generally handy as it can help you dodge any mishaps due to connection. The disarming of the connection helps to keep any malfunctioning at bay. Test mode is also important. In case you have not changed the battery right, you can go back to it again and again as your safe zone until the battery is rightly installed in your motion sensor.
4. Consider the ADT Support
The above-mentioned tips mainly resolve any outstanding issues that occur even after battery replacement. If you see any further problems occurring, you should contact ADT motion customer support and reach out to the expert technical team. With professional help, you will definitely be able to overcome the problem.
You can use the online website and portals of ADT for assistance. The official website will definitely help you out, and the online process is a lot more convenient and hassle-free. If none of these, you can always reach out to the expert team through social media.
The social media helpline will definitely be quicker and allow you to get to the bottom of the issue instantly. You can always find contact details on the official website page. Just keep in mind that it will cost you to change the battery professionally. Additional system battery charges can reach up to thirty dollars one time.
5. Be Aware of When You Don’t Need a Battery Change!
You don’t need to replace the batteries of your ADT motion detector when your motion sensor keeps flashing red. This does not indicate a low battery or dead battery. Rather, it is only a sign that the sensor was turned on for longer than 10 minutes straight, and it did not record any motion.
Now, this may occur time and again, but you don’t have to change the batteries. It is completely normal for the first few minutes of turning on the sensor, and it senses any motion. This is for user testing, and it will go away on its own.
Another indication when you don’t need a battery change is when your motion sensor light flickers. There are multiple reasons behind the flickering light, and it mainly occurs due to a damaged bulb or a diode in the sensor. There is nothing wrong with the device. Instead, it is only the problem of the bulb and can happen in any kind of device. Do not mistake it for a low battery. It is a pretty non-serious issue, and it is inexpensive to fix it.
Conclusion
So here we are with the simplest battery change method for your ADT motion sensor broken down into small steps. Look for signs for battery change. If you don’t see any sign, change the battery after three years anyway.
All you need to do is unscrew the device. Change the batteries carefully, snap them back, and run them as usual. Just put it on and off the test mode before and after changing the batteries respectively. If the motion sensor doesn’t work even after that, check the polarity and find out any internal problems. In case nothing works, contact the ADT expert team for help.
Sometimes you can misread the signs for battery change when all you are facing is a faulty bulb or flashing light issue. Wait a few minutes, and you will see the problem will be fixed itself. Till then, DIY the battery replacement and save a few dollars!