If you’ve recently purchased a Roomba or any other robotic vacuum cleaner, you may wonder how to remove the battery. Not to worry! Removing the battery from your Roomba is a fairly simple task. In this article, we’ll cover everything you need to know, including the basics of battery removal, safety tips, and other important information.
Table of Contents
How Does Roomba Work?
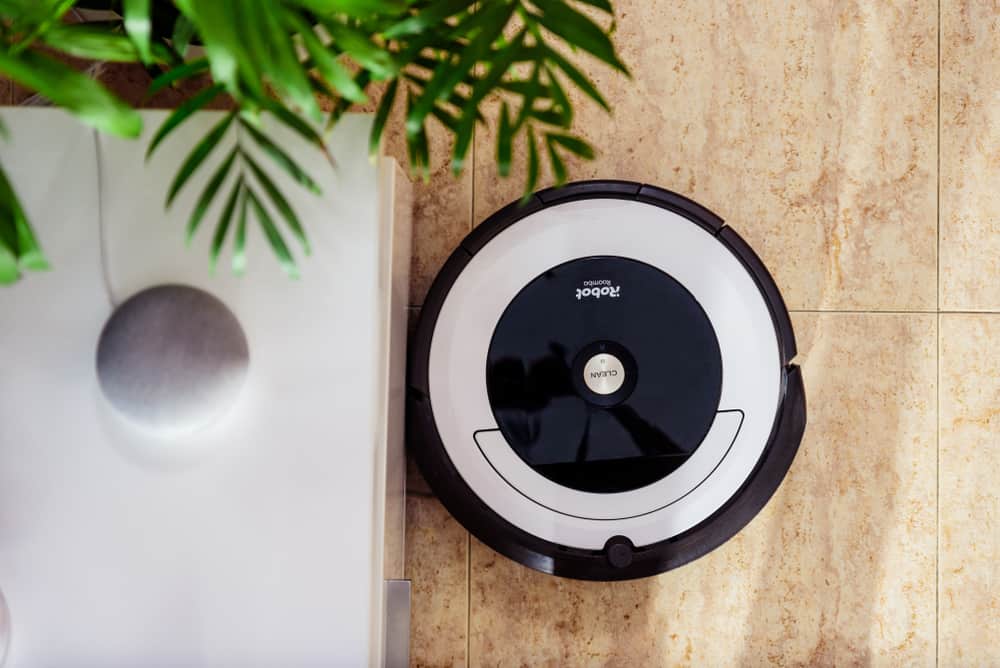
Before we get into the specifics of removing a Roomba battery, let’s take a quick look at how Roomba works. A Roomba is a robotic vacuum cleaner invented by gifted engineers of irobot corporation in 2002 for indoor use. It uses a combination of sensors and computer algorithms to navigate around your home and effectively clean up dirt and debris.
It is equipped with sensors to detect any physical barrier and navigate around furniture, as well as dirt detectors that let it know when it needs extra time to clean an area. Roomba also features automatic docking to return to its charging station when the battery runs low.
Step-by-Step Guide to Removing the Roomba Battery
Removing the battery from your Roomba is a simple task. However, you must take extra care not to damage the robot, as some models are delicate and expensive. With just a few simple steps, you will have your Roomba running again in no time.
Step 1:
Unplug the power cord and other attachments from your Roomba. Before starting, remove any additional cords or attachments from the unit.
Step 2:
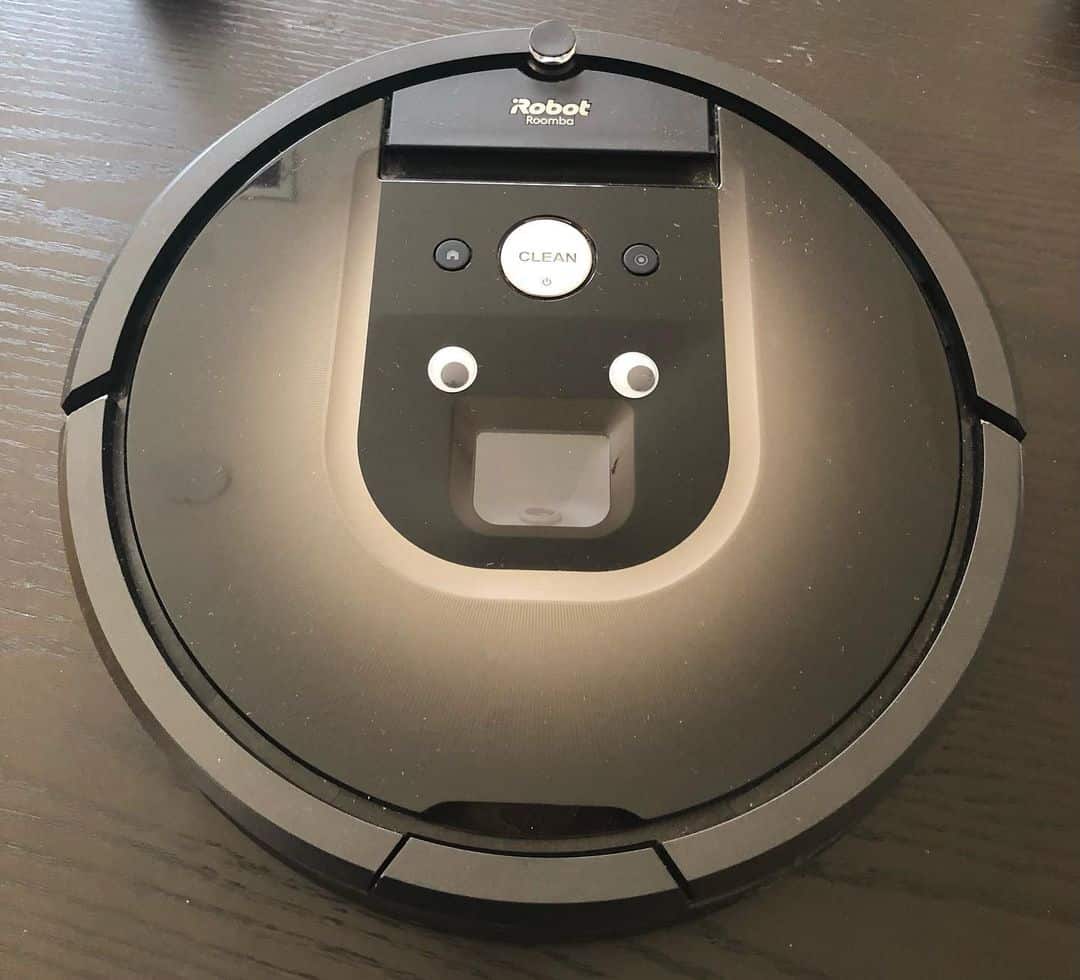
Turn the Roomba over so that you can access the battery compartment. Depending on the model, either the bottom cover or the side of your Roomba should open up to reveal a small latch.
Step 3:
Remove the screws from the underside of the home base. Depending on your Roomba model, you may need to use a screwdriver.
Step 4:
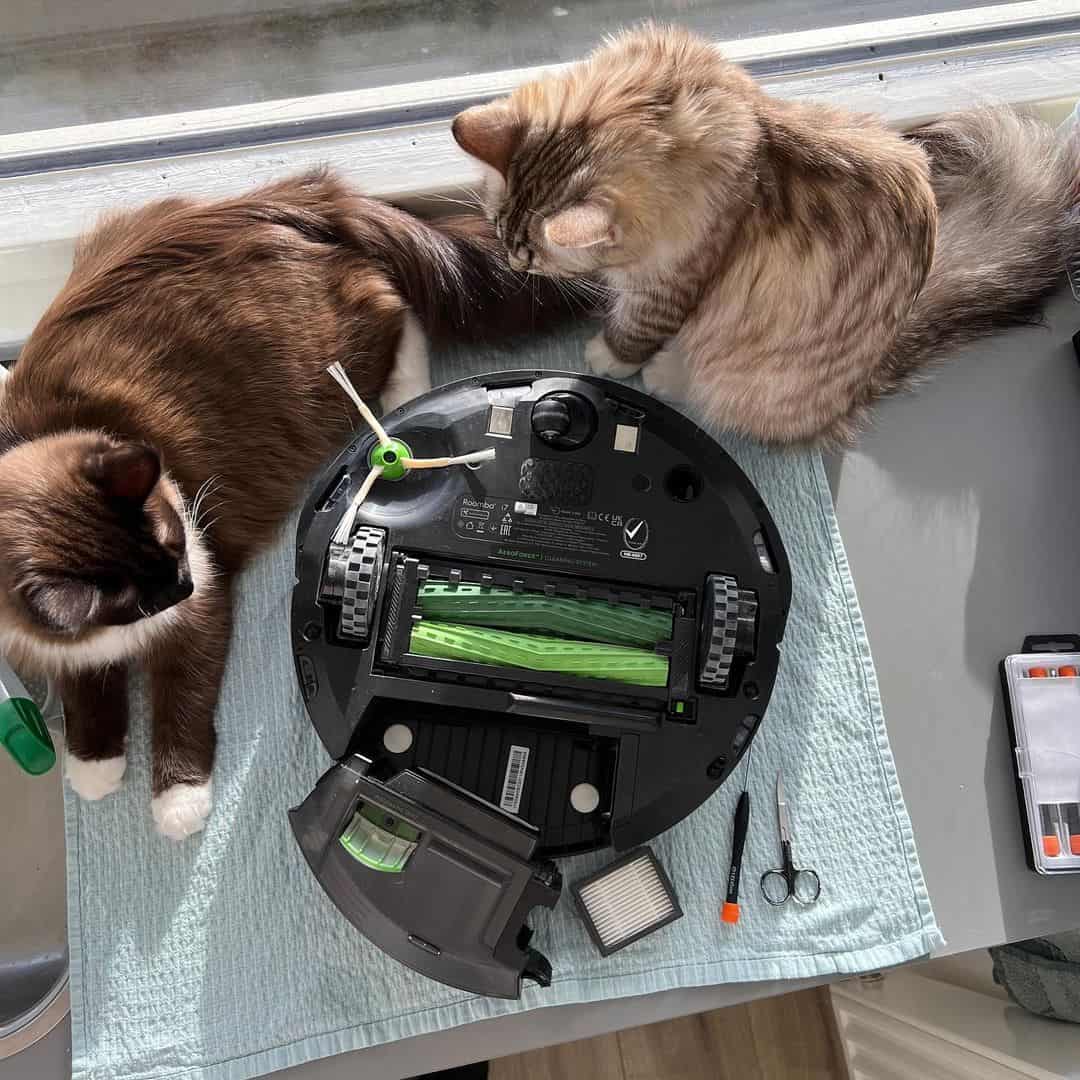
Locate and remove the filter from the Roomba’s battery. Remove any dust or debris from the filter before proceeding further. This step will require a few minutes of your time but is necessary to ensure the safety of your device.
Step 5:
Disconnect the old battery from its housing and separate it from the Roomba.
Step 6:
Wipe the battery with a damp cloth and ensure it is completely dry before putting it back into the Roomba.
Step 7:
Put the battery back in its housing and reconnect it to the Roomba. You may also want to check Roomba’s manual for specific instructions on reattaching the battery.
Step 8:
If required, you can attach a new battery.
Step 9:
Plug the power cord and other accessories that were disconnected earlier.
Step 10:
Test your robot vacuum and confirm it works properly with the new battery. Press the power button and the clean button to start the cleaning cycle.
Things to Consider Before You Remove the Roomba Battery
1. Warranties
Depending on the model, some purchases may come with a warranty that could be voided if you remove the battery. Make sure to read your warranty before beginning the process.
2. Direct Sunlight
If the battery is exposed to direct sunlight for an extended period, it can cause damage to the battery and its components. Avoid storing the Roomba battery in any hot place, like a balcony. This could cause damage to it and affect its performance.
3. Home Base
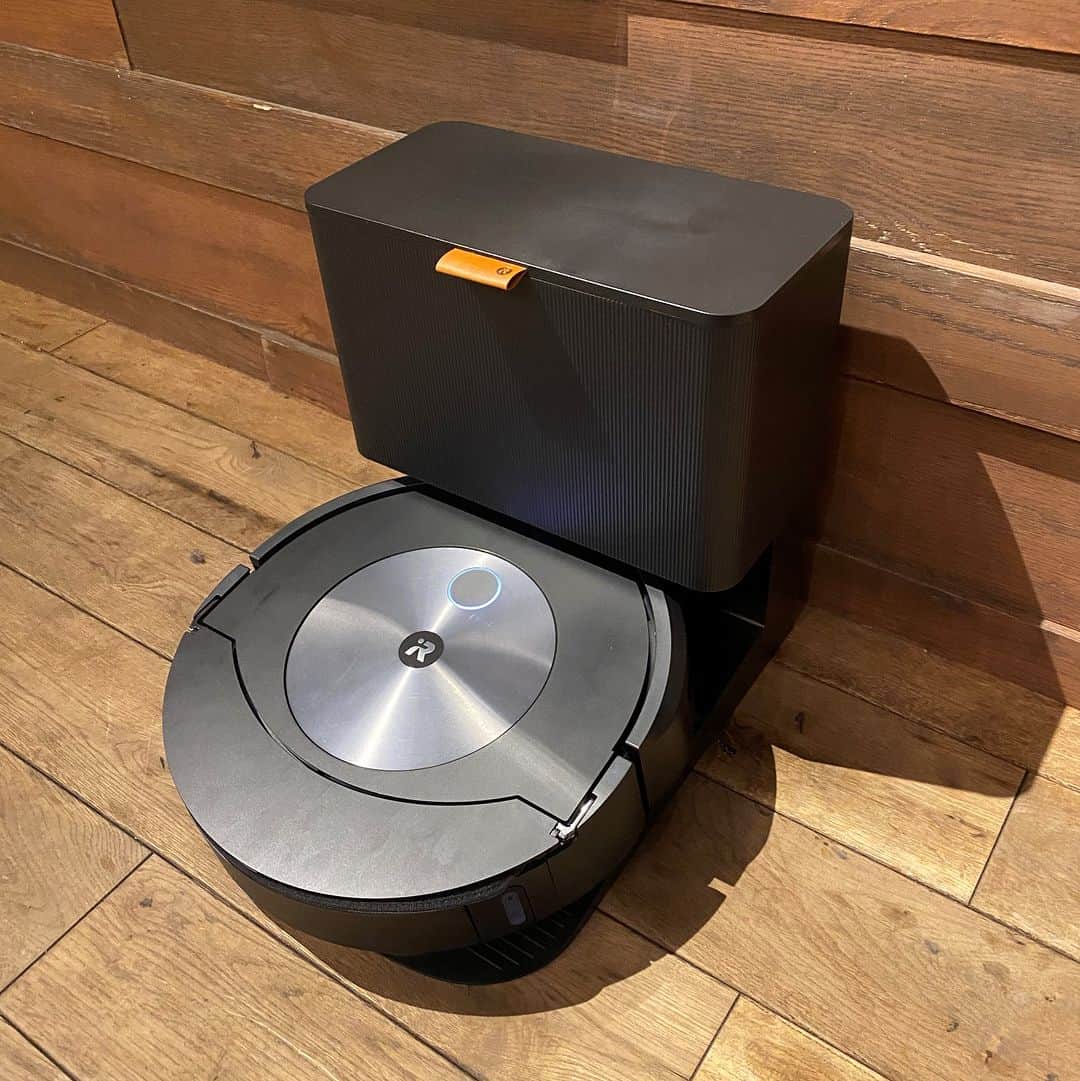
If you have a Roomba i series, the home base should be used for charging. It is better to keep it connected to the Roomba for charging, even when the battery is removed.
4. Supervision
In the case of small children or pets at home, keep them supervised while the battery is removed. This is important to ensure the safe operation and use of the appliance.
5. Using the Right Tools
When removing the battery, you need to have the right tools on hand. Do not attempt to open or disassemble the Roomba without the necessary equipment.
6. Battery Life
Consider how long your Roomba’s battery life has been before removing the battery. If it seems to be working well, there may not be a need to remove it.
7. Dry Place
Make sure to store the removed battery in a dry place. Exposure to moisture can cause damage and limit its performance.
Safety Tips for Removing the Roomba Battery
Before you begin removing the battery, read any instructions provided by the manufacturer. Also, be aware of some safety tips so that you don’t hurt yourself or damage the Roomba.
- Wear safety glasses when removing the battery.
- Make sure the Roomba is unplugged before attempting to remove the battery.
- Do not attempt to remove the battery if you don’t feel comfortable doing so.
- Keep small children and pets away from the area while removing the battery.
- Before getting started, make sure you have all the necessary tools on hand. You will need a screwdriver and possibly some pliers, depending on the model of your Roomba.
Signs that Your Roomba’s Battery Has Reached Its End
Most robotic vacuums come with a rechargeable battery; in some cases, the Roomba battery lasts up to three years. Over time, the battery will degrade and need to be replaced.
The following are some signs that your Roomba’s battery has reached its end:
- The battery is not holding a charge as long as it used to.
- The Roomba takes longer to recharge after cleaning a room.
- The Roomba is not working as efficiently as it used to.
- You can also look for signs of physical damage, such as cracks or discolorations, which may indicate that the battery needs to be replaced.
Additional Tips for Maintaining Your Roomba Battery
- Clean the brushes regularly, including the side brush. This will help reduce the amount of dirt and dust trapped in your Roomba, which can affect the battery’s performance.
- Don’t allow the Roomba to run until the battery runs down completely. Keeping it charged at all times is key to maximizing its life expectancy and avoiding overcharging or undercharging.
- Clean the battery contacts regularly. This will also ensure that the Roomba gets a maximum charge from its battery.
- Replace your Roomba’s battery every two years, as this can extend its life expectancy and keep it running at peak performance.
With a few simple steps, people of all skill levels and mental capabilities can easily remove and replace a Roomba battery. Taking the time to maintain and care for your Roomba’s battery will keep it running longer and more efficiently.
FAQ
1. Does Roomba Battery Have Additional Costs?
The cost of replacing a Roomba battery varies depending on the model. Generally, each battery costs $30-$50 and is good for about two years of use. For most Roomba models, you’ll need to purchase a specific type of battery.
The Roomba i Series, for example, carries its own rechargeable lithium-ion battery that is incompatible with other Roomba models.
2. How Many Years Does the Roomba Battery Last?
The average Roomba battery will last about two to three years with regular use and maintenance. However, remember that the life of a Roomba battery can be affected by its environment. For instance, if it’s not stored properly—-in a dry place away from sunlight and extreme temperatures, the battery life could be shorter than expected.
Additionally, if you don’t clean the brushes and contacts regularly, it could cause the battery to drain more quickly.
3. Does Roomba have a Powerful Battery?
Yes, Roomba’s battery is a powerful lithium-ion battery that can power the robot vacuum for up to two hours. The rechargeable battery is designed to provide the robot with enough power to clean an entire room without recharging.
The i Series battery also has a built-in safety feature that prevents it from overcharging, which could cause damage.
4. Does Roomba have a Base Station?
Yes, Roomba i Series robots come with a Base Station for charging. This station is designed to give the Roomba a quick and easy way to recharge its battery. You just need to place the robot on the Base Station and press the power button. The station will then charge your Roomba’s battery, allowing it to run for up to two hours.
Final Thoughts
Removing your Roomba’s battery is a relatively easy task that can be done in just a few minutes. By following the steps outlined above and storing the battery in a dry place, your Roomba’s battery will last for many years to come and continue to work efficiently.
What is your favorite part about using a Roomba? Have you ever had to replace the battery on your Roomba? Share your thoughts in the comments section below. We would love to hear from you.