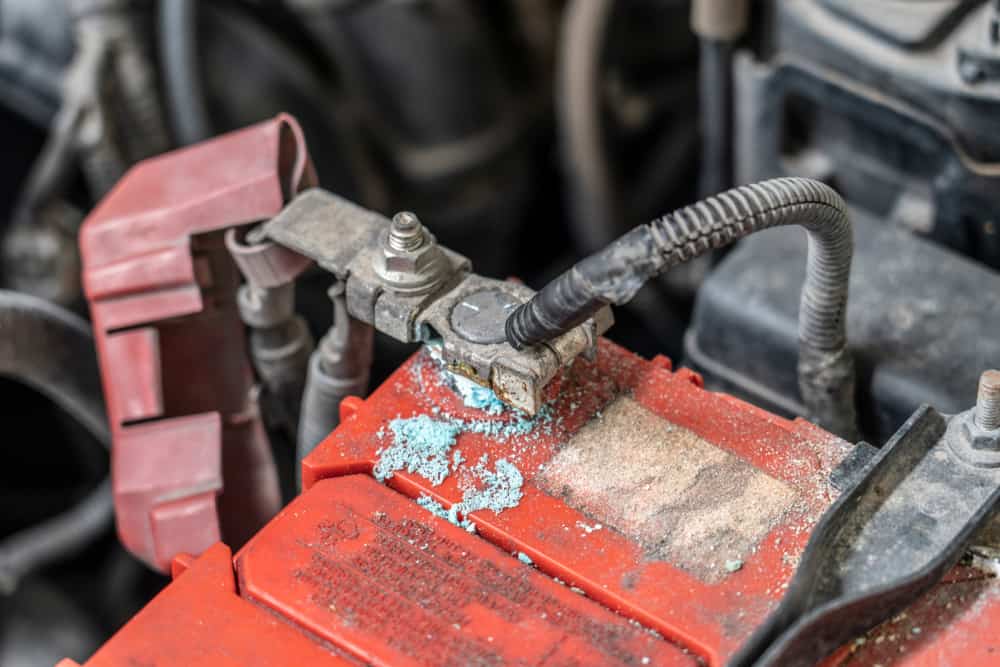
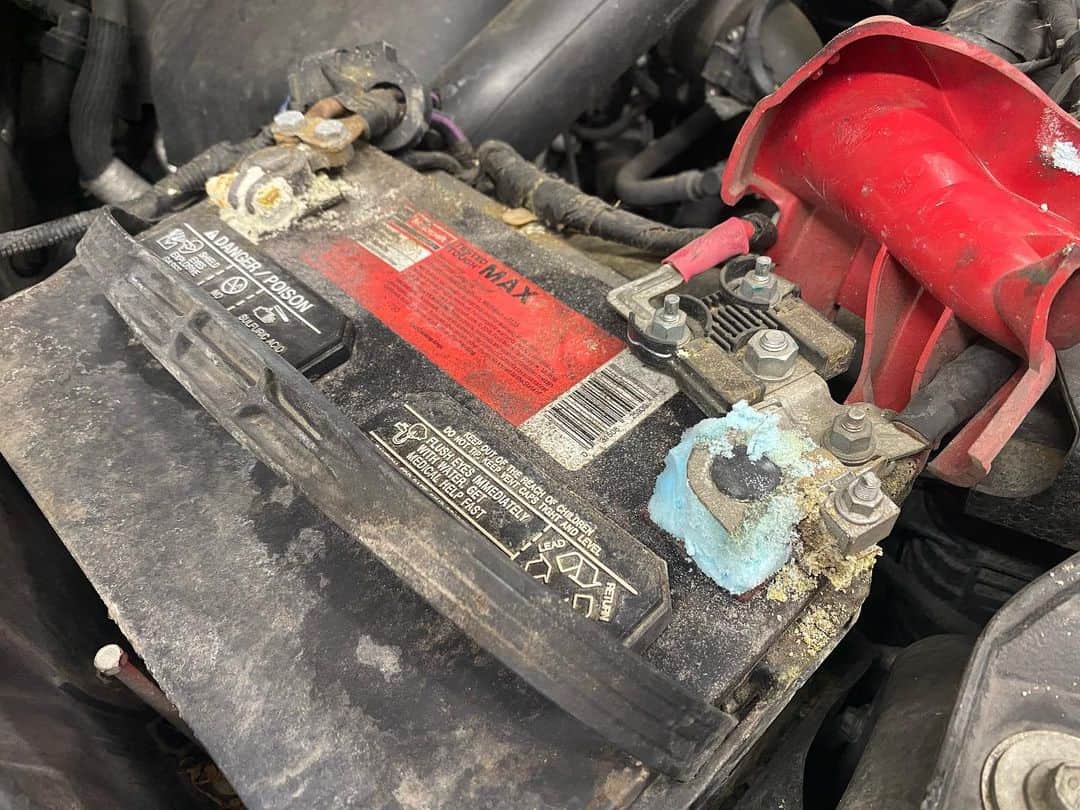
Removing and replacing the existing battery in your car is not always the solution to car battery-related issues. Often, rust could be the reason why your battery isn’t providing your vehicle with the required juice it needs.
To remove rust from a battery’s contact, you must first ensure safety by turning off your car engine. Next, disconnect and inspect the battery cables, including all of their connections. After this, proceed to wipe off rusty particles using a cleaning agent, and remember to rinse excesses. Finally, apply a protective gel to the contacts and re-connect your cables.
Here our aim is simple, we’ll show you the different ways you can remove rust from the contacts of batteries in cars and electronic devices.
Table of Contents
Required Materials and Tools
- A mixture of baking soda and hot water/ Cleaning agent/ White vinegar
- Paper Towels
- An old toothbrush
- Protective gloves/ Safety goggles
- Petroleum jelly
- A wrench
Easy Steps to Remove Rust from Battery Contacts
Removing rust from battery contacts is relatively easy. All you need are the right tools and materials.
N.B: It is possible to use your homemade supplies even if you do not have a packaged battery contact cleaner.
Step 1: Turn off Your Car Engine
Start by first turning off your car’s engine for safety purposes. Many times, when trying to get the rust off the contacts of a car battery, there is always the possibility of accidental electrical discharge. Hence, cutting off the power supply before you begin this process is crucial.
Step 2: Disconnect the Battery Cables
Next up is to disconnect the cables using a wrench. Why do you need to do this? This would enable you to get the job done while avoiding any damage to the electrical components in your car.
To achieve this, you must spot the positive and the negative terminals before disconnecting the battery cables. It is always advisable to disconnect the negative cables before the positive ones to avoid electrical mishaps.
You will often spot the negative and positive cables through the markings on them and their colors. Positive cables are usually red and have a POS marking on them while the negative is black in color and has NEG written on it.
As you disconnect the negative cable, we advise you to be careful and ensure your wrench does not touch the positive terminal. This is because you could get zapped by the battery if this metal wrench touches the red cable while working with the black one.
N.B: The rustier a battery contact is, the harder it will be to loosen its grip.
This means you have to be patient during this process, so you don’t break the clamps holding the battery together.
Step 3: Inspect the Battery System
Once you’ve disconnected the cables successfully, it becomes necessary to examine all the parts and components of the battery system before proceeding to clean. This way you will be able to decipher if the corroded battery contacts are the cause of the problem.
Start by examining the battery for cracks or dents that can cause the battery to leak acid, then proceed to inspect the battery cables for tears, peels, cracks, or corrosion that can affect the operation of your battery.
N.B: You will need to replace any faulty components that you find.
Typically, it would be best to remove the battery from its terminals so you can conduct a thorough inspection because a damaged battery will lead to power failure and your vehicle will not function.
Furthermore, you should check the clamps and cables with the contacts because if a battery is in good condition and some other components are damaged, your vehicle will not function, hence replacing any faulty components you discover is important.
Step 4: Inspect the Terminal to Clamp the Connection
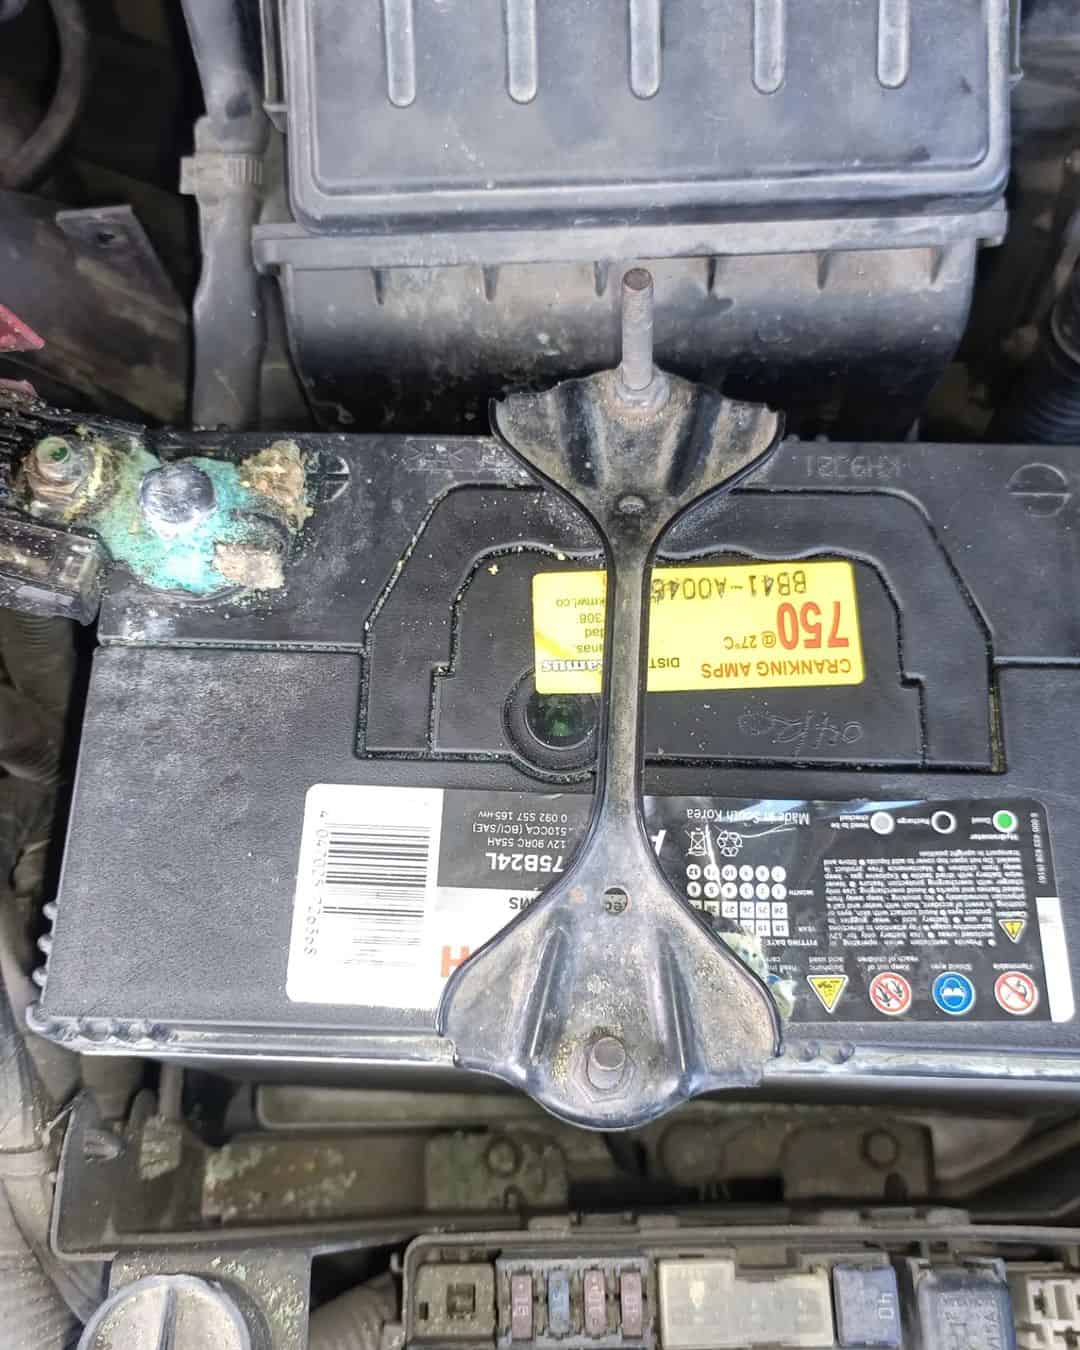
Your battery contact is not the only area susceptible to rust, so should you decide to clean a rusty battery contact, it is better to clean them alongside all the other components that constitute the connection between the battery and the terminals.
In order to maximize conductivity, a seamless connection should exist from the terminal to the clamps, so you should check for any sign of rust here too, and clean or file them as the case may be to ensure proper functionality.
Step 5: Wipe off Rust with a Cleaning Agent
There are several cleaning agents (liquid or spray) for your battery components that you can use to get rid of rust, however, if you do not have one, you have to use home supplies like a mixture of baking soda and hot water, white vinegar or lemon juice to remove the rust.
1. Using a Cleaning Agent
- Carefully apply the battery contact cleaner on the areas with rust on the battery contact
- Allow the cleaner to sink into the components for a couple of minutes
- Scrub out the rust with an old toothbrush or your contact cleaner brush
- Wipe off any excesses using a clean paper tower
- Repeat this process if you are not satisfied with the results
2. Using Baking Soda
- Create a cleaning paste using a mixture of hot water and a small amount of baking soda
- Pour a small amount of this paste on the contact and confirm that it makes a fizzing sound
- Use your toothbrush to scrub the work surface while avoiding any splash
- Using a paper towel, clean your work surface and repeat this process if you desire better results
3. Using White Vinegar:
- Prepare your vinegar solution by pouring 200ml of white vinegar into a plastic bag or disposable container
- Pour more vinegar on this work surface, so vinegar fully covers these components
- Dip the contact into the solution and let it sit in this solution for a while
- Wipe the surface with a damp paper towel
- Air Dry the contacts before reattaching the battery to the terminal
Step 6: Rinse and Dry the Final Contacts
Once you are done with using the available rust-removing agent to get rid of the rust, it is time to completely rinse off any excess cleaning agent or rust particles away from the contact using cool water or wiping with a wet rag.
After rinsing, it is necessary to dry all the components to prevent an electrical hazard. You can use a paper towel, a dry rag, or even an air compressor to dry off the battery contact completely.
Step 7: Apply a Protective Gel
Applying protective gel to the contacts of your battery is crucial; this way you can be sure that you won’t need to worry about corroded battery contacts for some time. Apply a protective gel-like petroleum jelly on the contact to help avoid rust for some time. This will also help with easy reconnection of the battery cables.
Step 8: Reconnect the Battery Cables
Now that you have cleaned your rusty battery contacts, you must reconnect all the cables you took out at the beginning starting with the positive. Use your wrench to fasten the bolt so that it sits in place.
You may now start your car engine using your rust-free battery contacts.
Removing Rust off Electronic Devices
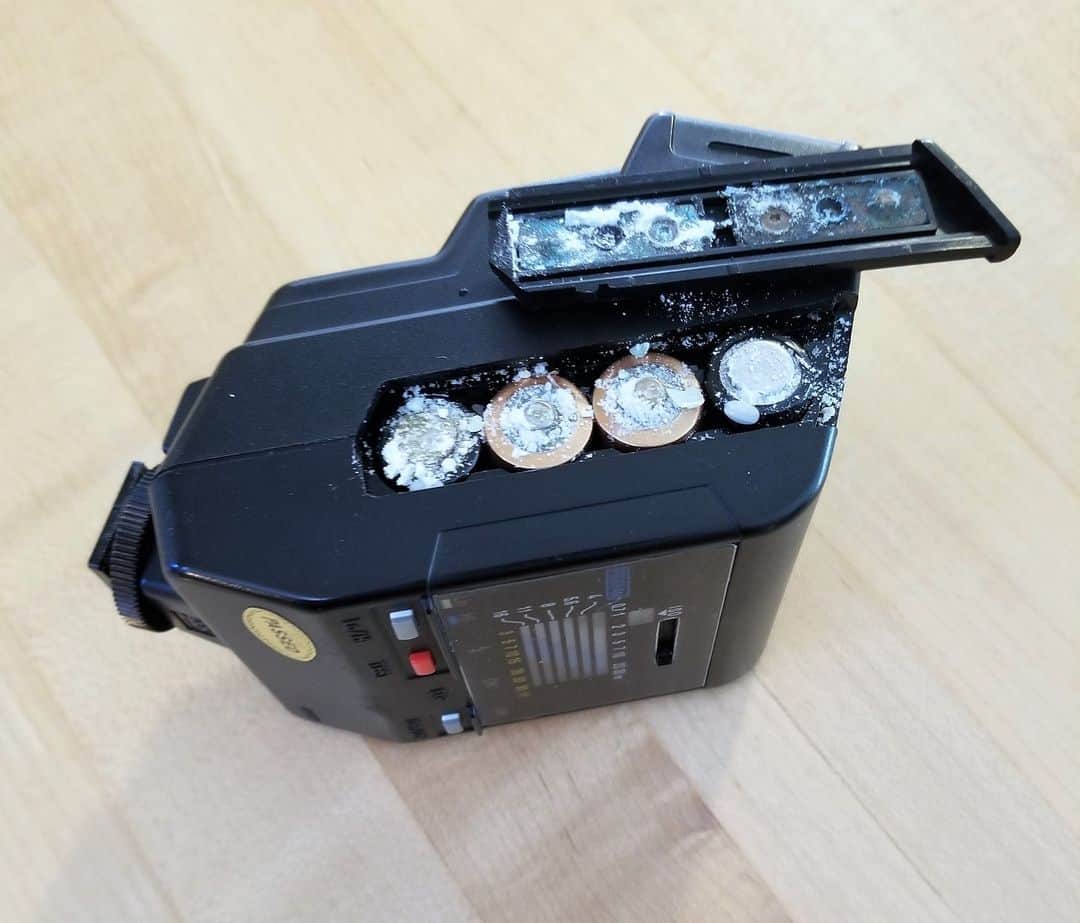
Your car batteries are not the only appliance subject to rust and corrosion. Electronic devices like your tv remote and electric toys are also subject to rust since the battery contacts are metal. Remove rust from these devices with the four easy steps below.
Step 1: Melt Down the Discharge
Using basic household supplies like lemon juice or vinegar, you can melt down the discharge on any battery contact. Ensure that you wear gloves to avoid hazards and remove the batteries to expose the contact.
Using a cotton swab, apply your vinegar or lemon juice directly on the rust, which will help melt down any built-up corrosives. Then, you can wipe it to eliminate residue.
Step 2: Scrub the Contact
When you finish removing the corrosive particles, you should scrub the surface using baking soda. This helps remove any stubborn residue left on the contact as baking soda possesses abrasives.
Additionally, consider using fine-grit sandpaper to fade off this stubborn residue on the device.
Step 3: Allow to Dry
It would be best to let the work surface dry before inserting the batteries back into the terminal. This will help avoid immediate corrosion and damaging the batteries.
Step 4: Install New Batteries
Now that your battery contact is rust-free, you can install the new batteries to restore operation to your electronic device. Confirm this by testing your device to see if it works properly.
Alternatively, you can consider using Isopropyl alcohol through a pencil eraser or toothpick to help reach the more challenging spots.
Final Thoughts
It is vital that you keep all the components in your car battery rust-free and void of corrosion to ensure the proper functionality of your vehicle. If there are any issues with your battery, your engine won’t start, and rust is one major factor that affects a car battery.
Removing rust from your battery contact is relatively easy when you have the required tools, and you can follow the simple steps provided above. Remember to purchase a cleaning agent but if you don’t get one, consider one of the two options below.
- White Vinegar
- Baking soda and hot water mixture