12-volt lights are a great option for running a camp, parade, or exhibition booth. But wiring them to a battery may only be possible with proper planning and technical know-how.
So, we’ve created this guide to walk you through how to wire 12-volt lights to a battery, including all the necessary materials and tools.
But before we get started, here are a few electrical terms you should be familiar with:
- Voltage: This is just how strong the electricity the battery supplies is, usually measured in volts. Electricity is all about the flow of electrons, so the higher the voltage, the stronger the stream.
- Current: This is the amount of electricity a battery can provide you at a given time. see it like the width of a river. A wider river will be able to accommodate more flow. Similarly, a larger battery can power more things at once. A current is measured in Amperes.
- Capacity: This is how long a battery may last, and its usually measured in Ampere hours (AH).
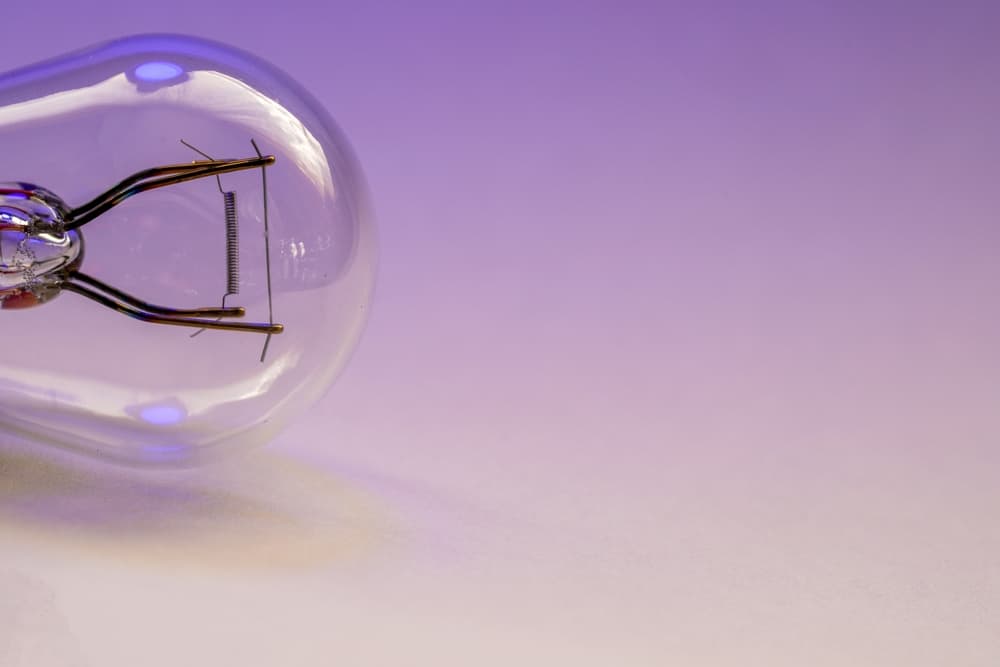
- LED Lights: LED means light emitting diode. LED lights are low-voltage, energy-efficient lights that use very little energy to produce light rather than heat, like traditional light bulbs. Although a battery can power any type of light bulb, LED lights are the best to connect to a battery because they are more energy efficient and will keep the battery running for longer.
Table of Contents
Wiring a 12v Light To A Battery in 10 Steps
Materials and Tools Needed
- Solid core 18-gauge wire
- Inline fuse
- Fuse holder
- Stripping tool
- Pliers
- Electrical tape
- Screwdriver
Step 1: Select the Battery
This is the foundation of your setup, so you must get it right. A battery with too low a voltage won’t generate enough current for the bulb to light up. And, if you have a battery with too high a voltage, the current will be too strong, leading to the bulb potentially overheating and becoming damaged.
The standard battery size to power your 12-volt lights is a 12V battery or a combination of batteries capable of producing a 12V current.
Step 2: Choose a Location for the Battery and Lights
When connecting lights for a camp or booth in your backyard, most of us like to hang the wires and lights on trees and patios. That’s absolutely fine, but ensure that the wires are securely attached so that the lights do not fall off. Also, the battery should be kept in a protected location, away from harsh weather or water.
Step 3: Plan the Circuit
After deciding on a location for your light and battery, you must plan the circuit. This includes determining the number of light bulbs required, the distance between each light, the location of the fuse and fuse holder, and the length of wire that is appropriate for your needs.
Since you’ll be cutting and trimming the wires, ensure to get more than the measured length. For instance, if you measured 10 feet of wiring, you should get around 15 feet of wire.
Step 4: Cut and Strip the Wires
Start by cutting the wires to the necessary distance between each fuse. Then, cut off the edges of each wire with a wrench or wire stripper to remove the rubber covering and expose the copper.
Step 5: Connect the Wires to the Battery terminal pins
Once the wires have been cut to the desired length, connect them to the battery by slipping the first set of wires through the holes of the battery and the terminal pins at one end.
Check that the wires are properly connected, with the positive lead connected to the battery’s positive terminal and the negative lead connected to the battery’s negative terminal. After you’ve pulled the wires through, use pliers to tighten them down.
Step 6: Connect the Wires to the fuse and fuse box
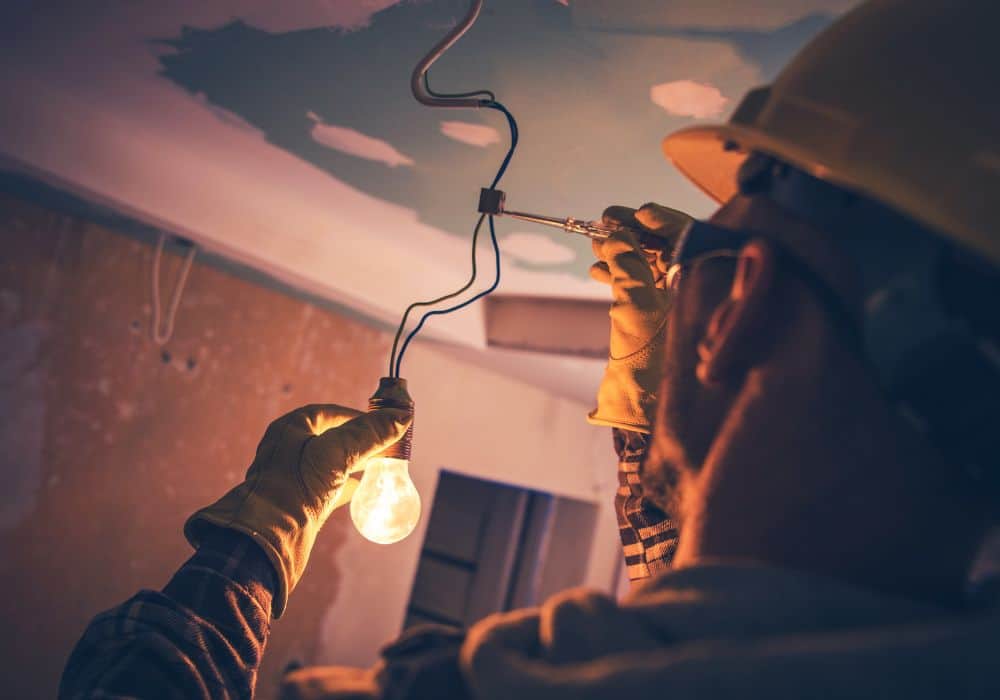
The in-line fuse is a critical component of your connection. It acts as a circuit breaker, protecting your circuit and wiring lines from damage in the event of a short. Simply connect the other ends of the wires to the fuse’s holes to install the in-line fuse. Then, install the fuse box next to the battery to secure the inline fuse.
Step 7: Connect the Lights to the Cable
The next step is to install your lights. Connect one end of the light to your cable. Then, use pliers to tighten the connections and wrap them in electrical tape to keep moisture and corrosion away.
Step 8: Test your Connection
When the wiring is completed, connect another cable to the opposite end of each light you’ve connected and to your battery. You should see a steady light on each cable if everything is functioning properly. Double-check the connections and try the steps again if they don’t work.

Step 9: Connect More Wires
Once you’ve confirmed that your lights are working independently, you can now proceed to join the rest of your wires into a single circuit. Simply connect the positive (red) wires and all the negative (black) wires in parallel. Then connect the last set of wires on the line to the in-line fuse.
Step 10: Turn your light on
Now that everything is up and running, you can turn on the switch to enjoy your lighting.
Factors That Determine How Many 12V Lights Your Battery Can Power
1. Size of Battery
The larger the battery’s capacity, the more lights it can power. For example, a standard 12V lead-acid battery with a capacity of 100Ah (Amp-hours) can power 800-watt lights for 1 hour.
2. Wattage of Light
The wattage of the light is the amount of energy it takes to produce a certain amount of light. On average, a single battery with 12 volts would power up ten (10) 12V lights of 60 watts for 1 hour.
3. Duration of Use
If you want to use the lights for a longer period or wish to connect the lights permanently to the battery, you will need a higher-capacity battery. However, you can also use multiple batteries connected in parallel to increase the system’s overall capacity.
What kind of Battery Should You Use To Power 12-volt Lights?

Here are some types of batteries we recommend;
1. Old Car Battery
Most car batteries produce 12 volts and generate enough energy to power your lights. Even if your battery no longer starts your car, charge it for about 12 hours, and it will be ready to power your light for days.
2. Rechargeable Batteries
Rechargeable batteries may seem more expensive initially, but it is a cost-effective method to power your 12v lights in the long run. However, depending on their capacity, you may need more than one rechargeable battery.
To use two or more rechargeable batteries,
- Cut a 3 or 4-inch strip of wire and remove about an inch of insulation from both ends of the wire with a wire stripper or a knife.
- Then, wrap one end of the wire around the “+” terminal of one of the batteries and secure it with electrical tape. Next, place the opposite end on the “-” terminal of the second battery and secure it with tape.
3. 9 Volt Battery
They are small rectangular batteries found in most smoke detectors. However, compared to other options, they can only power a limited number of 12v lights and will only last for a short time. Also, this battery will not produce very low light. But it is the least expensive option on our list.
Benefits of Connecting 12 Volt Lights to a Battery
Connecting 12-volt lights to a battery has several advantages;
- It is a simple solution for various applications such as camping, boating, holiday, party, and emergency lighting.
- A 12-volt battery has a low voltage making it a safe option to power 12v lights.
- It is cost-effective, as no regular electricity bills are required, only the cost of battery replacement.
- It is an environmentally friendly option as it uses less power than traditional lighting systems.
- It is flexible and portable, allowing you to move the lights wherever you need them without worrying about finding a power outlet.
- The lights are simple to connect, making them ideal for off-grid locations.
Conclusion
Connecting your 12-volt lights to a battery is a wise choice if you want an efficient, convenient, and safe lighting solution. As long as you follow the right steps outlined, the process may be easier than you might have thought.
However, there are two major things to remember.
- Ensure you select the appropriate battery and keep them charged and properly stored.
- Test the lights after installation before using them to avoid wiring issues or total damage to your lights or battery.
If you have any further questions on the wiring process, please comment below, and we’ll do our best to reply as soon as possible.