
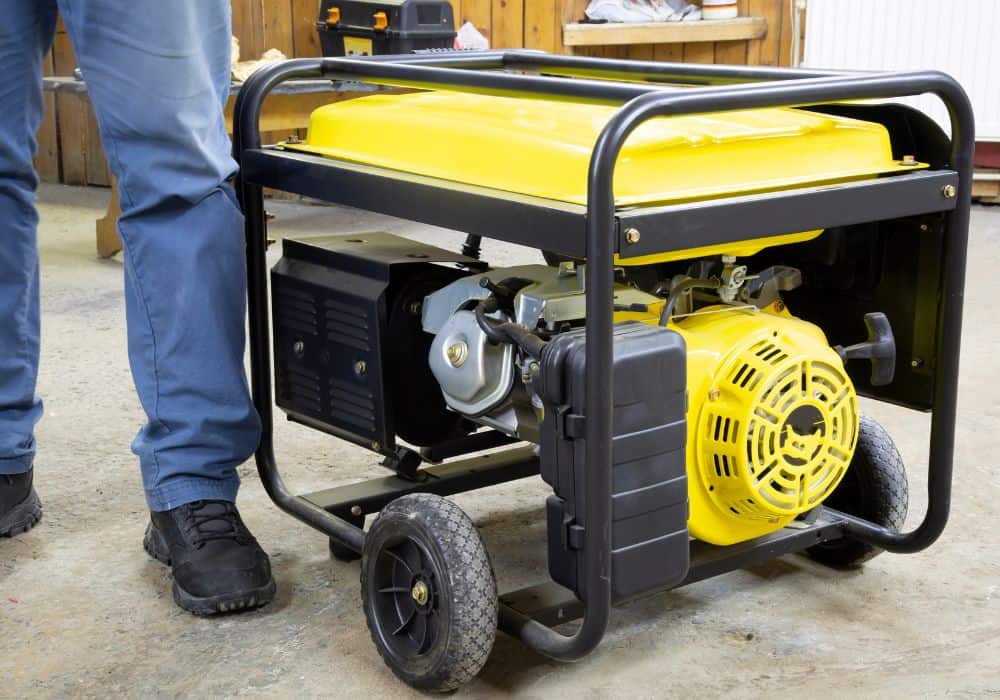
If you have a generator, part of your maintenance should be keeping up the residual magnetism that helps it power things you need to have power. This is a process called “flashing” the generator, and it’s something you should do whenever the output is lost.
Most of the time, this is done as a way to fix a loss of magnetism that’s required to make electricity. But, how do you do it? If you want to restore power and keep your generator useful, you will read the rest of this article. It’s easier than you think.
Tools needed
- A voltmeter
- Oil
- A generator
- 12-Volt battery (like a car battery)
- A small lamp
Step-by-step instructions
Now that we’ve talked a little bit about how this resets the magnetic field and acts as a “hard reset” for your generator, let’s show you how to flash your generator.
Step1: Start by measuring the oil level in your generator
Technically, this is not a part of flashing a generator, but it’s just good form.
This could be why your generator isn’t running or why your voltage is low. Besides, it also is a smart thing to do if you haven’t been using that generator very often and aren’t sure whether it has been maintained well.
Use the generator’s dipstick to measure whether you need oil. If you’re low on oil, add a little more. This will help your motor run better and also will prevent you from burning out your generator.
Step 2: Find the voltage regulator on your battery
Your voltage regulator is typically found near the bottom of the generator, near the generator head. You will see two wires attached to it, a red one and a black one. These are the exciter leads, the F+ lead and F- lead.
Step 3: Disconnect the wires from the generator brush head
Yep. Manually disconnect the exciter leads. Using a multimeter, measure the excitation field resistance from the F+ lead all the way to the F- lead. A continuous winding will show some resistance, which suggests that your wires are healthy-ish.
Make sure there are no wires connecting to grounding elements as this can cause incorrect readings from your meter. If your voltmeter currently reads 0, then it you have an open circuit. If your meter reads infinite, then there is a blockage and your current stops flowing.
Step 4: Associate your F+ to the 12-volt battery
It’s time to get those volts on! Connect the F+ lead to the positive pole of the battery. Use a little caution that you’re not connecting the F- to the battery too, as this can cause problems.
While almost all positive wires are going to be red wires or red cables, negative wires can be either black or white. So, if you don’t see a black cable, don’t panic. It could just be that white wire.
Step 5: Grab the F- from the generator and briefly tap it to the negative pole of the battery
Do not connect the F-! Just a brief contact of three to five seconds is enough. Always hold the F- wire by the insulated portion of the lead wire, never the bare portion.
If you notice an arc of electricity, disconnect the wire immediately. This means that there is now electricity coursing through the circuit and that you should be good to go.
Pro Tip: If you are worried about getting shocked, wear some grounding gloves when you do this step. Remember to use caution, as you’re holding a live wire that has 120 volts coursing through it right now.
Step 6: Attach the F+ and F- leads back to the generator
Disconnect the battery from your generator and bring the wires back into the generator’s setup. Now is the time to get ready to see if your generator is properly prepped for some real work.
Get another reading with your meter to see if your generator exciter field has started to show resistance. Make sure to only use one of the points to read the resistance and to avoid touching the open end. You can shock yourself pretty badly this way!
You can also use a voltmeter to read how many volts your generator was able to make. This can help you plan out appliance usage in the event of a blackout.
Step 7: Put your generator on ready mode and see if the lamp turns on
Plug in the lamp, turn on the generator breaker, and start the motor.
This will allow you to get a voltage buildup going and determine if your generator is actually generating power. If your home generator is powering the lamp, the lamp will turn on.
If the generator can give power to your lamp without the use of the 12-volt battery, it’s in good working order and the magnetism has been restored. You should be good to go.
Step 8: If this didn’t work, try again
It may take a couple of tries to combat the loss of residual magnetism in some generators. This is doubly true if the generator in question has bad brushes or otherwise needs attention.
If you have multiple attempts at flashing a generator without any kind of luck, your generator may have a problem with its wiring. A generator that won’t start or seems to be acting up should be replaced or taken to a repair shop.
Step 9: Once the generator has started to produce power, let the generator run for five minutes or so
The magnetism in your generator will need some time to grow fully. It’s kind of like a warm-up. A loss of excitation can occur if you immediately shut the generator off once you see that light bulb trigger.
While that loss may not entirely cause another sudden shutdown, it still may stress the circuit and cause you to flash the generator again soon enough.
Additional tips and tricks
If you have a generator that is struggling to provide power, flashing it can work. However, there are always a couple of tips you should know when doing this:
- Using any kind of appliance with a light bulb is the easiest way to see if your generator’s working well after a flash. If you are low on lamps, you can still use something like a radio. As long as you have something that very clearly lights up or runs noticeably, you should be good to go.
- It’s important to know that bad magnetism isn’t the only reason why your generator could fail. Broken generator brushes and poorly maintained motors can also cause you to have a frizzy generator. On a similar note, you may want to check your capacitors, too.
- Poor connections still need to be fixed in order to have a usable generator. If your generator has poor polarity of the field winding or a melted wire, you have to fix that. You can use a multimeter to check where the connections have failed.
- Flashing your generator is still way smarter than using a corded drill to kickstart it. You may have heard of people using drills to get your excitation circuit going. This doesn’t always work. It’s always better to assume a battery will be the easier and safer method.
- You can prevent having to flash your generator by using it regularly. If you don’t like the idea of having to tap a “jumper wire” to anything or use a meter on your generator, use your generator regularly. A loss of magnetism from a lack of use is the most common reason why you need to do this.
- Many home generator user manuals will have a guide on how to flash your generator. If you have a generator that you’re new to using, it’s okay to read the user guide. Most of them have instructions on how to flash your specific generator model.
- Improper operation of a generator can void a warranty, so make sure to follow the instructions you’re given in a manual, if you are given them. Generator warranties can save you hundreds of dollars if a generator doesn’t properly function. Make sure to read them and follow the instructions!
In conclusion
If you have to flash your generator, don’t panic. It’s actually an easy process that involves a little bit of work and careful measuring. As long as you take the time to practice electricity safety, flashing your generator shouldn’t be a major ordeal.
It only should take a couple of tries before you get your appliances running. Should you notice that your generator just isn’t sparking, it may be time to see if something needs a major repair.