
The relay is an integral component of many automotive and electronic systems, used as switches to control power flow or as sensors that detect electrical signals. Testing a relay requires a simple method to determine if it’s working correctly. With just a few essential tools, you can test a relay to ensure it’s functioning correctly.
This article will explain how to test a relay with a battery and provide troubleshooting tips for common problems.
Table of Contents
What Is a Relay, and How Does it Work?
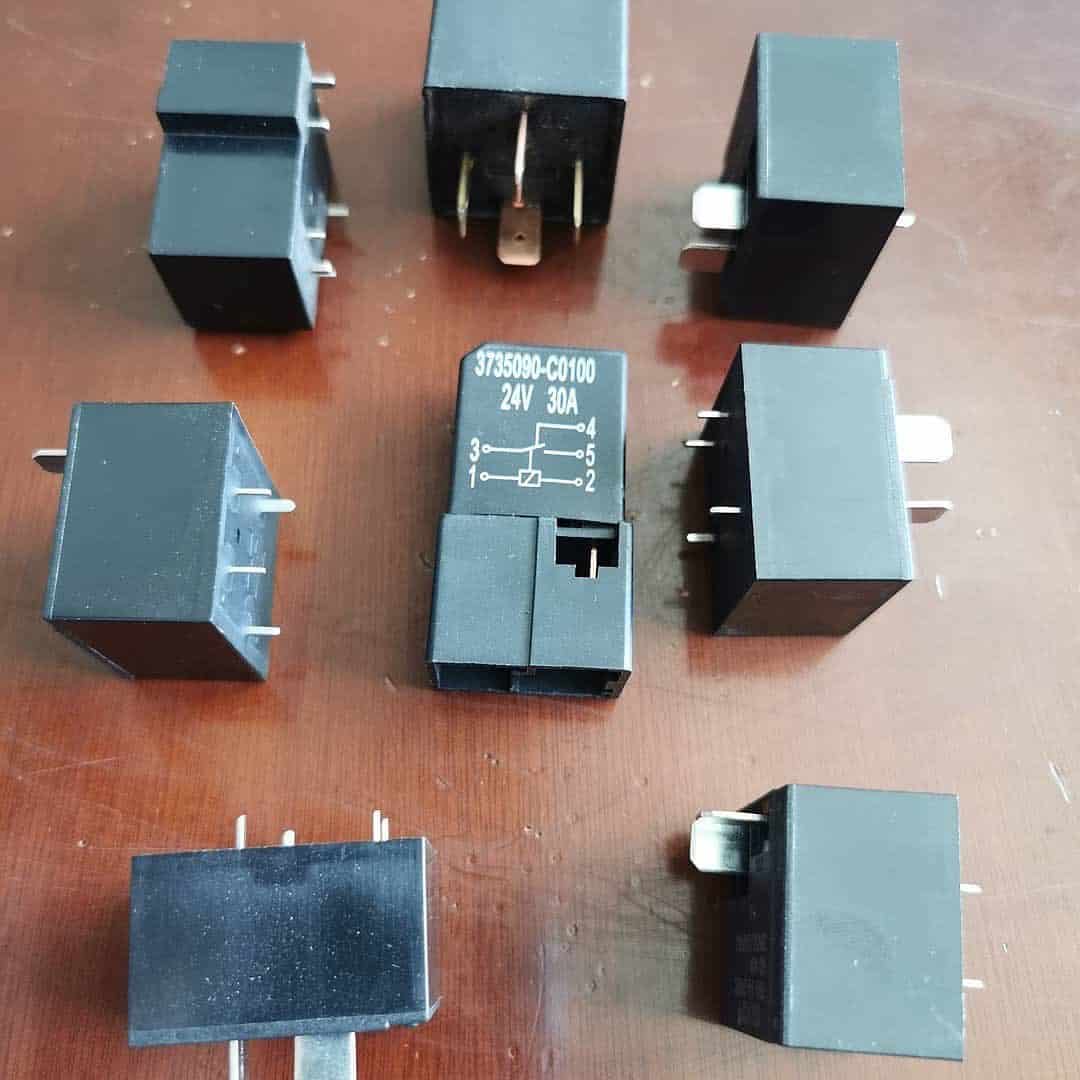
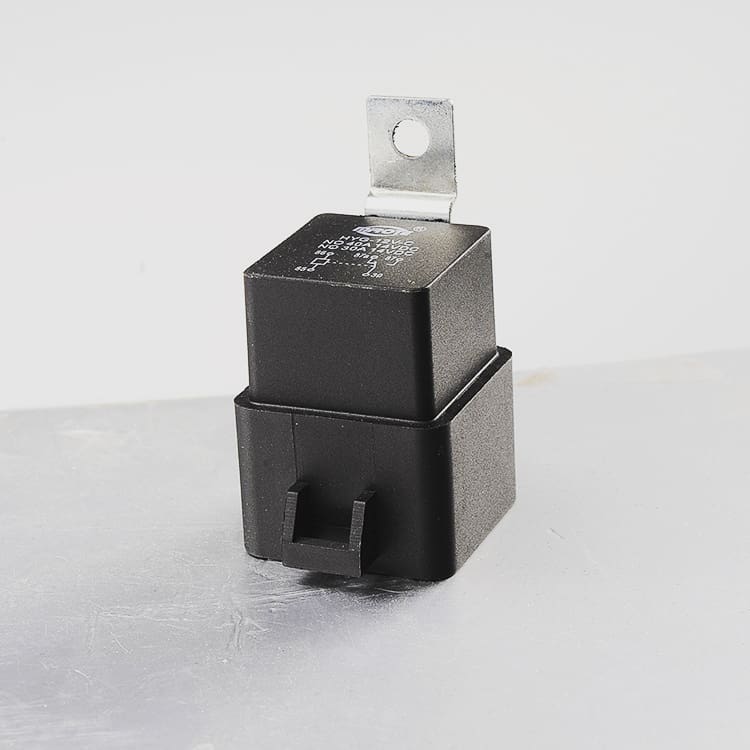
A relay is an electrically operated switch that opens and closes circuits. It can control various electrical devices, from headlights to wiper blades. The main components of most relays are a voltage coil; terminals for connecting wires; pins for the contacts; and one or more switches.
When a current is applied to the voltage coil, it generates a magnetic field that moves an armature. This movement opens or closes the contact between two terminals, creating or breaking a circuit. Depending on how the relay is wired up, this action can control AC (alternating current) or DC (direct current) devices.
Another type of relay is called a solid state relay, or SSR. These are usually used in applications that require high amperage or voltage, as they can handle larger currents and voltages than electromechanical relays. They work differently from standard relays and don’t have moving parts – instead, they use semiconductors to control the wind.
Why Test a Relay with a Battery?
Testing relays with a battery is an essential part of troubleshooting and maintenance. It can help you identify the cause of a problem, such as a faulty relay or damaged wiring. It’s also helpful in verifying that your circuit is working correctly before connecting it to other components.
Relay testing with batteries involves applying a voltage directly to the relay. This allows you to check that the relay is working correctly and identify any issues, such as faulty contact or incorrect wiring.
Step-by-Step Guide for Testing a Relay with a Battery
Tools and Materials Needed for Testing a Relay with a Battery
You will need essential electrical equipment to test your relay with a battery. These include:
- Alligator clips: these clips are connected to jumper wires to securely attach components in a circuit.
- Jumper wires: these are pieces of insulated wire with alligator clips attached to each end. They are used for connecting components in a circuit.
- Test light: an electric lamp that can check whether current passes through a wire or component.
- Ohmmeter: this device measures resistance in ohms and can help you identify faulty relays and other electrical components.
- Digital multimeter: a versatile device that can measure both resistance and voltage. It is more accurate than an ohmmeter and can detect even the slightest changes in voltage or current.
- Replacement relay: in some cases, replacing the faulty relay with a new one may be necessary.
- Service manual: contains information about the car’s relay and a wiring diagram to help you understand how the relay is wired up.
- You will also need a supply power to power the circuit while testing it.
Step 1: Preparing Your Relay
Before testing your relay with a battery, ensure it is appropriately set up. If any pins or terminals are missing, you won’t be able to complete the test. Make sure all of the necessary parts are present and correctly connected.
- Disconnect the battery from the car to ensure no power is going to the circuit.
- Remove the relay from its mounting bracket and check for any physical damage, such as corroded contacts or broken pins.
- Inspect all of the coil terminals and ensure they are in good condition.
- Check the service manual for information about the car’s relay, including its resistance and voltage ratings.
- Connect the jumper wires to the relay terminals, ensuring they are securely connected.
Step 2: Connect Your Ohmmeter or Multimeter to the Terminals
To test the relay, you will need to determine the coil requirements. The coil’s resistance should be within the range specified in the service manual or on the relay itself. If it is not, there may be an issue with the relay.
Set your meter to its continuity mode and connect its probes to both terminals of the relay’s coil. Make sure that they are firmly connected before proceeding.
Step 3: Check for Continuity
When you have connected your device, use it to check for continuity between each terminal. You should be able to detect a slight electrical current running between the contacts when they are closed.
If no current is detected, this could indicate a problem with the relay’s connections or contacts.
Step 4: Energize the Electromagnet Coil
To energize the relay’s coil, you can use a 9-12V battery. Connect one end of the positive lead to one terminal and then connect the other end to the other terminal.
This will cause a clicking sound as the electromagnet coil is energized and closes the switch.
Step 5: Test the Switch for the Correct Resistance
With the relay still energized, you can use a test light to measure the voltage across the switch pins. The reading should match the battery voltage. If it does not, this could indicate an issue with the contacts or connections.
You can also check for correct resistance by setting your multimeter to ohms mode before measuring across each switch terminal. A normally energized open relay should read close to zero ohms, while a normally closed relay will typically measure open or OL.
Step 6: Check Pin Relay
If you are testing a pin relay, ensure you know which terminals will receive power when connecting a device such as this.
This can be determined by referring to your device’s wiring diagram or the service manual for more information.
If all looks good, you should be able to detect a clicking sound when energizing a relay’s coil and observe that the headlights, wipers, horns, and other components are functioning correctly when power is supplied.
Step 7: Perform Safety Checks
Lastly, before testing relays or electrical components on a vehicle, you must know all safety measures to avoid injury or damage.
Make sure you have disconnected the battery from power sources, such as the ignition key and starter motor, before beginning work on any system containing sensitive circuits.
Troubleshoot Common Issues
Once you have completed the tests on the relay, you can use the results to help troubleshoot any potential issues. If the relay does not energize when supplied with power, check for corroded or damaged connections in the battery circuit.
Check for continuity across all relay coil terminals; if there is no power, you may need to trace back and determine why there is no power being supplied. Before testing again, you should also check that all connections are secure and that any corroded pins or contacts are adequately cleaned.
Sometimes, a faulty relay can be replaced with an identical one to bypass potential wiring problems.
Remember that when dealing with electrical components such as relays, it is often best practice to consult a technician with experience in this field.
Relay Safety Tips
Safety is of utmost importance when working with relays. It’s significant to remember that electricity can be hazardous and should always be treated with caution.
- Before tampering with any electrical components, ensure you are in a safe, well-ventilated space free of flammable or explosive gasses like gasoline.
- Please do not attempt to modify the relay in any way, as it could create a short circuit and cause damage to the vehicle’s electrical system.
- Be careful when handling the relay – dropping it can lead to internal damage, impairing its operation.
- Inspect the control circuit and ignition switch wiring to ensure no broken or loose wires could cause a fire hazard.
- Examine the relay’s coil and NC terminals for signs of corrosion or other physical damage. If any of these components have been damaged, they should be replaced before attempting to use them again.
- Be aware that if any open contacts exist in either terminal, electrical conduction will not occur properly, resulting in the malfunctioning of the relay system.
- Never bypass a relay system, and avoid any tampering with the fuse box or wiring.
- Never attempt to replace a relay with a different type or size, as this could create an unsafe situation.
- Never leave the battery connected while testing the relay, as this could cause a short circuit and damage the vehicle’s electrical system.
- Finally, double-check your work before connecting the relay to the battery power to prevent further damage.
Safety should always be the priority when dealing with relays and electrical components. By following these tips, you can ensure that your relay tests are effective and safe.
Final Thoughts
Working with electrical components such as relays can be a tricky process. It is imperative that all safety measures are taken and that any potential issues are troubleshot to operate your vehicle’s system safely.
By following these steps, you should be able to get the maximum performance out of your relay system and stay safe while doing so! If you feel uncomfortable working on the relay yourself, it is highly recommended that you seek help from a professional technician with experience.
Be sure to follow the manufacturer’s instructions for installation and use and proper care and maintenance guidelines for optimal results.