Do you know what batteries the Oculus Quest 2 Controllers use or how to change them?
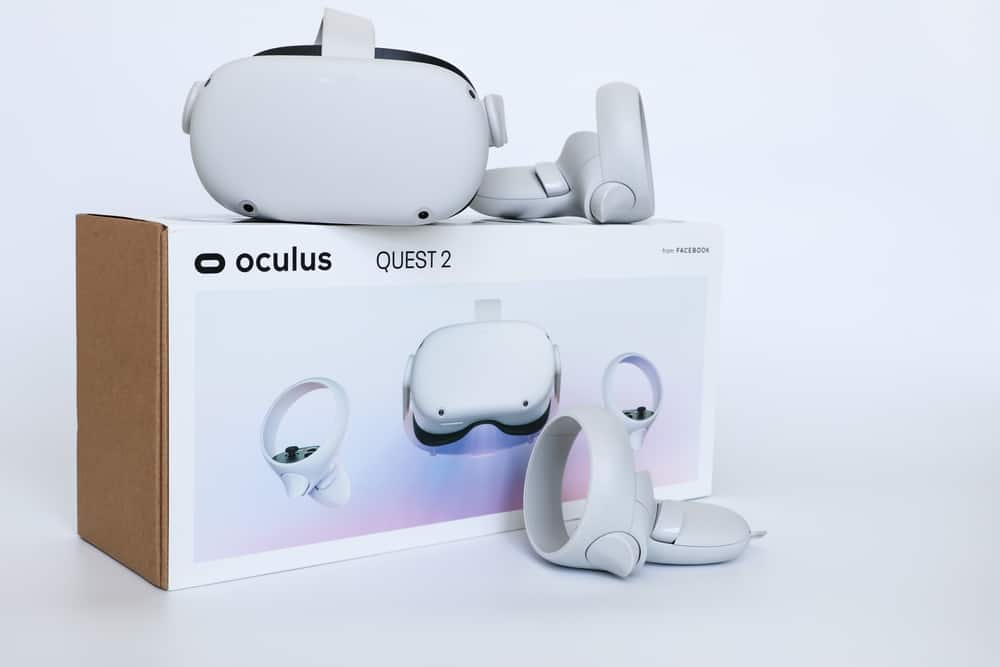
Launched in October 2020, the Quest 2 by Oculus is arguably the most recognized VR headset.
It stands out because it’s an all-in-one unit. That means it allows you to run your favorite VR games without needing to connect to a PC or console for power.
What’s more, it’s backed up by META, previously known as Facebook.
But despite its simple design, we’ve seen many consumers Googling “how to change the battery in Oculus Quest 2 Controller?
If you’re one of them, we are glad you landed on this page.
By the end of this piece, you will know the batteries you can use for your Oculus Quest 2 controllers and how to swap them once they’re out of juice.
Table of Contents
What Type of Batteries Does Oculus Quest 2 Controller Use?

The Oculus Quest 2 headset comes with a rechargeable lithium-ion battery. That means you can recharge it via a USB-C cable once it runs out of charge.
But keep in mind rechargeable built-in batteries are susceptible to power issues. And sometimes, only the manufacturer can replace them.
That said, Oculus Quest 2 controllers run on the humble AA batteries used in nearly everything from wall clocks to grooming gadgets. Every controller features a single AA battery.
The double AAs battery often drains quickly, especially if you forget to turn off the headset after playing. Because of this, it’s always wise to have a replacement battery for each controller.
You don’t have to shop for a particular brand of batteries, any brand will work. However, it’s best to invest in rechargeable AA batteries. Although they might seem pricey, it’s a worthy investment in the long run. You won’t have to buy new batteries every time they run out of juice.
Furthermore, these batteries are leak resistant to protect your controllers and can store power for approximately 10 years. Besides that, rechargeable batteries protect the environment because they replace thousands of single-use batteries.
We recommend you buy two sets. This way, one set is always charged and ready to go any time you desire to play Supernatural or Walking Dead.
Changing Oculus Quest 2 Controller Battery
Now let’s look at how you can swap Oculus Quest 2 controllers’ Alkaline batteries with new disposable or rechargeable batteries. But before that, you need to open a Quest 2 Controller.
1. How to Open Oculus Controller?

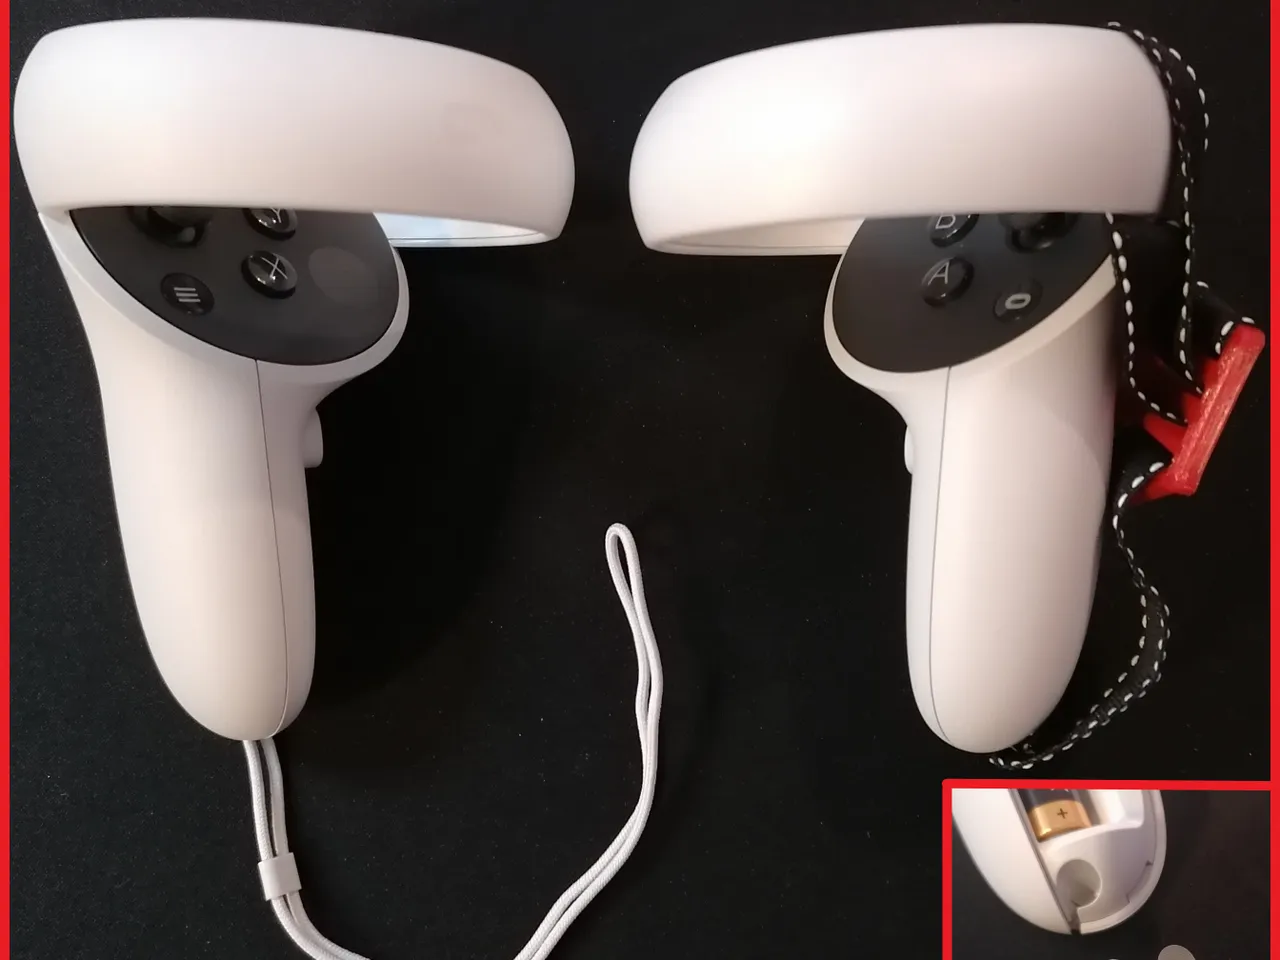
Many users find it challenging to change the Oculus controller battery since they can’t locate the battery compartment. It’s usually hidden in the palm grip of the controllers.
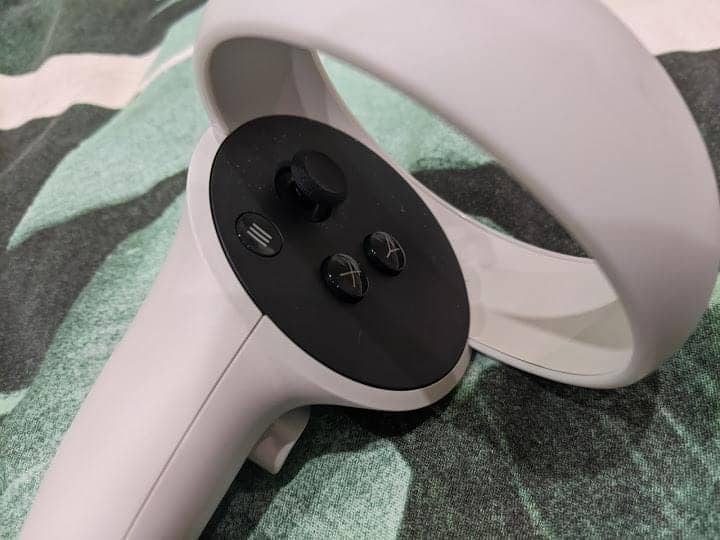
To locate it, look for a small eject icon or arrow on each controller grip. Since the symbols are vague, it might take some time before you can unearth them. It’s okay if you don’t find it.
On the Quest 2 controllers’, the battery compartment is positioned on the bottom half of the device under the joystick. If you pay more attention, you will observe a line on the controller that looks like a gap (it is). The battery cover is on the left half of each controller’s grip.
Removing the plastic cover is not a straightforward procedure. While in some controllers the plate might give in easily, others might require a fair bit of force. But avoid applying too much pressure because the cover could break.
The steps below will help you open the battery compartment in your Quest 2 controllers:
Step 1: Grab your controller and hold it in any of your hands and find the release or eject button
Step 2: Place the release button up and away from you and use your thumb to press on it gently
Step 3: The plastic cover will slide away and expose the single AA battery
If the battery compartment is difficult to open with your hands, bring in the big guns. Get a kitchen knife or a flathead screwdriver, insert it in the gap and force the battery cover to open. But don’t use too much force. Alternatively, can also shimmy the screwdriver around to loosen the grip, until the compartment pop-open
2. How to Change Oculus Controller Batteries: Step-by-Step Process?
The steps below will help you replace the old or dead disposable cells in your controller with new ones.
Step 1: Locate the small eject symbol on the Quest 2 controllers and gently slide the controller’s battery cover using your thumb
Step 2: Remove the lid to access the battery compartment
Step3: Remove the old battery and insert the replacement
Step 4: Slide back the battery cover over the opening until it closes
If you follow these instructions, you should successfully change your controller battery.
How To Charge Your Oculus Quest 2 Controllers
As mentioned above, the Quest 2 controllers don’t run on built-in batteries. Instead, they depend on AA batteries. As such, you cannot charge them, at least not in a conventional way.
Luckily, a charging dock can address this problem. But remember, the controllers come with disposable Alkaline AA batteries. Therefore, you need to purchase rechargeable AA batteries that can work with the station.
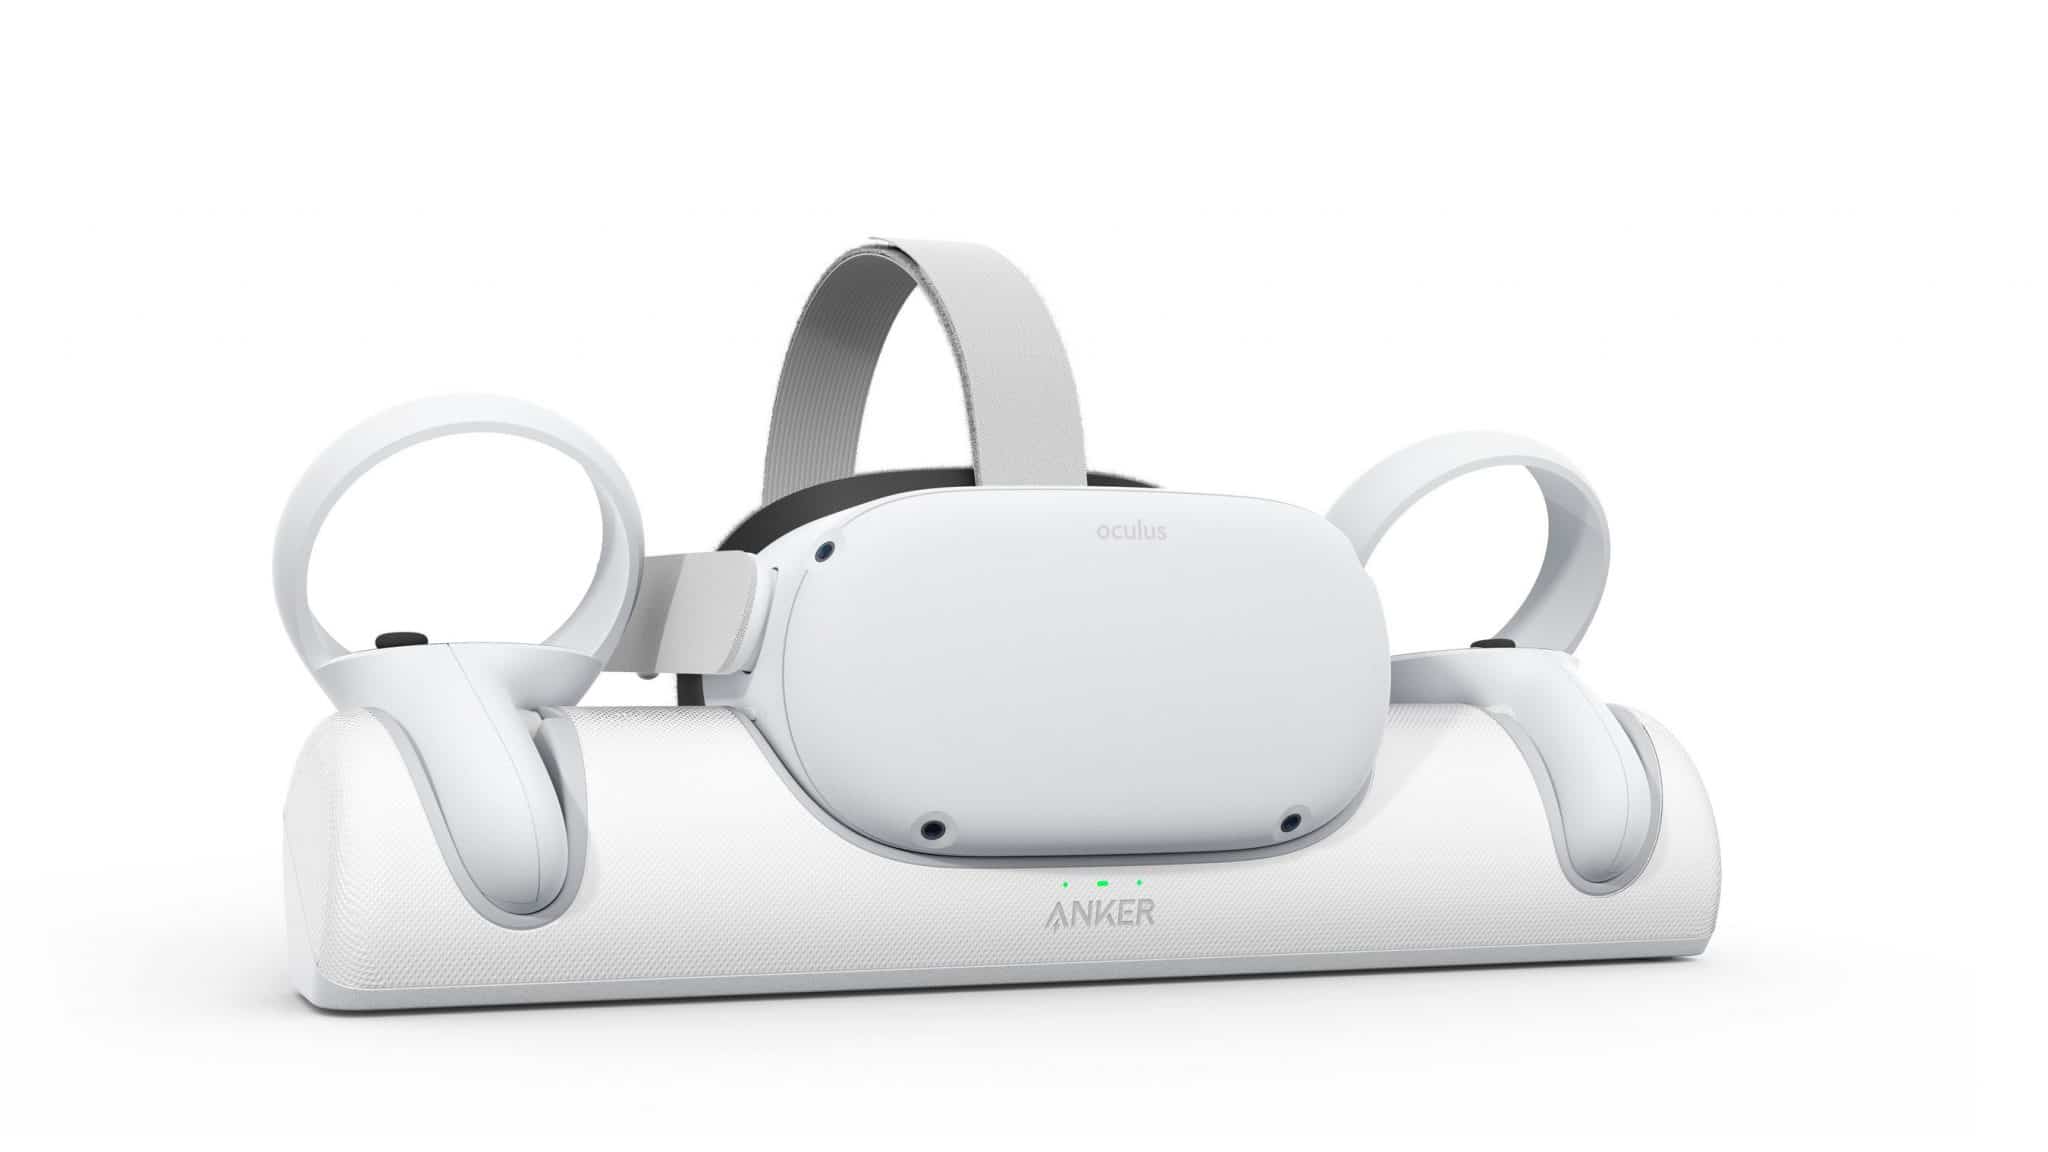
The ideal option for charging your Oculus Quest 2 controllers’ batteries is the Anker charging dock. Approved and licensed by Meta, this functional station allows for hassle-free charging of the VR headset and controllers.
What’s interesting, the station features rechargeable batteries and battery covers for wireless charging. All you have to do is dock your controllers and the batteries will juice up. You can get the Anker Quest 2 Charging Dock from amazon.
For the best experience, pair the Anker Charging Station with BeswinVR controller grips. They have a magnetic charging port that allows you to charge the batteries via a USB cable.
Using Anker Charging Dock to Charger Oculus Quest 2 Controllers

If you plan to swap the old batteries in your controllers with new rechargeable batteries, the steps below will help you.
Step 1: Find the “eject” icon and gently push the battery compartment cover
Step 2: Remove the old Alkaline cell and replace them with new-rechargeable cells that come with the Anker Charging Dock or batteries that work with the dock
Step 3: Slip back the battery cover over the compartment until it closes
Step 4: Place your VR headsets along with the Quest 2 controller on the charging station
If the battery is charging, the green light on the dock will flash. But when the orange light flashes, it means your controllers are not charging.
This can happen when the rechargeable cells are not compatible with the charging station. Other causes of the charging problem include:
- The charger detects a charge of less than 15 W
- Dirty charging station–Clean the dock with a dry cloth and alcohol.
- High temperature–Disconnect the controller from the station and wait for at least 5 to 10 minutes before charging them again.
- Cells not installed correctly or improper placement of the controllers on the dock
Checking Oculus Quest 2 Controller Battery Level
The Oculus Quest 2 controllers can maintain their charge for an extended period. However, it’s wise to keep track of their battery level to avoid running out of charge mid-game. Here’s how you can confirm your controller’s battery level.
Step 1: On the Quest 2 Home Screen, locate the menu or press the Oculus button to bring it up
Step 2: Head to the battery section
Step 3: Verify the battery level of the controllers (the menu bar will show you how much charge remains on both the right and left controllers) as well as the VR headset.
However, it’s hard to determine the exact charge levels for degraded cells. Additionally, if you’re using rechargeable AA batteries but they’re showing extremely low charge levels, it’s time to get them replaced.
Frequently Asked Questions
1. Does Oculus Quest 2 run out of battery?
Yes! The Oculus Quest 2 VR headset comes with a built-in rechargeable battery that drains with every use. While the integrated battery has an excellent life, it will run out at some point. Fortunately, you can recharge it through a USB cable. As for the controllers, they have disposable batteries. Unlike rechargeable in-built batteries, these drain faster. Because of this, it’s important to have replacement batteries in the house or opt for rechargeable batteries.
2. What is Quest 2 Controller battery Life?
It’s hard to determine Oculus Quest 2 controller battery life. Because it varies depending on the quality of the batteries and usage. Nevertheless, expect the batteries, whether disposable or rechargeable, to retain 70 to 80 percent of their charge even after using them for weeks. Therefore, you might enjoy up to 50 hours of playtime with your controller’s battery.
Conclusion
That’s pretty much everything you need to know about changing the Oculus Quest 2 Controller battery. If you don’t want to buy disposable batteries every time, consider buying rechargeable cells. They are cost-saving, effective, and run for longer hours.
However, you must invest in a charging station to charge the batteries when they run out of charge.
With this knowledge, we hope you can have an enjoyable experience without worrying about how to change your device’s battery.
Do you still have an issue replacing your controller’s battery? Ask your questions in the comment section.
