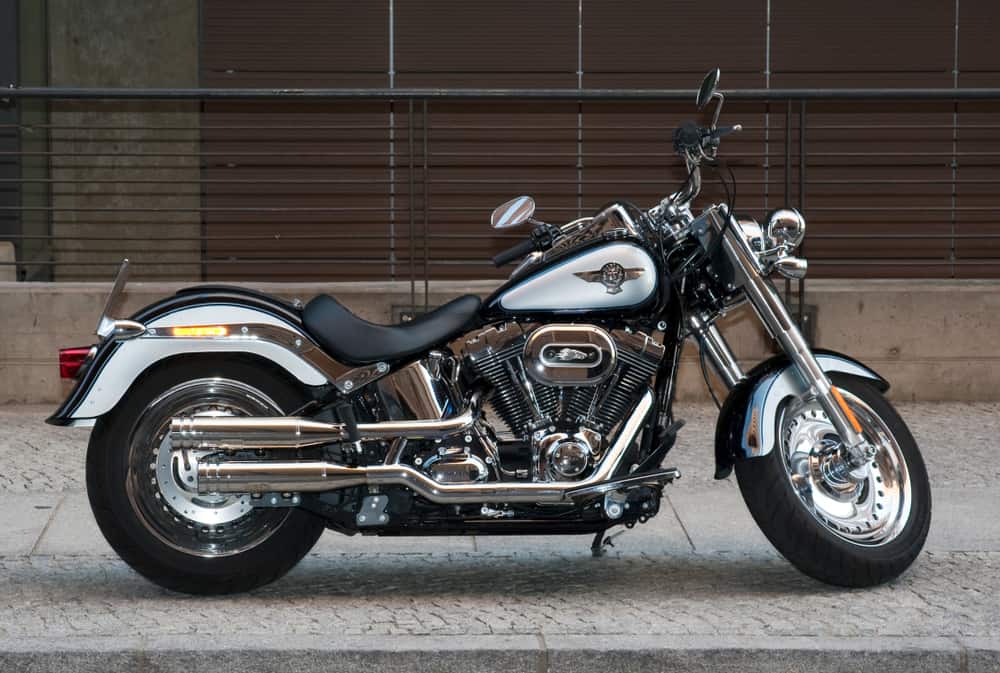
Riding a Harley Davidson motorcycle has always been a symbol of freedom and adventure. But have you ever experienced being stranded on a motorcycle with a dead battery in the middle of the road? It’s a frustrating experience that can ruin a perfectly good day and bring your adventures to a halt.
Keeping your battery charged and in good condition is a crucial aspect of motorcycle maintenance. In this article, we’ll go over the steps to properly charge your Harley Davidson motorcycle battery, so you can avoid any future dead battery situations and get back to hitting the open road.
Table of Contents
Harley Davidson Battery Charging Instructions
Step 1: Understanding your Harley Davidson motorcycle Battery
Before you start charging your Harley Davidson battery, it’s essential to understand what type of battery you have and the charging requirements. Harley Davidson motorcycles come with two types of batteries: lead-acid and AGM (Absorbed Glass Mat).
Lead-acid batteries need a higher charging voltage and a slow charging rate, while AGM batteries require a lower charging voltage and a faster charging rate. It’s crucial to check your motorcycle’s owner manual to determine the type of battery you have and the recommended charging voltage and rate.
The charging requirements for your Harley Davidson motorcycle battery will depend on the type of battery you have. Lead-acid batteries typically require a charging voltage of about 14.4 volts, while AGM batteries typically require a lower charging voltage, of around 13.8 volts. It’s important to follow the manufacturer’s recommended charging voltage and rate to ensure the safety and longevity of your battery.
Step 2: Gather the necessary tools and equipment
The first thing you need to do before starting to charge the battery is that you’ll need to gather the necessary tools and equipment. You’ll need a battery charger, either a trickle charger or a smart charger, depending on your battery type and charging requirements, a digital multimeter, some cables, also the necessary clamps and clips.
You should also have a set of safety equipment, including gloves and safety glasses, to protect yourself while charging your battery. Additionally, you’ll need a clean and well-ventilated workspace to prevent any fire hazards.
To charge a Harley Davidson motorcycle battery, it’s recommended to use a battery charger specifically designed for motorcycles. Harley Davidson offers its line of battery chargers, but there are also many third-party chargers available on the market.
Step 3: Preparing your Harley Davidson Battery for Charging
Before you start charging your Harley Davidson battery, it’s important to prepare it correctly to ensure a safe and efficient charging process. Firstly, remove any corrosion from the battery terminals using a wire brush or sandpaper. Make sure to disconnect the negative terminal of the battery first, and then the positive terminal.
Next, check the battery’s electrolyte level and add distilled water if necessary. If the battery is excessively dirty, clean it with a damp cloth and let it dry thoroughly.
You do not necessarily need a tender to charge your motorcycle battery, but it is highly recommended. A battery tender, also known as a trickle charger, is a device that automatically maintains your battery at full charge without overcharging it. A Harley Davidson battery tender is particularly useful if you only use your motorcycle infrequently or if you plan to store your motorcycle for an extended period.
While you can just use a standard battery charger to charge your Harley Davidson battery, also having a battery tender is more convenient and effective. With a battery tender, you don’t have to constantly monitor the charging process, and you can be sure that your battery is always fully charged without being overcharged, which can damage your battery.
Step 4: Charging your Harley Davidson Battery
Now that your battery is prepared, it’s time to start the charging process.
- Before you plug in the charger, ensure the battery is in a safe location and that the charger is set to the correct voltage and charging rate for your battery type.
- Connect the positive cable to the positive terminal and the negative cable to the negative terminal.
- Turn on the charger and let it run until the battery is fully charged, which could take anywhere from several hours to a full day, depending on the battery type and charging rate.
- Keep an eye on the charging process, and stop the charger once the battery is fully charged. (Disconnect the charger: Disconnect the charger from the battery terminals, starting with the negative terminal and then the positive terminal)
- Now, you can reconnect the battery terminals, positive to positive and negative to negative.
To make sure everything is alright, you can check the battery voltage. To do this, use a voltmeter to check the battery voltage, making sure it’s at the recommended level for your battery type.
Either a 6-volt or a 12-volt is used in Harley-Davidson motorbikes. Older Harley-Davidson bikes produced before the early 1960s use a 6-volt battery, whereas 12-volt batteries power more recent Harley-Davidson motorcycles.
When the battery is fully charged, the LED will turn green and the charger will transition to a storage or maintenance charge mode, depending on the type of tender you use.
Can You Charge the Battery With A Car Charger?
If you don’t have any other option, you can charge a Harley Davidson motorcycle battery with a car charger, but it’s important to ensure that the car charger is suitable for your battery type and voltage, and has the correct charging voltage and rate. Some car chargers may not be designed for use with motorcycle batteries, and using the wrong type of charger can result in overcharging, undercharging, or damaging the battery.
It’s always best to check the manufacturer’s guidelines and use a charger that is specifically designed for use with motorcycle batteries. This will ensure the safety and longevity of your battery and provide the best results.
What problems can appear when trying to charge a Harley Davidson bike?
Several problems can arise when trying to charge a motorcycle battery, including overcharging and charger compatibility.
The most common one is overcharging, which can occur when the battery is charged for too long or with a voltage that is too high. Overcharging can cause the battery to overheat, reducing its lifespan and potentially causing damage to the battery.
You can also undercharge the battery, which is also damaging. Using the wrong type of charger or a charger that is not designed for use with your battery type and voltage can result in overcharging, undercharging, or damage to the battery.
Dirt, grime, and corrosion on the battery terminals can prevent the charger from making a proper connection and affect the charging process. Connecting the charger to the wrong battery terminals or disconnecting the positive and negative terminals can result in damage to the battery or the charger.
Maintaining your Harley Davidson Battery’s health
Maintaining your Harley Davidson motorcycle battery is an important part of keeping your motorcycle running smoothly for as long as possible. To maintain your battery, Here are some tips:
- Always keep it clean and dry and check the electrolyte level regularly. If you won’t be using your motorcycle for an extended period, remove the battery and store it in a cool, dry place. This will help prevent damage from extreme temperatures or moisture.
- Additionally, it’s essential to store your motorcycle in a cool and dry place during the off-season to prevent battery drain and damage. You should also charge your battery regularly, even if you’re not using your motorcycle, to keep it in good condition and ready for your next adventure.
- Besides this, regularly check the voltage of your battery to ensure it is fully charged and to detect any problems early on. If the battery voltage is low, have it checked by a professional. Regular maintenance will help prevent costly repairs and replacements and ensure that your motorcycle is always ready for your next ride.
Conclusion
In the end, keeping your Harley Davidson motorcycle battery charged and in top condition is crucial for a smooth riding experience.
By following the guidelines and avoiding common mistakes, you can guarantee that your battery will always be ready to hit the road and tackle any adventure that comes your way. By regularly maintaining your battery, you’ll not only extend its lifespan but also ensure you can hit the open road with peace of mind.
So, go ahead, get those gloves on, and get charging. And if you still have any more questions, let us know in the comments.