
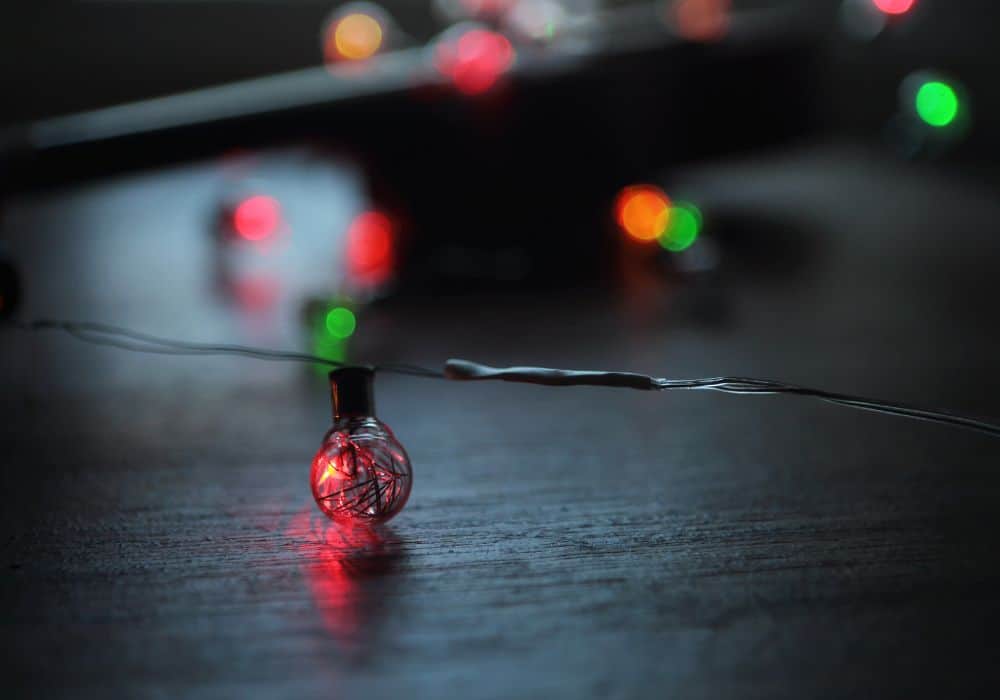
When electricity’s out and the lamps go off, we all instinctively reach for the flashlight or our phone’s light. What happens when there is no flashlight nearby either, however, and you need to preserve your phone’s battery? Fortunately, you can always make your own flashlight as long as you have the necessary tools around.
In this article, we’ll discuss how to light a bulb with a battery and wire, and then switch it on and off easily when you need some light in a pinch.
Table of Contents
What do you need to light a bulb with a battery and a wire?
Electricity scares a lot of people which is understandable given that high voltages can be dangerous. Constructing a simple circuit to light a bulb with a battery really isn’t all that complicated, however. All you need to do it is exactly what’s in a flashlight – batteries, a bulb, and some wires to connect one with the other. Or, to be more precise:
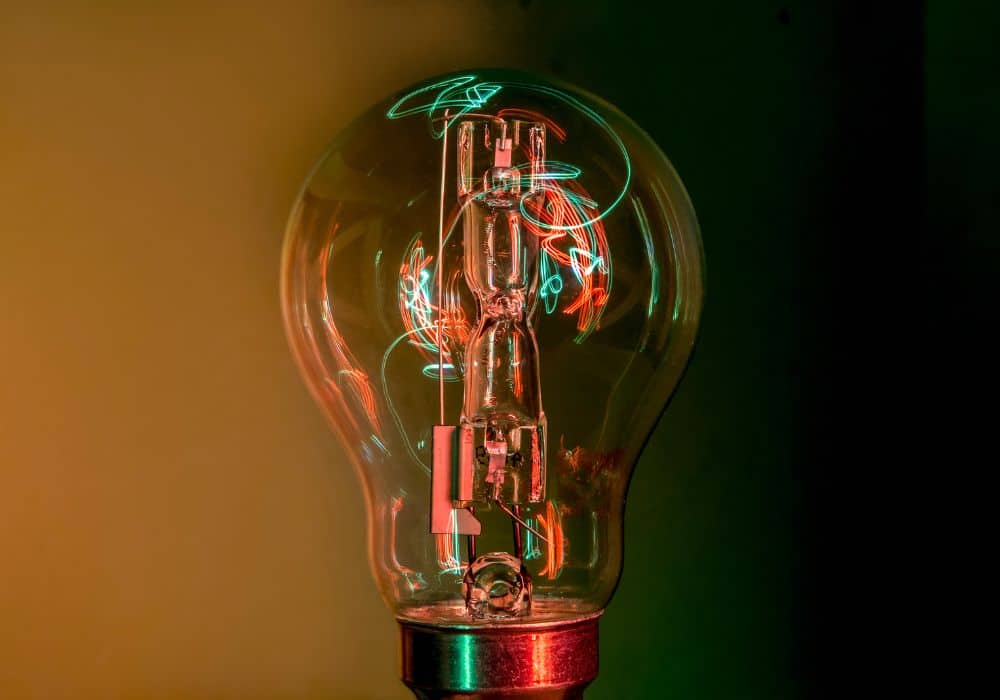
- A standard incandescent light bulb
- D battery
- Two insulated pieces of wire
- Scissors
- Wire strippers or a utility knife
- Electrical tape
One main note is that you should make sure the battery and light bulb are of a similar voltage. The volts of batteries and bulbs alike are written on them but you may have difficulties finding a powerful enough battery for the standard incandescent lightbulbs in your living room’s ceiling lamp.
That’s because standard household light bulbs typically have a voltage of 120V which is way too much for a normal AA or D battery. That isn’t to say you can’t connect one with the other, the voltage just won’t be nearly enough to light the bulb even a little.
Instead, you’d do well to get a smaller bulb from a flashlight or something similar (assuming that you don’t have batteries that’d fit it right now). Such a bulb will have a voltage of just a few volts and you might have batteries at home that are close to that.
If not, you can always string two batteries together by pressing the negative end of one to the positive end of the other and taping them together. Doing that can seem crude, and it is, but it will combine the voltage of the two batteries, effectively forming one larger battery – that’s exactly how most flashlights work – by housing two batteries that are pressed together.
Just make sure that the voltage of the battery doesn’t exceed the voltage of the light bulb too as that can quickly overheat the wires and the bulb and ruin the whole arrangement.
Step-by-step guide for lighting an incandescent bulb with a battery and a wire
Now that we have the right tools in hand, let’s see how we can use them to the best effect:
Step 1. Strip the ends of the wires
Using the wire strippers or a simple sharp pair of scissors, the first job is to strip the insulation off the wires you’ve got to expose their insides. The exposed part doesn’t need to be more than an inch or even less in most cases – if need be, you can always strip a bit more of the insulation. You can also use a utility knife for that.
If all you have is an uninsulated copper wire you don’t need to do that – just don’t use that wire with a high-voltage battery.
Step 2. Tape one end of the first wire to the bottom/flat (negative) side of the battery
The second step is to take one end of the exposed wire and press it to the negative terminal of the battery. It’s best to use electrical tape but if the battery and the bulb aren’t stronger than a few volts, any normal non-paper tape will do. Make sure to tape the wire securely to the negative side of the battery as you want it to be stable there.
Step 3. Tape the second end of that same first wire to the metal sides of the light bulb
After that, take the other exposed end of the wire you just typed to the battery and tape that to the side of the bulb. Depending on the width of the bulb you can have a bit more exposed area of the wire here (a few inches even) and use wrap it once or twice around the side of the light bulb – if you do that you may not even need the tape.
Just make sure that the wire only touches the side of the bulb and not its metal tip at the bottom – that’s where the other wire is supposed to go.
Step 4. Take the second wire and tape one of its ends to the metal bottom of the light bulb
The next step is similar to the previous to – take the second wire and touch one of its exposed ends to the bottom of the bulb. That exposed wire end doesn’t need to be all that long as it will only barely be able to touch the bulb.
Once the wire is in contact with the tip of the bulb, tape it securely so that it doesn’t “disconnect.” Now you almost have a close electrical circuit – the last step is to just take the whole thing back to the battery.
Step 5. Connect the second end of the second wire to the top (positive) side of the battery
As soon as you touch the second exposed end of the second battery to the second and positive side of the battery, the light bulb should light up. If the voltages of the bulb and the battery are the same or similar, the bulb should be as bright as it can be. If the battery is even a little bit weaker, the bulb will be significantly dimmer.
If the bulb doesn’t light at all, there are a few possible explanations:
- The battery is way too weak for this bulb – try adding extra batteries to the circuit if you want
- Something else in the circuit is out of order – either the bulb or one of the wires doesn’t work
- You’ve missed something in the steps above – either one of the wires isn’t making proper contact somewhere or you’ve connected the wrong ends of the battery to the ends of the bulb – the positive (upper) end of the battery must connect to the bottom tip of the bulb and the negative (bottom) end of the battery must connect to the sides of the bulb.
Once the bulb is lit up, you have a choice – 1) either tape the positive end of the battery and its corresponding wire together to make sure the bulb remains lit for as long as the battery has juice, or 2) keep the two separated so that you can touch them together only when you need light – like a switch.
Alternatively, you can also install an actual switch on the “positive” wire (the one connecting the positive battery end with the bulb) to make an actual lamp – in that case, you might as well tape both ends of the battery to the wires.
Additional materials and tips you can use

If you want to make the whole system even more elaborate and interesting, you can add all kinds of things to it. For example, you can use a battery holder to keep the battery in place or to more easily connect multiple batteries together. This can be especially useful if you have a stronger bulb and lots of simple AA batteries that – together – can power it if they are connected properly.
What’s more, many battery holders also come with a built-in light switch allowing you to easily turn the light on and off once you’ve connected it to the holder and the batteries in it.
Similarly, you can also use a light bulb holder to make it even easier to connect the two wires to the light bulb. If you have simple alligator clips lying around, those can also make it even easier to connect the battery(ies) and light bulb together, especially if you’re using a battery holder.
If you want to install a light switch on the wire itself, that adds a few extra steps but it’s also doable – you just need to slit the positive wire and insert its two (new) ends into the switch, although this part can vary depending on what type of switch you’ve got.
In conclusion
All of the above can seem overly complicated but can be a lifesaver in a pinch as well as a fun science experiment to play with. All in all, if you are worried about issues with your electrical grid, it’s important to always have backup flashlights and portable lamps. Still, when those aren’t around, you can always DIY a quick flashlight in seconds if you have the right tools in hand.