
Have you had to replace several batteries over a few years? While batteries are a necessity, they can become expensive if you have to replace them often. But what would you say if we tell you that you do not have to throw out dead batteries?
You would save a lot of money if you did not have to throw out batteries every time they die. Instead, consider battery reconditioning or refurbishing. If you can refurbish your batteries, you prolong their lives.
However, not everyone knows how to refurbish their batteries to reuse them. Therefore, this article explains the steps to refurbish your battery in simple terms.
Table of Contents
What Is Battery Refurbishment?
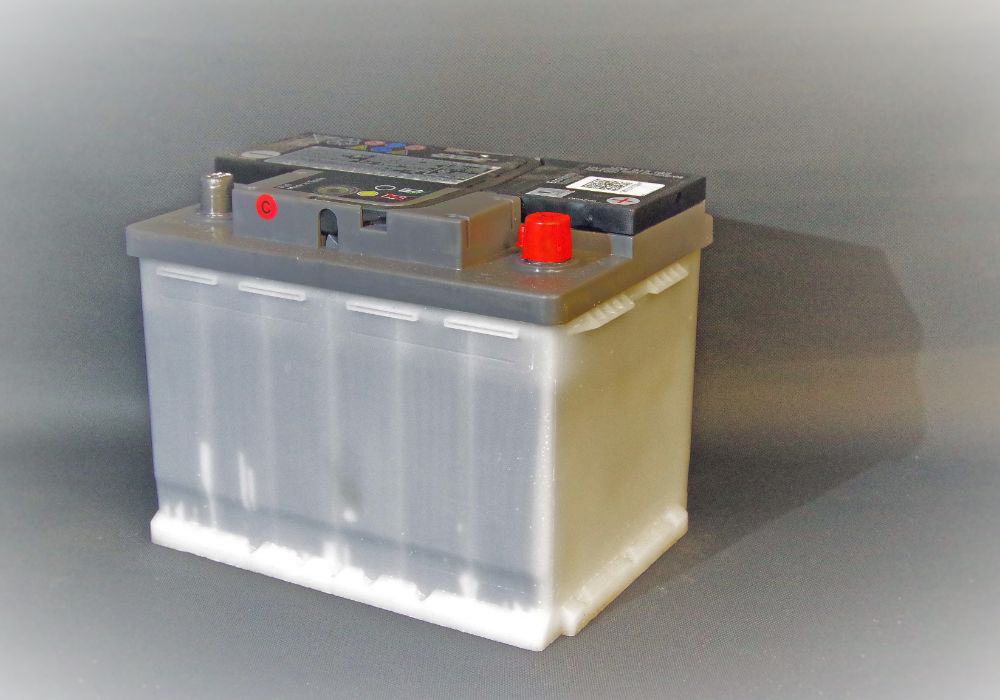
Battery refurbishment or reconditioning is the process of restoring an old battery to a state where it functions like a new battery. It involves cleaning off the sulfates and replenishing the electrolytes that power the battery. When done right, refurbishing a battery can make it work like it is brand new.
You may not be ready to refurbish your old car battery because it does not seem to be worth it. In other words, it feels like spending money on a new battery is a better option. However, it is not as difficult as it seems, and you can do it at home. You may not even need an assistant to complete the process.
It does not matter the type of battery you own; there are steps to refurbish it to get it working again. However, there are two main types of batteries: lead-acid and Lithium-ion batteries. Consequently, there are different methods of refurbishing each battery type.
Refurbishing a Lead-acid Battery
Tools You’ll Need
First, you must gather the tools you need. You will require:
- Baking soda
- Distilled water
- A flathead screwdriver
- A battery charger
- A steel wool or old toothbrush
- Bucket
- Epsom salt
- Funnel
- A multimeter
- Protective gear
The following are the steps to refurbish a lead-acid battery:
Step One: Prepare Yourself
Before you begin, you must take steps to prepare and protect yourself. This involves wearing your protective gear, such as goggles, gloves, and protective clothing. The clothing will protect your skin from battery acid and other accompanying chemical spills.
Also, you will need to work in a properly ventilated area to protect yourself from harmful gases, such as hydrogen. These gases may build up as you work, and inhaling them is dangerous. While you can wear a mask, it is better to work in a room with excellent air circulation.
Step Two: Disassemble the Battery
The next step after putting on your protective gear is to disassemble the battery. While you can go ahead to mix the cleaning agent and get to work, it is better to have access to all the components, internal and external.
So, remove the battery cover plate and carefully detach each component. Before that, ensure you note where each component goes; it may help to take a picture if unsure. That way, you can reassemble the battery in the right order.
Step Three: Clean the Battery
Now, you can start cleaning. First, mix the cleaning solution of distilled water and baking soda in a bucket. It is best to use distilled water instead of ordinary tap water because any other type may contain trace deposits. If that is the case, it may damage the battery further.
Make the mixture watery; use 2-parts water and one-part baking soda to get the right consistency. You can also opt to use a battery terminal cleaner for this purpose. By now, you must have removed the battery cables, ensuring to remove the negative terminal cable first before the positive terminal cable.
When you have the paste, apply it to the corroded or rusted parts, especially the terminals. Use an old toothbrush or steel wool to scrub the parts gently. Since corrosion obstructs the smooth flow of electrical energy, scrubbing it off terminals and connectors is crucial.
Step Four: Test the Individual Cells
After cleaning the battery, you can test the cells to determine how well they work. This is where the multimeter comes into play. If you have any other testing equipment, it will also work.
If there are damaged or non-functional cells, you can use this opportunity to replace them. Otherwise, the battery will not function well, even after cleaning it thoroughly.
Buy replacement cells of the same type and capacity as the original cells. Ensure you match the new cells to the original ones in terms of voltage and capacity to get the best battery performance and safety.
In addition, add more electrolytes to boost the battery’s capacity. Pour a liter of distilled water into a container and add about 120 grams of Epsom salt. If the salt is too difficult to dissolve, warm the water to ease the process.
Mix it well until you can no longer see any solid salt. Afterward, pour the electrolyte solution into the old cells and replace the battery cell caps well. Note that this step is not compulsory if the battery cells are in good condition.
Step Five: Reassemble the Battery
After cleaning the battery parts and replacing the damaged cells, the next step is to reassemble the battery. You can refer to the pictures you took earlier to determine where every part goes.
Reassembling it will involve attaching the cells and other components back into the battery casing or cover. And when everything is in place, put the battery cap or cover back in its position.
Step Six: Test the Battery
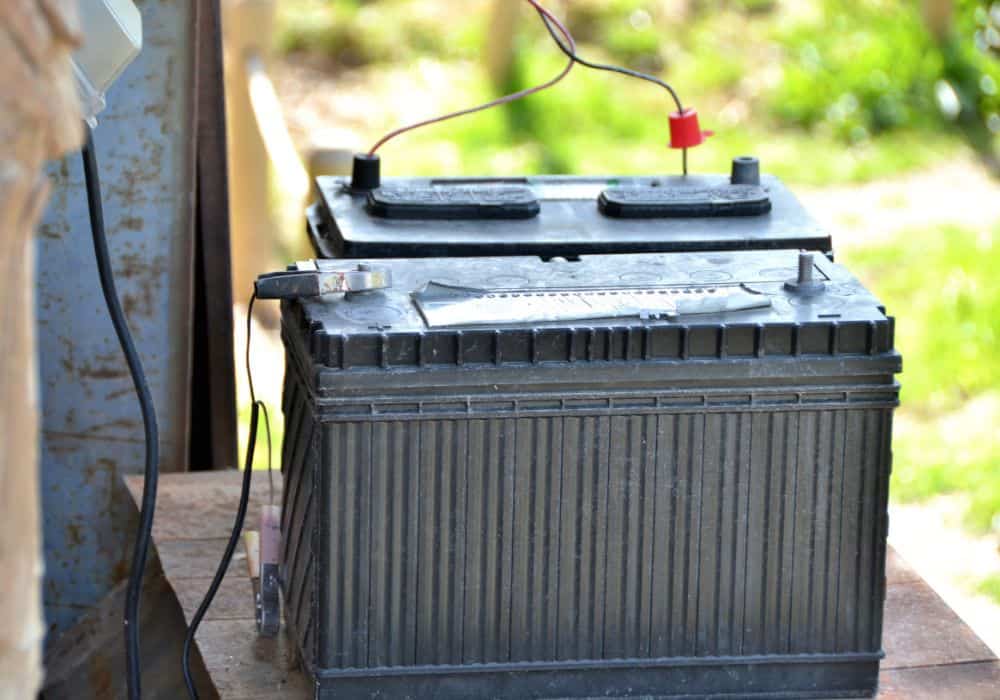
After reassembling the battery, test it to ensure that it is functioning properly. You can do this by charging the battery at a slow rate to allow the electrolytes to break down. Ensure you keep the battery and charger as far apart as possible.
Then, allow the battery to charge for about 36 hours. Next, use the battery to power a device or load. Observe the charging and discharging rate to see if it is within the normal range. If the battery is not performing as it should, you may have to repeat the process.
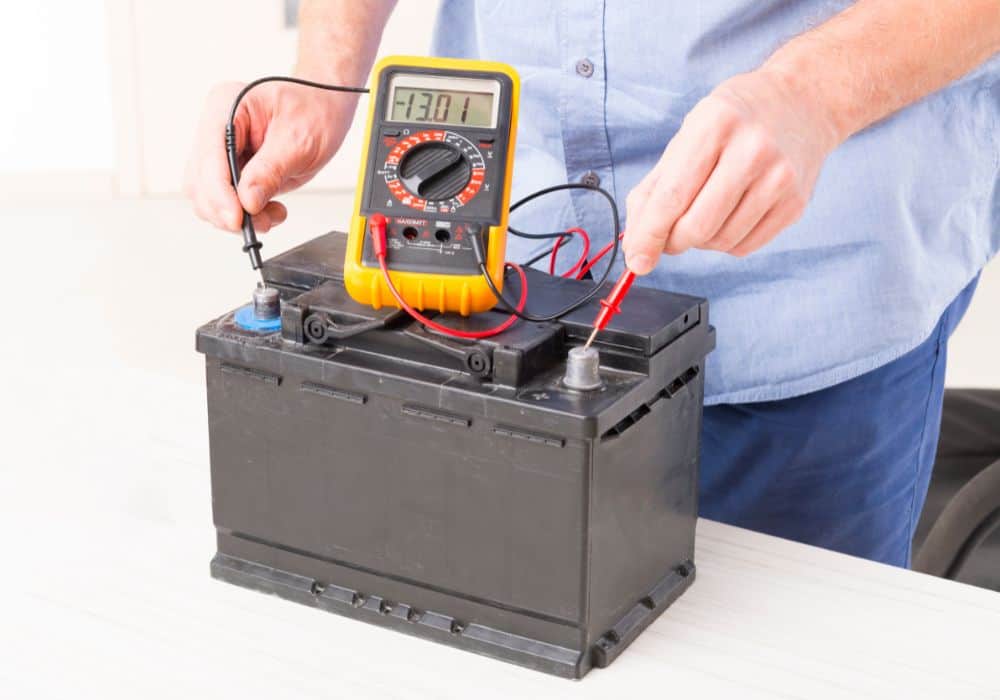
You can also use a voltmeter to test the battery’s voltage; it should be around 12.4 volts. Charge the battery again if the reading is lower than this value.
Step Seven: Store the Battery
Once you are done and everything works well, ensure you store the battery in a dry and cool place. Avoid storing the battery in extreme temperatures and keep it away from flammable materials. Proper storage will help to prolong the life of the battery.
Refurbishing a Lithium-ion Battery
Tools You’ll Need
The steps to refurbish a lithium-ion battery are slightly different from those of a lead-acid battery. The followings are the materials and tools you will need:
- A power source
- Voltmeter
- Recovery charger
- Regular battery charger
- Protective gear
Take the following steps to refurbish your lithium-ion battery:
Step One: Check the Battery’s Condition
You will need a voltmeter to take the battery’s reading. The negative terminal should hold the black cable, while the positive terminal should hold the red cable. It will help you determine whether or not it is in good condition. The battery size will determine the required voltage to expect before you can proceed.
For example, if you test a 3.7-volt battery and find below 1.5 volts, discard it for a new one. The refurbishment may not work and it is dangerous to recharge it at such a low voltage. A 12-volt battery should have up to 10 volts before you can refurbish it.
Step Two: Awaken the Battery
After determining the battery voltage, the next step is to wake it from its sleep mode. A lithium-ion battery enters sleep mode when completely drained. However, a regular battery charger cannot revive it; only a recovery charger will work at this point.
If you have a regular charger with a recovery ability, you can use it to awaken the battery. Keep charging it for as long as the manual instructs or until it begins to receive charge normally. When this happens, disconnect it from the recovery charger and connect it to a regular one.
Then, give it time to charge fully, which may take about 3 hours. It is crucial to wear protective gear when using a recovery charger. The reason is that the electrolyte becomes flammable when the cell is under pressure. This increases the possibility of an explosion as the recovery charger supplies a high charge.
Step Three: Discharge Fully and Store
Now, fully discharge the battery and store it. To discharge it, you can connect a high-voltage appliance to it until all its charge drains.
Afterward, put it in an air-tight plastic bag and store it in a freezer for about 24 hours. Note that the battery must remain completely dry throughout the process.
Step Four: Thaw and Charge
After 24 hours, remove the battery from the freezer and leave it out on a counter. Allow it to sit for about 8 to 10 hours to thaw completely before lifting it out of the bag. Once done, connect it to a regular charger and charge it until it is full.
Conclusion
It is possible to refurbish a battery when it appears dead. This applies to a lead-acid battery and a lithium-ion battery. Follow the instructions in this article to recondition or refurbish your battery to see if it will still work. There is no harm in trying to get it back to life before discarding it.
With proper maintenance, a refurbished battery can have a longer lifespan and save you money in the long run. Ensure you wear protective clothing before taking any step in the refurbishment process because it can be dangerous due to voltage and battery acid.