Maintaining a lawn tractor battery is essential to keeping your outdoor equipment in working order. Knowing how to charge a battery for your lawn tractor correctly can lengthen its lifespan and keep it reliable when needed.
In this guide, we’ll discuss the basics of charging a lawn tractor battery and provide step-by-step instructions on how to get the job done.
Table of Contents
- Understand Your Tractor’s Electrical System
- Step-by-Step Instructions for Charging a Lawn Tractor Battery
- Tips for Charging a Lawn Tractor Battery
- When to Charge the Battery?
- How Long Does It Take to Charge Lawn Mower Battery?
- How Can I Tell My Battery Is Wearing Out?
- Tips for Maintaining Lawn Mower Battery
- Final Thoughts
Understand Your Tractor’s Electrical System
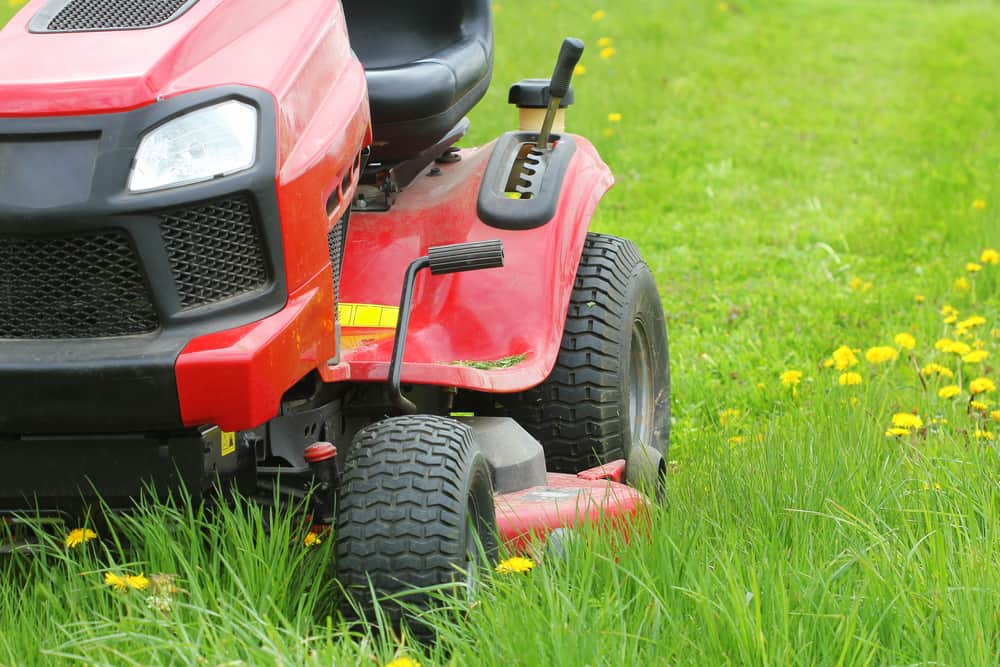
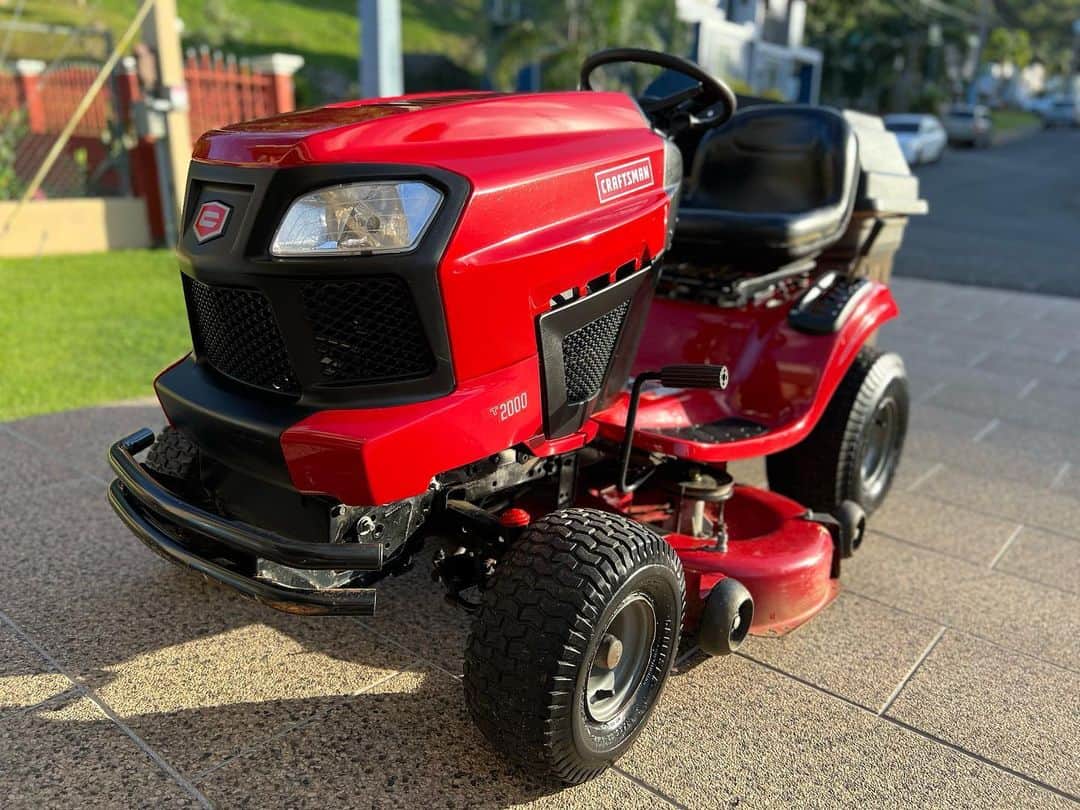
A lawn tractor battery comprises an ignition switch, a control circuit, and a 12-volt battery. The ignition switch controls power to the tractor, while the control circuit runs through various buttons. Understanding your lawn tractor’s electrical system will aid in properly diagnosing any potential problems and ensuring that you are safely charging your battery.
Each lawn tractor battery has two terminals, a positive and a negative which are connected by jumper cables. The positive terminal is typically red, and the negative terminal is usually black.
Depending on your lawn tractor’s model, you must switch out these jumper cables to fit your particular make and model.
Step-by-Step Instructions for Charging a Lawn Tractor Battery
Step 1: Choose the Right Battery Charger for Your Tractor
When selecting a battery charger for your lawn tractor, you’ll need to pick one that can supply the necessary amount of amperage. Most batteries require between 6 and 10 amps, but you should check your owner’s manual to determine the exact number.
Most chargers offer multiple charge modes, including fast and trickle charge options. Generally, the quick charge is best for topping off quickly, while the slow charge option is better if you’re charging an older battery or one sitting idle for some time.
It’s necessary to note that overcharging can negatively affect your battery, so be aware of the amperage rate when selecting a charger. Also, some chargers come with features such as timers or overheat protection which prevents damage to your vehicle’s battery.
Step 2: Follow the Safety Guidelines
Before you begin charging your lawn tractor battery, you must review and follow all safety guidelines with your charger. Wear protective gear such as gloves and eye protection, and ensure that all cables are connected correctly. Always read and follow the instructions in your battery charger’s manual
Be sure to place the charger in a cool, dry area away from flammable materials. Lastly, disconnect all power to the lawn tractor before beginning the charging process.
Step 3: Prepare the Battery for Charging
Prepare your battery for charging by first placing it in a cool, dry place. You should check the battery’s voltage to ensure it has enough power to start the tractor. If not, you need to replace the battery before charging it.
Once the battery is ready, you’ll need to connect the charging cables. Start by connecting the positive red cable to the battery’s positive terminal and then connect the black negative cable to the negative terminal.
Ensure that both cables are securely connected and not touching any metal parts inside or outside your tractor.
Step 4: Charge the Battery
Once the cables are in place, plug the charger into an electrical outlet and turn it on. The charger will indicate if the battery is charging or discharging. If the charger indicates that it is charging, then you can select your preferred charging mode.
Once it’s finished charging, turn off the charger and disconnect both cables. Make sure to remove them in the reverse order, starting with the negative cable first. Store your charger somewhere safe when you’re not using it, and check your battery periodically to ensure it is working correctly.
Tips for Charging a Lawn Tractor Battery

- Always follow the safety guidelines outlined in your charger’s manual.
- Wear protective gear when handling or connecting battery cables.
- Check your battery’s voltage before charging to ensure it has enough power to start the tractor.
- Be aware of the amperage rate when selecting a charger, and don’t overcharge the battery.
- Disconnect all power to the tractor before beginning the charging process.
- Select a charger with features such as a timer or overheat protection to prevent damage.
- Avoid using low-quality chargers or chargers that have been modified in any way, as this can harm both the battery and your lawn mower.
- Never attempt to charge a hot battery, as this is very dangerous and could lead to fire hazards.
- Never use your battery charger to jump-start a car; use jumper cables instead.
Finally, never place the battery near any flammable materials or sources of heat while charging, as this could cause it to overheat and damage your mower.
When to Charge the Battery?
The best time to charge a lawn mower battery is when you first purchase it and after each use. This will ensure that your battery is always in the best condition and ready for use. If you notice any signs of failure coming from your mower’s engine or slow starting times, it is a sign that your battery is running low and needs to be recharged.
Besides regularly charging after each use, you should charge your lawn mower battery at least once a month, even if it’s not used. This helps maintain an optimal charge level and ensures the battery’s internal stability isn’t compromised by overcharging or undercharging.
It’s necessary to know when not to charge your battery too. Never attempt to charge a hot battery, as this could cause irreversible damage and put you at risk of fire hazards. Also, never try to jump-start your lawn mower using the battery charger instead of jumper cables, as this can cause permanent damage to the battery.
Finally, store your lawn mower battery in a cool, dry place when not in use. This will help preserve its charge and prevent corrosion or other issues from developing due to moisture accumulation.
How Long Does It Take to Charge Lawn Mower Battery?

The amount of time it takes to charge your lawn mower battery will depend on the battery’s voltage, amp-hours, and the charger’s input. You should charge your lawn mower battery for a period determined by the total amp-hours rating divided by the amount of amperage from your battery charger.
For example, if your lawn mower battery is rated at 12 volts and 35 amp-hours, you can estimate the charging time required by dividing 35 by the output of your charger. At 2 amps, it would take 17.5 hours to charge the battery. If your charger outputs 6 amps, it will take 5.8 hours to charge; 10 amps in a charging time of 3.5 hours, and 40 amps result in 50 minutes of charging time.
Be aware of the different mode settings available on your charger, as using the wrong setting can cause damage, overheating, or decreased battery life.
How Can I Tell My Battery Is Wearing Out?
The most obvious sign that your lawn tractor battery is starting to wear out is when it no longer holds its charge. If the engine runs slower than usual or doesn’t start, this could signal a weak battery. You may also experience dim headlights or other electrical failures due to low voltage from a weak battery.
Another way to gauge the condition of your lawn tractor battery is by performing a visual inspection. Look for signs of corrosion, bulges, or leaks in the casing, and note if any cables are loose or damaged. If you notice these problems, it’s best to replace the battery immediately to avoid further damage.
Maintaining a lawn mower battery is necessary to keep your lawn looking well-manicured. As with any battery, wear, and tear can reduce its capacity over time and lead to decreased performance.
Knowing when your lawn mower battery starts to wear out and replacing it before the problem gets too severe will assist in having an efficient mowing experience.
Tips for Maintaining Lawn Mower Battery
When it comes to your lawn mower’s battery, you can maintain it regularly with these tips.
- Keep the terminals clean and free from corrosion by periodically wiping them down with a cloth.
- Check the voltage output of your battery regularly and recharge it as soon as possible if it drops below 10 volts.
- Check the battery voltage if your mower is running but needs to cut the grass efficiently. A low voltage could be the cause of this problem.
- Never leave the battery on the lawn mower all day long, as this can cause it to overheat and damage your battery and lawn mower.
- Never use it to jump-start a car, as this will damage your battery and void warranties.
- Keep an eye out for any damage or wear on the battery or its terminals. If you find anything, consult a professional as soon as possible to help prevent further issues.
- Check for loose connections and inspect all safety features before use.
Final Thoughts
A lawn mower battery must be properly maintained to get the most out of the machine. By taking the time to clean, inspect, and replace any faulty parts on your battery, you’ll ensure that it performs reliably for years to come, and possibly even extend its lifespan.
Use the correct charger for your battery type and follow manufacturer guidelines for safe charging procedures to keep yourself and your equipment out of harm’s way.
The time and effort you put into charging your lawn mower battery will be well worth it, so remember to give your machine the care it deserves.