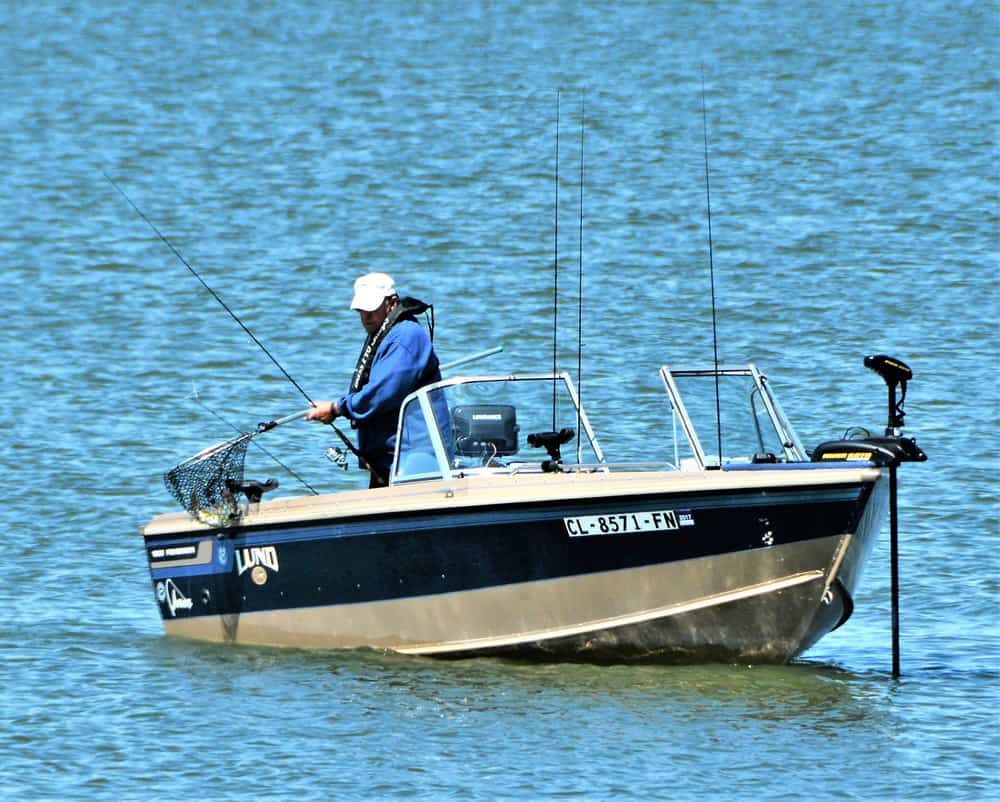
Going out on your boat can become an absolute nightmare if you are unable to connect the trolling motor to a battery. To avoid that from happening and to stay away from unnecessary maintenance costs, you need to learn how to connect a battery to your trolling motor. Trolling motor works with a propeller and electric motor on the boat that helps with keeping the boat in running condition. It does this by driving the propeller. Other than this, it controls the boat’s movement and may be found anywhere on the boat, depending upon the boat’s design.
However, usually, it’s in the second engine of the boat because trolling motor needs to be kept outside the water when not in use while the primary engine remains immersed in water. But, it is crucial for smooth movement on the water. This crucial component requires batteries to run, and that is where this guide comes in. An operational battery will let you cruise the water without a worry in the world. So, let’s dive right into the topic.
Table of Contents
A Simple Guide to Connect Trolling Motor to Battery
Before you even start connecting the motor to the battery, it is intuitive to gather all the essential tools as it would simplify the process substantially.
Tools You Will Need
- You will require a trolling motor kit, as well as a connector kit,
- Grab a 12 volts battery or batteries,
- You will also need jumper wires,
- Get hold of some terminal connectors,
- You will need power leads,
- Grab some electrical tape (liquid),
- Lastly, you’ll need the battery Charger.
Step 1. Switching Everything Off
One of the problems that boaters usually face is that they try to handle this situation without proper precautions. To avoid any unwanted damage or hassle, you will need to switch everything off, even though it’s waterproof. So, start by switching off the entire system even before unpacking the battery. This way, you won’t mess up the connection, and double-check that you aren’t leaving anything turned on by mistake.
Step 2. Checking the Battery Power
Next, you need to check the battery power. Usually, trolling motors require 12 volts of batteries. This may be in a combination of two or three, but a single battery can also be used depending on the voltage of the trolling motor. As a general rule of thumb, remember that a 12V motor would go with a 12V battery.
Step 3. Selecting the Perfect Battery Combination
Learning about battery combinations is a must and there are two different types of combinations, i.e., parallel and series combinations, used commonly for connecting the batteries. They are as simple as they sound: in series, combination batteries are set in series while in a parallel combo, they are parallel to each other.
Merely, learning about connecting a motor and battery isn’t enough to make things work because you may have to deal with issues like insufficient voltage, the motor running inefficiently, or low charge capacity over and over again. This is most likely because you may have placed the batteries in the wrong combination. So, which should you select? Is a series better than a parallel connection?
- Series Combination: If you are using two batteries put up in series for a 24 volts motor you will be producing enough energy that’s generated by a single 12-volt battery for a 12 volts motor. This combo is useful to produce power equivalent to 36 volts trolling motor with three batteries in a series combination.
- Parallel Combination: This one comes in handy when you need a longer run time for the motor. In this combination, the batteries’ capacity is increased along with the amp hours but the voltage is not disturbed in any way keeping the motor safe.
Their usage completely depends upon what you are trying to achieve. If your goal is to multiply the voltage of the batteries to two to three times all the while keeping the capacity and amp hours of the battery the same then you need a series combination. Contrary to this, the parallel connection keeps the voltage the same and multiplies the battery capacity the same. The results of both combinations are opposite. So you can’t really decide which one is better unless you know what you want.
Pro Tip: If you’re looking to have increased battery life and optimal motor performance, go for the parallel combination.
Step 4. Setting Up Different Battery Connections
To put it simply, you have three options, 12V motor, 24V motor, and 36V motor but the process varies for each, so we are going to discuss them individually.
- The first one on our list is a 12-volt trolling motor and this happens to be the easiest to set up a connection for as there is a minimal hassle to set up a single battery. You will require a 50 Ampere circuit breaker or a fuse. You have to start by connecting the battery to the black wire of your trolling motor. This is where the negative terminal connects to your battery.

Similarly, connect the red wire to the positive terminal of the battery, and you have the perfect connection. Just be sure to use the correct breaker in this case, that of 50 amperes, or else the connection will be unsafe as well as unstable. Now that everything is done, you can put back the cover of trolling motor.
- This brings us to the 24-volt trolling motor and you can relax because our simple process will help you through this as well. The process isn’t really different, except for requiring two 12v batteries to fulfill the motor’s voltage requirement. Connect the first battery with the negative terminal through the black wire or the negative lead.
Take the other battery and connect its positive terminal to the red wire. Here you require a 40 amp breaker or fuse on the positive terminal to keep the connection safe and stable. And just like that you’re done with this one as well.
- It’s time for a drumroll because we are on the third one from our list, i.e. the 36-volt motor. This one would need a total of three, 12-volt batteries. Though it is pricey much more efficient than the previously mentioned motors. Here you again start with lining up the three batteries.
Connect the black wire of the trolling motor to the battery’s negative terminal. Next, you take the third battery and connect its negative with the red wire of the trolling motor. After connecting the red wire connect a 40 amp fuse or breaker on the terminal as well.
You may be thinking why we skipped on the second battery. It will be dealt with but before that, you need to connect two jumper wires from the positive node of the first battery to the negative side of the second battery. And then attach the positive node of the second battery to the negative node of the third one. This would allow you to use all three batteries’ power. It does sound a tad bit complex but if the method is followed as it is, you will get through the process like a pro.
A Few Precautions to Follow Through
You need to take all the safety measures before you meddle around with the trolling motor battery. So, below are just a few mandatory precautions for you to stay mindful of:
- You have to always select the right battery type with the motor. If your motor needs 12 volts and you are connecting 36 volts, it may lead to unwanted complications or even accidents due to motor damage. So this isn’t something to mess around with.
- Some people overlook this precautionary measure, but it is important that while using a single battery you must always connect a suitable circuit breaker. It is most important in the case of a single battery. In case a mishap occurs, the circuit breaker can instantly cut power to the motor and stop the matter from escalating.
- It is recommended to leave a long length of the wire as a caution for movement and changes in temperature. The wires should be loose but not overly loose so that it gets off every time the boat hits a menacing tide.
- You need to secure all the wires properly and use electrical tape wherever required to make the connection sound and to reduce their movements. Also, keep all the metal objects away from the battery terminals.
Lastly, you should stay alert to avoid any risky behavior that puts you in harm’s way. Moreover, if you’re still not feeling too confident about connecting the trolling motor to a battery all by yourself, there’s no reason why you shouldn’t seek professional help.
Conclusion
Now that you know all the important aspects of trolling motor and batter combinations, you can comfortably change the batteries without breaking a sweat. With practice, you will get hold of setting up the more complicated connections but with the right equipment and all the safety measures taken, you can rock it. Our advice is to start with the simplest combinations, so go ahead and try to connect the right voltage to your trolling motor and always try to maximize the battery power and the battery life.