It is never easy to change boat batteries or do any of the boat mechanics yourself considering all the risks involved. But marine mechanics are expensive too and not readily available. While it is simple to install the batteries of the boat, you find yourself shying away because you have not done it before.
Not to worry, with this guide, you will have new build confidence in performing battery changes for your boat as the new DIY project. You may be saving a few bucks, so observe closely what we have to say!
Tools You Will Need
- Battery switch and battery straps or straps
- Battery isolator
- Cable clamps and Tying wraps
- Soldering gun
- Mounting Screws (stainless steel)
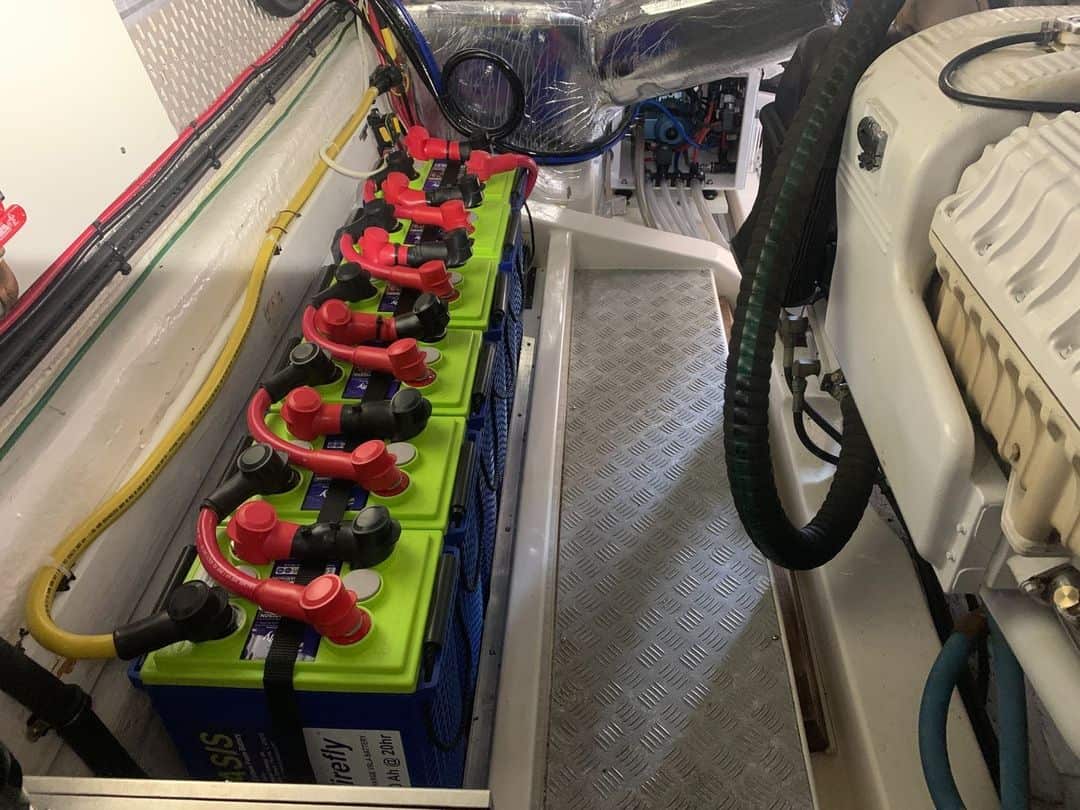
- Marine batteries or batteries: You need to look at your boat’s requirements to figure out which battery you need to use. The standard is you use the same model of the battery that the battery had previously.
- 2/0 Marine Grade cables: You can use maritime cables to connect the battery inside the battery compartment. They are not only high quality and flexible but also created especially for a boat. They are thinner and aren’t prone to corrode. Also, the red and black color helps to give the positive and negative terminals a separate identification making the process easy.
- Power drill
- Screwdriver
- Wrench
Step-by-Step Guide
Once you have got your hands all on the required tools, it is time you start connecting the battery. If you do it right, it will give you up to seven years of battery life and zero hassle of reinstalling. The steps involved are:
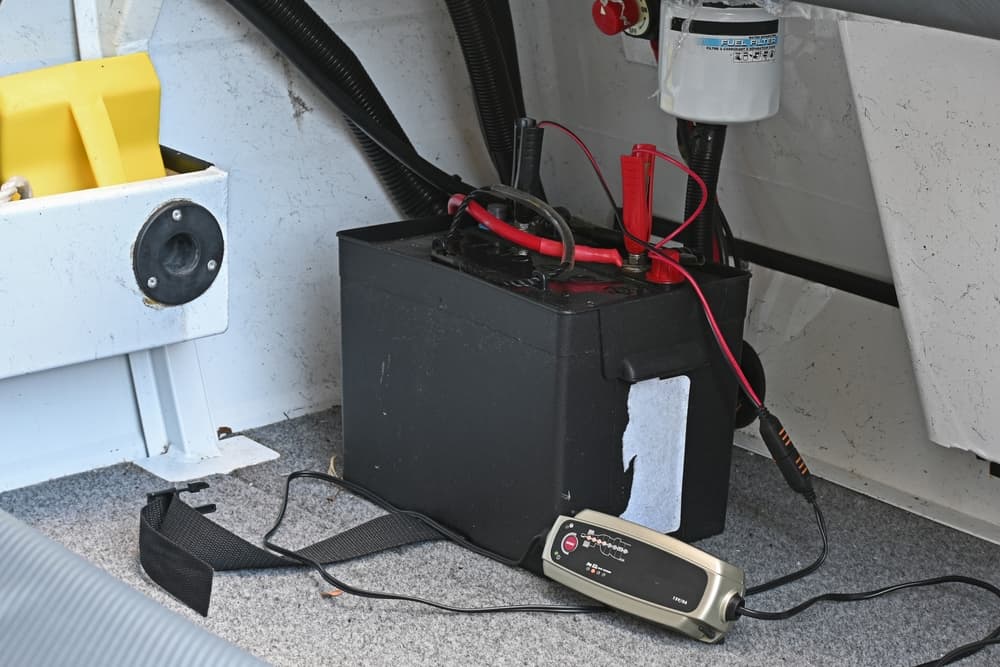
Step 1: Inspect the Battery Compartment
Inspecting your battery compartment for any cable or terminal damage is a must before you start, as any dirt or generally poor condition of the compartment can be problematic later on. Things you need to look out for: any acid leaks, poor condition of battery terminals, acid or other dirt accumulation, and oxidation or corrosion. You can clean the acid or dirt gently and replace any damaged cables or terminals as required.
Step 2: Remove the Cables from the Terminals
Next, you need to get your wrench kit out to remove cables from terminals. Carefully remove black negative lead from the battery and then red positive lead. Here you should remain very cautious to ensure that the positive and negative cables don’t come in contact with each other. Additionally, keep your hands away from the terminals if you are handling any metallic objects. This safety measure is to save you from getting a shock, and not metaphorically.
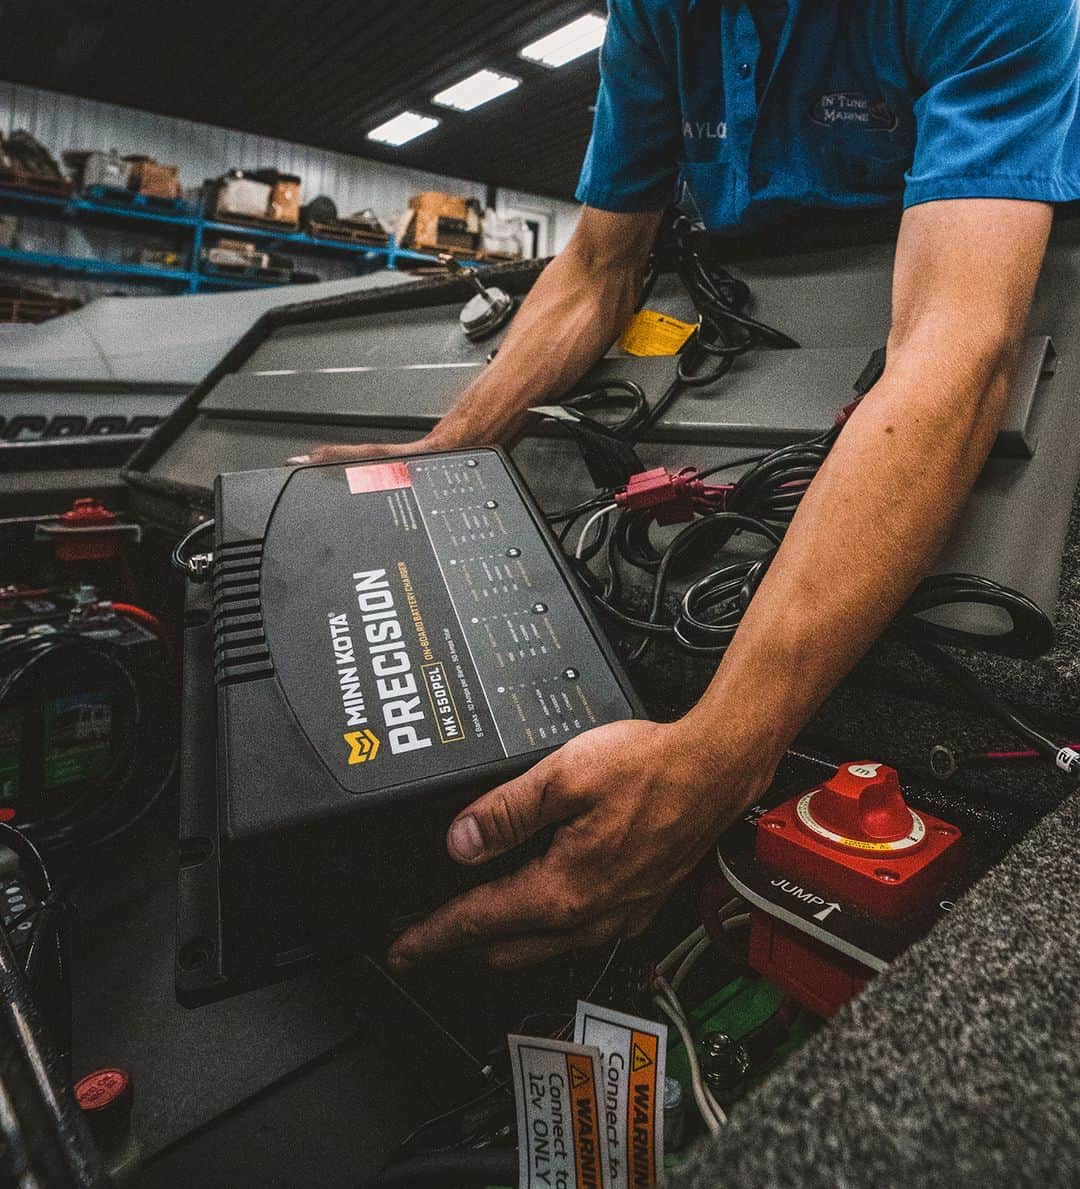
Step 3:Replace the Battery
After prepping up the battery compartment, your next job is to remove the old battery. Fix the new, healthy battery in the battery compartment and be sure it is fixed in the right position. Back to attaching cables, attach the positive red cable to the positive terminal and the negative black cable to the negative terminal of the battery. The nuts on each connector should be tightened using a screwdriver.
Pro Tips
- You have to remain very cautious while DIYing the battery change. Following are a few things to do for a safe and smooth experience:
- Start by wearing safety glasses whenever working with batteries. Moreover, keep a water hose on standby to flush out any toxins like acid in case it reaches your eyes.
- Do not use any open heat sources around batteries to avoid any serious incidents from happening. Carefully use uninsulated tools near terminals to avoid electrocution.
- Batteries have energy stored in them, which can prove fatal if you come in contact with it. In such a scenario of battery reinstallation, handle the old battery carefully by keeping the positive and negative cables away from each other and the terminals as it would complete the circuit resulting in a short circuit or electrocution.
- Make low resistance connections to ensure that the high running voltage doesn’t get barred from creating electrical failure. Try to keep all metallic connections fresh, use suitable terminals of the exact size, secure the clamps properly to keep the wires in one place, and make sure you keep the circuit waterproof.
- Use nylon-insert lock nuts, hex nuts, and lock washers for the outboard engine. Use a clamp on battery terminals for the inboard engine. Always tighten the nuts and make a stable electrical junction between the terminals and the battery.
Extended tips:
Given below are the most common reasons why the battery drains quickly. Checking these from time to time will not only increase the battery life but will also help to identify whether the battery really is the problem or whether something else needs to be done.
1. Not turning the radio/CD player off:
Contrary to popular belief, this cause occurs much more frequently. Leaving the radio/CD player on when not in use actually takes up a lot of power from the boat battery. If the battery is new, these could be left on for a good amount of hours, but when the batteries start getting old, leaving the player on when not in use is not the best thing to do.

Naturally, there are important differences between consciously keeping your radio for a number of hours and unintentionally turning it on with a low or even zero volume. For instance, if you leave the music on overnight, there’s a strong possibility your battery will be dead by the time you return to the boat the next day.
2. The bilge pump
A crucial piece of gear that can be found on virtually every boat is a bilge pump. The bilge pump’s job is to drain water that builds up in the bilge, which comprises the interior bottom of the hull. Usually, water accumulation in the bilge happens by accident.
It could be rainwater or dump water that has pooled in the boat, wash-down water which has pooled in the bilge while washing the boat, or rainwater that empties to the bilge through built-in coolers. Built-in coolers, the lips of large hatches, and occasionally even drink holders may be emptied of their contents aboard larger boats, whereas smaller boats simply send this water to the bilge. Additionally, little breaches like water dripping from the shaft gland on an inlet boat can cause water to accumulate in the bilge.
While there is no denying that a bilge pump is important for the boat’s proper functioning and safety, many of them could be the reason your battery is draining out quickly. This is because many bilge pumps turn on and off automatically after each hour to check up on the water conditions in the bilge. You can only be certain that this is not the root of the issue by temporarily turning off the bilge pump and checking to see if the battery continues to be exhausted.
3. The smoke detectors
If your boat has any smoke detectors, or even any odor or CO detectors, know that they require quite a bit of power to run. Even a brand-new, perfectly functioning battery could be drained after a few weeks of inactivity due to this seemingly insignificant power loss.
This can be avoided by disconnecting the CO or smoke/odor detector and connecting them to different batteries while you investigate the potential causes of your problem. If they do turn out the be the cause of the power draining, replace them with a more energy-efficient model or completely disconnect them from your primary power source.
4. GPS/Radio memory
Most boats include radio and GPS memories. When you’re on the water, this function is useful for remembering your favorite radio stations or figuring out how you’ll get back to your pickup. Nonetheless, this feature involves some disadvantages, just like other advanced technology. Even while it might not seem like this relatively little item would use a lot of energy, it certainly can.
The minimal amount of power required for a GPS or radio to maintain its memory coupled with an old battery or even one that hasn’t been charged lately may be all it takes to completely exhaust the juice from the battery.
Finding this one will definitely be challenging. You could try disconnecting these things and restarting the battery without them, but it is more likely that you’ll come to that conclusion after you’ve exhausted all other possibilities.
5. Old battery:
This is the most common reason for the battery being depleted. The battery runs out of power quite fast if it is old or if it has a defect, though this will only be detected after you have made sure that nothing else is the cause of the problem. If it is an old battery, the only way to manage that is to just get a new one.
Conclusion
Boat batteries act up from time to time, either because the battery is too old or maybe something else is causing the battery to drain quickly. Before coming to the conclusion that you need to change the battery, make sure that nothing else is the actual problem. Also, make sure to wear protective gear when trying to change the battery, and remember not to rush the process. Take your time and carefully hook up the battery.