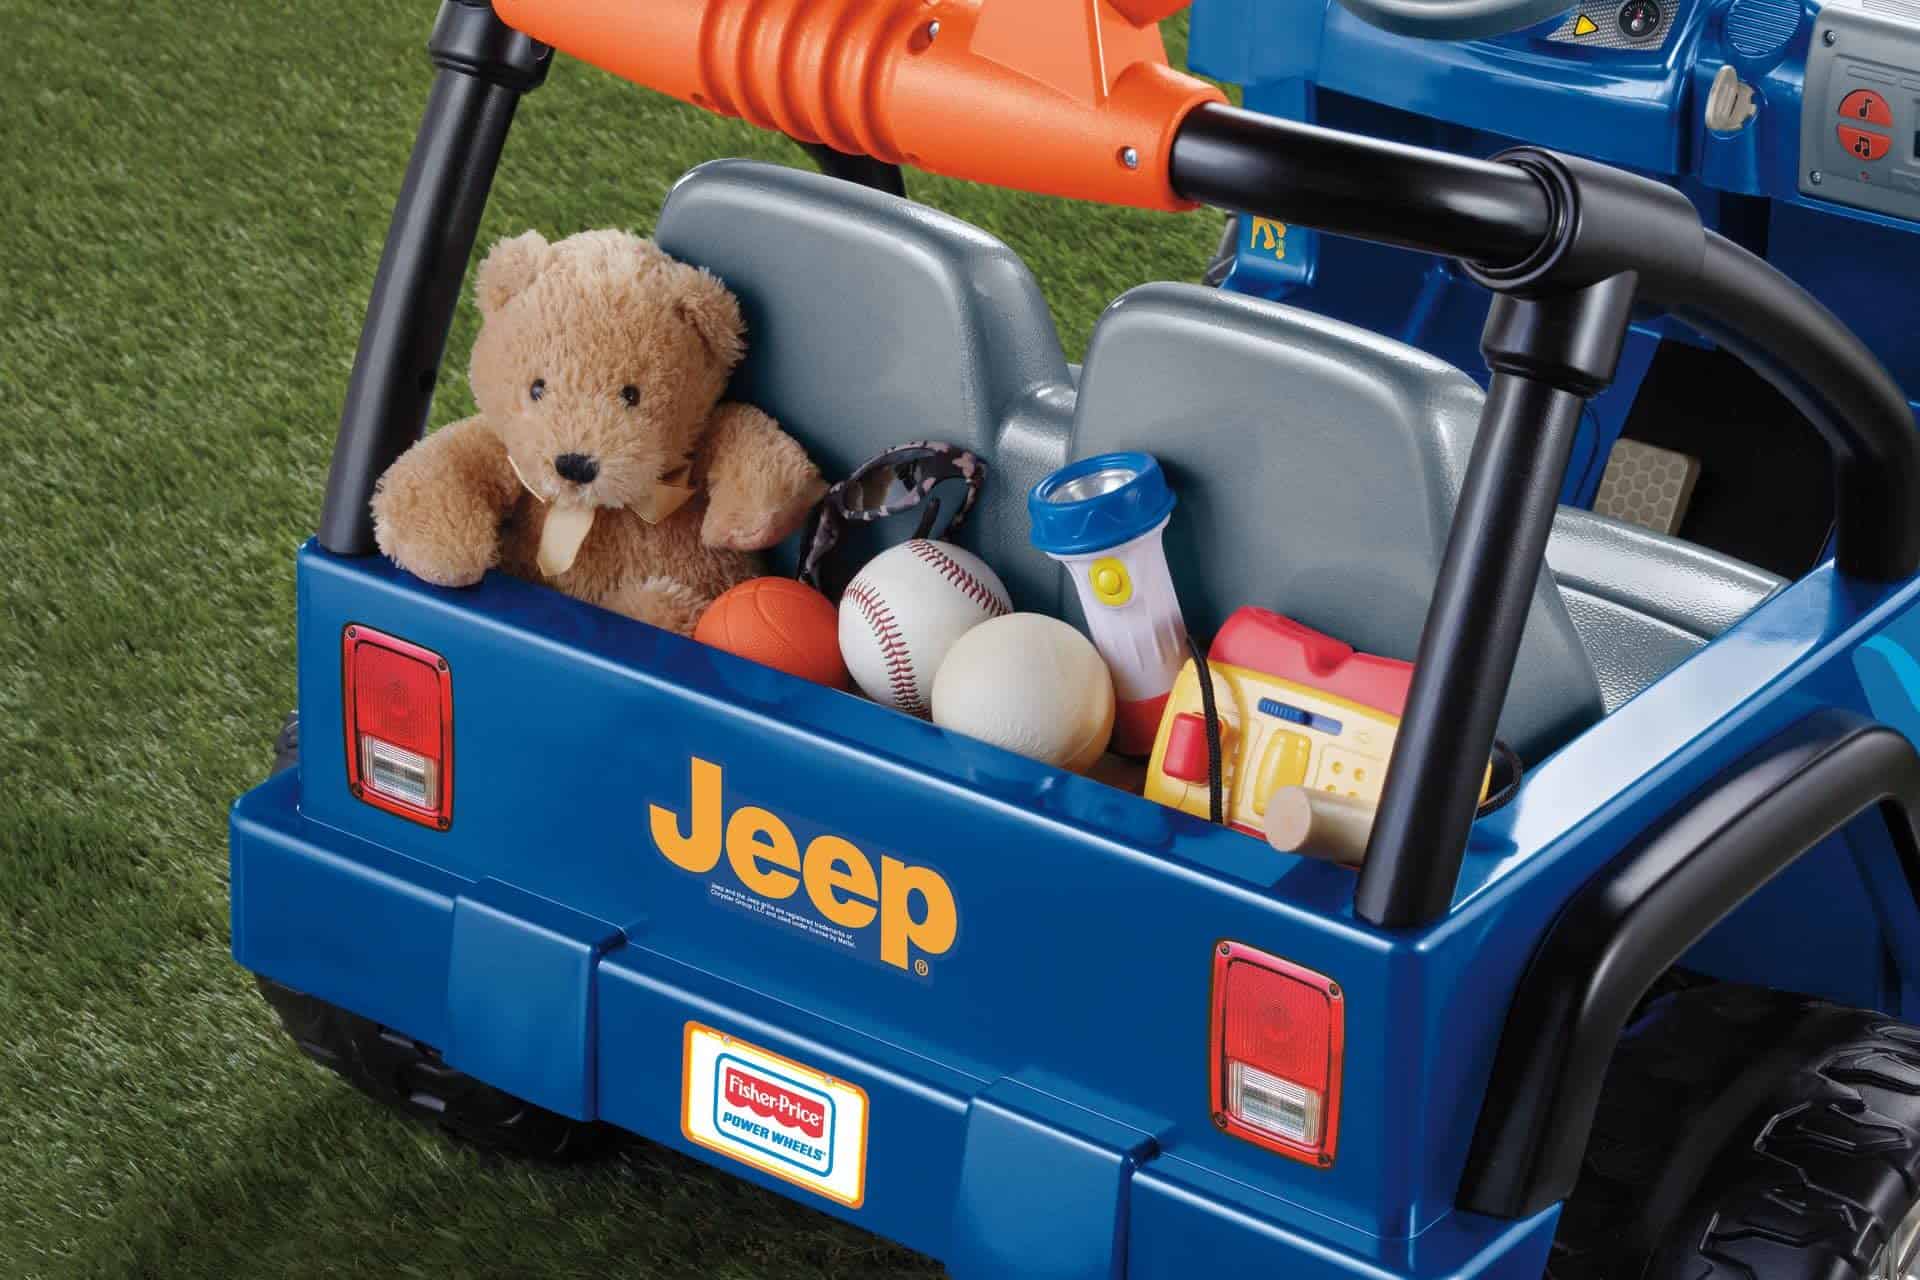
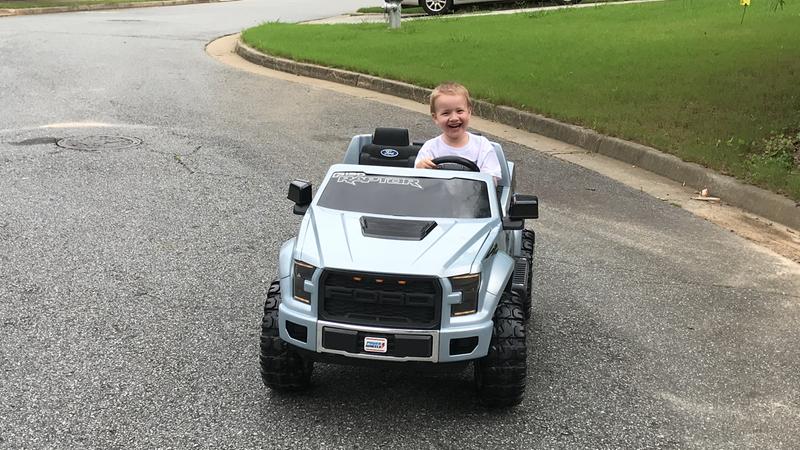
One thing that all small kids have in common is that they like to run around, go fast, and have some fun, and some children like to emulate their parents, their favorite grown-ups in the whole wide world, by driving around in their little toy cars known as Power Wheels.
Now, you probably already have one of these that you bought for your child some time ago or are looking to get a used one, but in both cases, you notice it has lost much of its power. And now you are wondering how you can fix or maybe even upgrade it.
If you want to upgrade it, a neat way to do it is to hook up a power drill battery to the system. It will give it a nice boost in performance and give your little ones a chance for a fun little ride every day.
Table of Contents
Checking the Kids’ Car

The first thing that you have to do is give the car a little check-up and see what you are dealing with. Give it a full charge and see if it still runs, and if it does take a look at it and see if there are any problems. Here is what you should watch out for:
1. The Battery
The factory batteries on these small toys are 12-volt rechargeable deep cycle batteries, which are usually small SLA or AGM batteries.
They all get worn out over time, and as a result, you get a low speed and an overall shorter battery life. If your battery warranty is still valid, you can just contact the original seller and get a new one if that is what you want.
Another option is getting an original aftermarket battery, which has a longer lifespan than the original ones.
To test the power wheels battery, simply connect it to a voltmeter and see if the voltage output is the same as what it says on the battery, i.e., if it is a 12-volt battery and it does not output anywhere near that much, it is time to replace it.
2. The Gearbox and Electric Motor
The gearbox is the link between the electric motor, the main driving component, and the driving wheels. These toy cars are usually made of plastic and can fail over time or simply get gunk and crud inside of them.
They are a simple and easy fix; there are plenty of guides on YouTube and even steel aftermarket gears that you can install that might last so long that even your grandchildren will be able to use them.
The electric motor is easy to inspect just by hooking it up to a power source and listening to it work, checking for any vibrations while holding the toy in the air. If everything sounds and feels like it should, then you’re good to go.
3. The Chassis, Wheels, and Axles
The chassis is made up of mostly plastic. If you see white marks along the lines of it, then it is best not to do any power upgrades since it can severely break apart while your kids are using it.
Perhaps it is a good idea to throw the toy away in any case because this issue cannot be repaired at all and poses a great risk to your child’s safety.
The wheels should be inspected for any holes, as these can spread and break the entire wheel apart, causing damage to the axles and gearbox. If this is the case with your Power Wheels vehicle, it is time to replace it.
The only issue that the axles can have is if they are bent out of alignment; you can check this by seeing if the wheel wobbles while spinning.
How to do the Upgrade?

So now that you have checked the car, it is time to do the upgrade, and here is a list of components you will need for this project:
- 18V lithium drill battery (make sure you have a spare on hand)
- Drill battery adapter
- Inline fuse holder
- Electrical tape
- Wire Harness Connector for Fisher-Price Power Wheels (optional)
- 30-amp fuse for the fuse holder (optional since the wire harness connector might come with one)
- Additional wiring (make sure it is the same gauge as the factory wiring)
- Motor speed control unit (optional but recommended if you want to limit the speed at which your kids can drive)
- Screws (optional if the drill battery adapter does not already come with them for fixing to the inside of the battery compartment)
As an added note, there are premade kits available for this project on Amazon or eBay, but they might not contain everything you will need, so it is best to judge for yourself if you might need some additional components for your own modification job.
Here are the tools you will need:
- Soldering wire and soldering iron
- Electricians pliers
- Multimeter
- Screwdriver or power drill
Getting started!
Step 1: Prep Work
First of all, you need to open up the battery compartment, (the location of this compartment depends on the particular make and model); it can be under the hood or under one of the seats, and then you take the battery out. Now you have space to do some work.
You will notice that you have an unusual type of plug that connects to the battery; do not cut it off if you have the wire harness battery connector, which you can connect to your adapter.
This step is important so you do not damage it in any way, and the toy will still uphold its warranty if it still has it. If the warranty has long since expired, then you do not have to buy this component at all and can just cut the male connector off, leaving as much wiring to work with as possible.
Step 2: Connecting the Adapter and the Inline Fuse
If you have the wire harness battery connector, you need to first make sure that you connect it to the drill battery adapter and make sure that you have an inline fuse holder on the positive (the red) wire between the adapter and battery connector.
You can connect the wires using electrical tape for now so that in case you make a mistake somewhere, you can easily fix it compared to immediately soldering it and having to unsolder it later.
A very important thing to keep in mind is that the uncovered metal of the wires of the positive and negative terminals of the battery must not touch because if they do, it can cause serious damage or even a fire.
Step 3: Add the Motor Speed Control Unit
Now that you have hooked up the adapter, the connector, and the inline fuse holder, you have to connect them to the motor speed control.
The motor speed control will have 4 connecting terminals with screws: 2 for the battery, labeled input, and 2 for the electric motor, also labeled as such. Make sure you tighten the connectors so you do not have any issues due to loose wires.
The motor speed control unit basically restricts the amount of voltage going into the motors. You operate it using a simple dial, just as if it were a volume dial on an old car radio.
Step 4: Fasten Battery Components

You can fasten or secure all of the components inside of the battery compartment using things like hot glue or perhaps even using screws wherever they might not interfere with any electronics; it is recommended you do this to avoid any rattling and potential damage.
Note that you will not be able to use the factory charger and will have to take the drill battery out and charge it on its own original charger before putting it back in whenever your child wants to go for a ride.
Step 5: Test It
So now that you have hooked everything up, it is time to test your kids’ new ride to make sure everything runs right. Put the battery in, hold the car up in the air or place it upside down, and press the power pedal.
If the wheels are spinning faster and without any issues, then all that is left to do is to solder the previously taped wires and let your kid take it for a spin. But if you run into some problems, it helps to use your multimeter to check where the voltage is dropping.
Additional tips
- Make sure that all the wiring of the power wheels is in good condition and that none of it is dry and cracked; if it is, that will also have to be replaced.
- If the additional power is causing your wheels to spin in place due to a lack of traction, you can glue on some rubber from an old tire tube with some sort of epoxy, and that should fix it.
- If your child is tall, it is a good idea to install a roll cage so that if they manage to flip the toy over, they do not land directly on their head.
Conclusion
This project is going to be a great learning and bonding experience for you and your children. It is simple and cheap, and there are many examples of parents showing others how to do this on YouTube if you are more of a visual learner.
You also demonstrate to your children the importance of self-reliance and ingenuity, as well as your willingness to spend time and effort ensuring that they have fun.
