A Nest Thermostat is one of the best investments you can make. When you use them correctly, your Nest Learning Thermostat can help you save money on bills. It’s great. However, it’s only great when it works.
You might have a thermostat that struggles to keep a charge, or worse, a battery that won’t charge. How do you fix that? More importantly, should you fix it?
Table of Contents
How To Fix
Items required:
- Screwdriver
- Electrical tape
- Warranty
- 2 1.5-Volt AAA batteries
- USB cable*
Find out what type of USB cables you need by looking at the Nest Thermostat type you have. You may need a micro-USB (gen 2 and 3), or a mini-USB for your first gen thermostat.
Troubleshoot problems and fix them
In order to make your thermostat’s battery charge, you need to troubleshoot the problem. This guide will help you figure out what’s wrong with it.
1. Check The Connection
The first thing you want to do is check that your thermostat is actually wired to your HVAC system correctly. A bad installation can easily spark a problem that could involve a battery that won’t charge. It also could cause your thermostat to not turn on.
Do you see any loose wires? If so, reconnect everything. In some cases, you may want to use electrical tape to help hold things in place. If you installed things incorrectly, redoing your installation can help.
If you are concerned about your ability to install a thermostat on your own, it may be better to call a handyman to install it. It can make things easier on your schedule and also reduce the chances of mechanical hiccups.
2. Check Your C-Wire
Your C-wire acts as the circuit completing component of your Nest Thermostat. It’s what supplies the power from your HVAC to your circuit when it’s not on battery power. Here’s what you may need to do:
- Check to see if your Nest has a C-wire installed. Not all do, and that can be fine. But, if you need to have a constant run of power, you should get a C-wire installed if you don’t have one already. Check your C terminal to see if you need an adapter.
- Hijack the G-wire to use your C-wire. Your G-wire controls the fan, but if you are in need of a C-wire, you may have to make a tough decision there.
- Use a product to help hook your C-wire up. There are several on the market. If you don’t feel like using a special product, calling a handyman can do the trick.
- If your C-wire is damaged or frayed, fix the wire. Replacement or using electrical tape can help.
A C-wire will help power your thermostat in a steady and consistent manner. While it’s not always necessary, it can make a huge difference in your efficacy. If your home has a C-wire already, you will need to use it.
3. Try To Charge Your Battery Manually
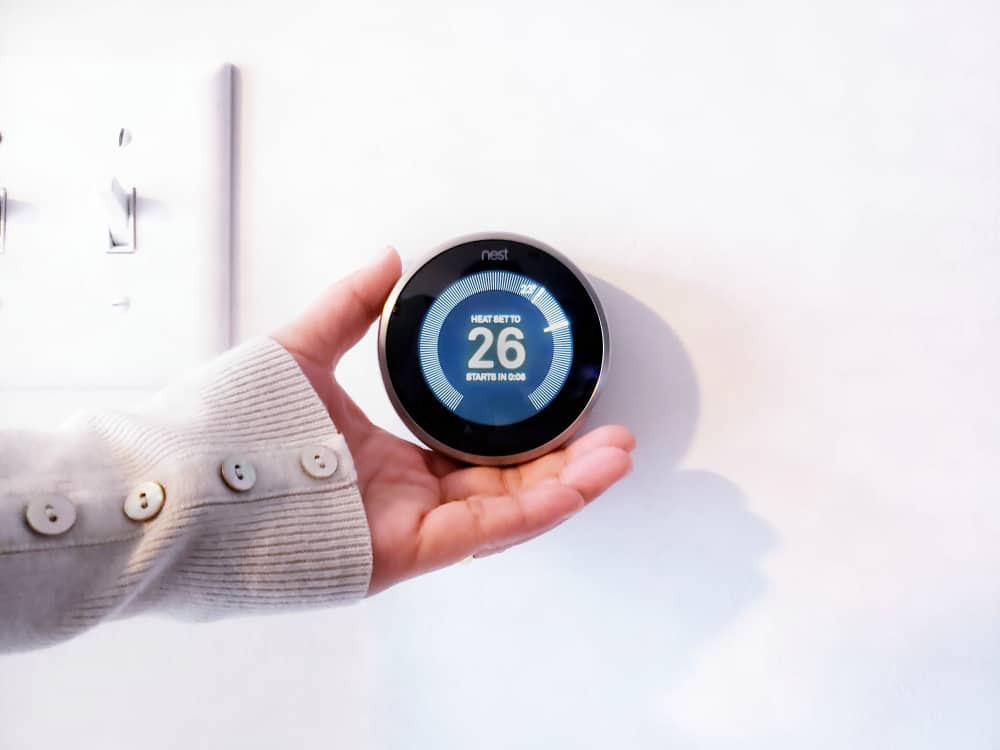
Another option you may want to consider is charging your battery manually, if your specific model of Nest Thermostat will allow it. (Gens 1 through 3 do, so if you have an earlier model, you’re in luck.)
To do this, grab a USB charger and plug in your Nest Thermostat. This will give you a quick fix that will charge your batteries. However, there is a snag here. This is still only a temporary fix—if it’s even an option.
The truth is that you can only go so far with a temporary battery charge. Eventually, thermostat owners will notice a decrease in efficiency if they keep trying to manually charge their batteries. Besides, you need more than battery power to keep using your thermostat.
4. Replace Your Battery
If your battery is still not holding a charge, then chances are that your battery might be dead as a doornail. You can switch out your batteries by opening your Nest’s battery compartment, removing old batteries, and inserting two new AAA alkaline batteries in there.
If you have a Nest E Thermostat or a Nest Learning Thermostat, this option is not available to you—officially, anyway. You will have to call the Nest customer service line if your thermostat is still under warranty if things don’t improve.
A low battery signal when you include fresh batteries should always be a cause for concern, especially if the signal keeps blinking after a battery replacement.
If you don’t mind voiding your warranty, you may be able to replace the battery on a Learning Thermostat or E Thermostat as long as you find the right battery. There are online tutorials that can help you fix this issue.
The big issue people tend to have with replacing the battery on one of these late generation models is the interference it can have with the warranty. Moreover, you might break your thermostat. Do so at your own risk.
5. Restart and Reset Your Unit
Though it’s unusual, sometimes doing a factory reset of your unit can work. Try restarting your thermostat and then plugging it into a USB port or wall charger to see if you get better battery power.
Consider Replacing Your Unit
If your battery still won’t hold a charge or won’t recharge for anything, you may have a defective device. Now would be a good time to figure out if your Nest Thermostat is still under warranty. It should be if it’s less than a year old.
Bad parts happen to good thermostats, and Nest understands that. The good news is that Nest (erm, Google Nest) is great about customer service. You can reach out to them online or by phone, and explain the situation.
Once you explain the situation, the customer service representative will try to run you through a troubleshooter. Then, if everything has been done and things still aren’t working the way they should, they will give you a replacement.
PRO TIP – If you bought your Nest refurbished, make sure to give it a test run and monitor it for the first three months. Your limited warranty may only cover your device for a maximum of 90 days.
Should You Call An HVAC Professional?
In most cases, there is no need to call someone who works in HVAC since this is an issue that typically deals with a defective thermostat, a bad connection, or a need to add a new C-wire. In other words, your HVAC system probably isn’t to blame.
However, there’s a caveat here.
If you have ensured that everything is repaired correctly, replaced your thermostat, and still have a hard time charging your thermostat, something may be wrong with your electrical wiring or HVAC system. You may want to call a professional to figure out what’s wrong there.
In this case, you may want to check with an electrician as well as an HVAC professional. Both systems can cause battery issues if they are not working properly.
Additional Tips And Tricks
A wonky Nest thermostat is no fun, but you can solve a lot of the issues relating to your battery with these tips and tricks.
- Register your Nest as soon as you get it. This can be done via the Google Nest app, and will help cement your right to a limited warranty. That limited warranty can last between one to two years for a brand new Nest.
- Check to see the limitations on your warranty before you call customer service. This can save you from wasting time and also help you explain the situation with your thermostat easily.
- Follow the instructions for installation as closely as you can. It can be tempting to skip steps, but doing so can actually harm your Nest and decrease the chances of using your thermostat correctly.
- Keep your HVAC system clean and in functional order to get the most out of your thermostat. You may want to change your filters from time to time, and also check to make sure your air ducts are still in working order.
- If you recently had a mouse infestation, get an electrician to check your wiring. This may sound silly, but mice love to chew on cables. This may be why your batteries aren’t charging the way they should. Even if they’re gone, the damage they did isn’t.
- If your home’s wiring is more than 20 years old, check your wiring. You may have an issue with getting electricity delivered to your thermostat due to wire wear and tear.
- Even if your product isn’t under warranty, you should contact Google Support. You might not get a replacement, but you will be able to hear about the options you have available to you. They also can walk you through DIY troubleshooting.
In Conclusion
Google Nest offers a great set of products geared toward people who want a smart home that conserves energy and lowers bills. The Nest Thermostat line is a great choice for people who want reliability, but even great products can have batteries that stop charging.
If you have a battery that won’t charge in a Nest thermostat, it often means you may need to tweak your connection, replace the batteries, or even try to manually charge them. At worst, you probably will have to replace the thermostat.