Are you a fan of big bikes? Then you are probably wondering what charges the battery on a motorcycle.
Long story short, it’s the stator. Below, I’ll talk more about this accessory – and how it keeps your motorcycle ‘powered up’ for long periods of time.
Let’s go!
Table of Contents
What Charges a Motorcycle Battery?
The stator charges the motorcycle while it is running. It is made up of either iron or steel or, in some cases, a printed circuit board.
It is similar to a vehicle’s alternator, which replenishes the battery by converting chemical energy into mechanical energy.
The difference, however, is the location. Alternators are separate entities themselves, thanks to the huge space available in cars. But since a motorcycle has little space, that stator is tucked conveniently inside the engine system.
In fact, you’ll find the stator on the covered side of the engine. Orientations vary according to the model, of course.
How a Stator Works
The stator contains a flywheel, which has spokes coiled with a magnet wire. It also contains stationary magnets and moving magnets. They rotate to generate the AC power needed to recharge the bike’s battery.
According to this video, when a motorbike is idle (running at 1000-1500 RPMs), the stator can produce about 65 volts of AC power. But when it’s churning as much as 4500 RPMs, it can generate as much as 100-110 volts.
This power is then transmitted to three yellow/white wires, which connect to the regulator rectifier. This part converts the AC power to DC power, while also regulating the latter to a voltage that charges the battery.
This process is crucial for a typical 12-volt motorcycle battery, for it usually only requires 14.2 to 14.8 volts. Any more than that will lead to overcharging. This, unfortunately, can lead to buckled plates, boiled electrolytes, and worse, a blow-up!
Fun fact: In older motorcycles, the battery is charged by a magneto. It’s a small electrical system that is also found by the engine. It works to create the ‘spark’ needed by the spark plug, which, in turn, generates the combustion needed to start the bike.
Stator and Battery: Going Hand-in-Hand
Like many other riders, you may be wondering: if the stator runs the show, then what’s the use of motorbike batteries?
Well, the stator won’t work if you have a dead battery (or no battery at all.) It can’t start your bike, either.
In other words, these two go hand-in-hand.
As you see, the battery provides the power the bike needs to get running. It sends electricity to the spark plugs, which then brings about engine combustion.
Once the motorcycle has started, the stator will do its part and generate power, replenish battery electricity, and ‘refill’ its juice.
Signs of a Malfunctioning Stator
As mentioned, the stator is an important part of your motorcycle’s charging system.
And, if you’re fond of riding, a malfunctioning stator will leave you stuck in the middle of nowhere – and dealing with an expensive problem. As such, you need to be on the lookout for these signs early on:
1. Insufficient Power
Is your bike performing sluggishly? Are the lights getting dimmer?
Perhaps you notice that it’s running slower than usual. And, to your surprise, it suddenly died in the middle of the street. These are clear signs that your stator is malfunctioning, and it’s not giving enough juice for the battery’s charge.
2. Whining Sound
Pay attention to your engine when you’re coasting – or when you’re not throttling at all. Does it make a whining sound – similar to when you manually turn on an electric motor? Sadly, this is a sign that your stator is defective and it needs a replacement soon.
3. Difficulty Reaching a Higher RPM
If you’re always cruising at lower RPMs, then you may not notice that your stator has gone bad (unless you notice the signs I’ve mentioned above, of course.)
So don’t be surprised when your bike just stalls once you hit the higher RPMs. See, this happens because the stator is unable to provide the AC power the bike needs to run at faster speeds.
How to Check For a Faulty Stator
While the signs above suggest a bad stator, you’d want to be 100% sure. As such, I recommend doing the following things so you can examine the stator yourself:
1. Remove the engine cover
As I’ve mentioned, the stator is hidden behind the engine cover. And, to be sure that you’re opening the right side, make sure to read the instructional manual before you get started.
Once you’ve managed to find and expose the stator, look for:
- Burn marks
- Broken or frayed wiring
- Missing fragments
- Melted components
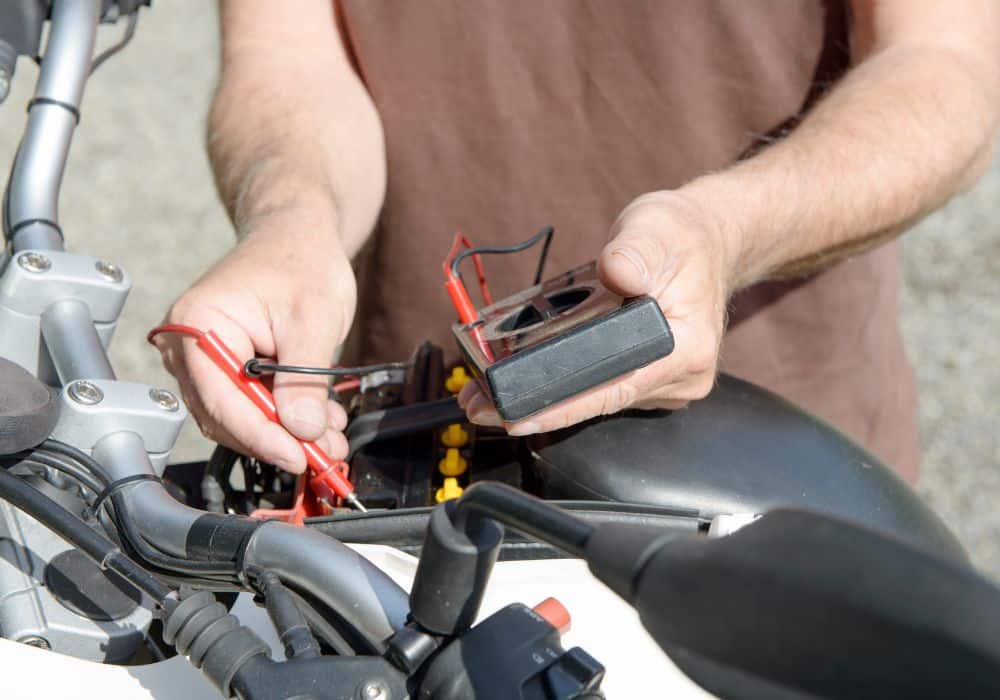
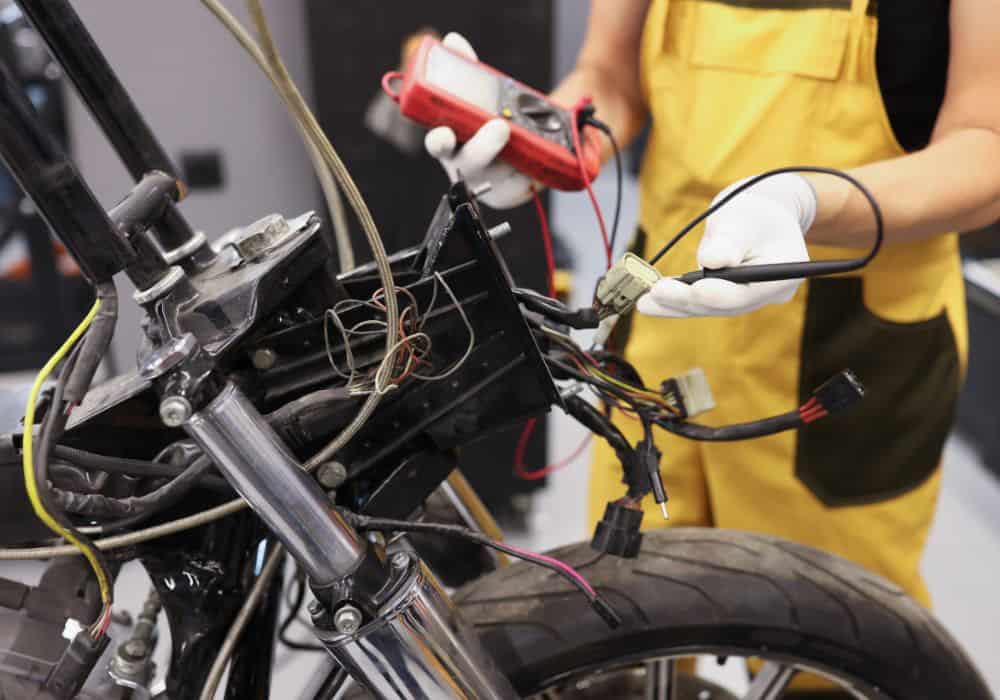
2. Test the voltage
Unplug the stator’s connector and turn your bike on. Set the multimeter reading to AC. Affix it to the connector terminal tabs to check for the voltage. The readings should be similar. If not, then this means that the stator is defective.
3. Clean the stator
As the stator is a sophisticated piece of equipment, you’ve got to be careful when cleaning it. You can use WD-40 or any light lubricant in the process. Avoid harsh chemicals as they may end up damaging this vital piece.
How to Replace a Stator
If, in the process of checking your stator, you find out it’s faulty – then the next thing you need to do is replace it. According to this video, here’s how to go about it.
- Remove the engine side cover.
- Remove the machine bolts securing the stator. Detach the latter.
- Put the new stator’s coils in the place. Make sure that everything fits snugly/tight.
- Re-attach the bolts and re-install the engine cover.
How to Charge a Motorcycle Battery
While a stator does a good job charging a motorcycle battery, it may not be able to do its job when it is faulty. In such cases, you will need to fuel it up with a charger. Here’s how to do it:
1. Determine the Type of Battery You Have
Before you go buy a battery charger, you first need to know what battery your bike has. There are several kinds, including:
- Lead acid batteries
- Absorbed glass mat (AGM) batteries
- Gel batteries
- Lithium batteries
2. Pick the Right Charger
Determining the right type of battery will help you find the right kind of charger. Remember: the first three can be charged the conventional way, while Lithium batteries require a special kind of charger.
By far, the simplest type available is the trickle charger – also known as the ‘fully manual’ charger. It converts AC power to DC, which it then conveys to the battery. As it is ‘fully manual,’ you will need to monitor it during the charging process.
Another option is the float charger, which turns off/on according to the battery’s optimal charge level.
There’s also the smart charger, which charges the battery at various rates to minimize damage. This often comes with a desulfation mode, which helps remove the sulfur on the lead battery plates. (Do note that this charger is incompatible with Lithium batteries.)
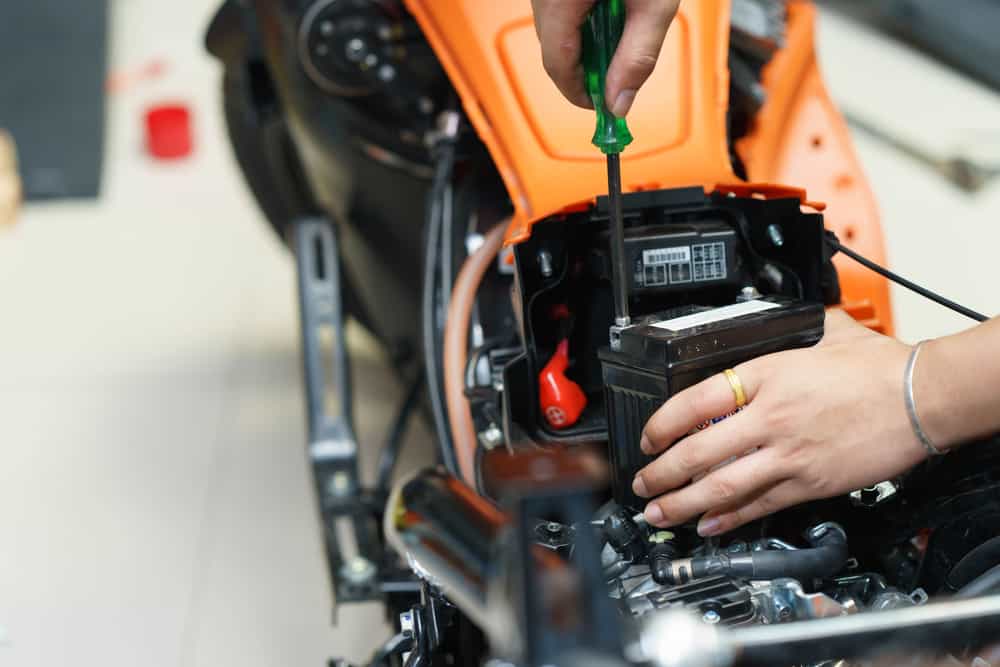
3. Remove the Battery
Charging the battery without removing it is tempting, but it may end up harming your entire motorcycle.
After all, this allows you to isolate your electrical system, so you don’t have to worry about accidentally frying the ECU, melting the wires, and blowing the fuse along the way.
To prevent this from happening, I recommend that you carefully remove the battery.
According to this video, you must first find the release and remove the seat. Use the necessary tool (socket, screwdriver, or hex head) to remove the terminal posts.
Start with the negative cable. Set it aside so that it wouldn’t touch any metal surface. Disconnect the positive cable and set it aside as well.
Remove the hold down that is securing the bike battery and lift it.
4. Charge the Battery
Move your battery to a well-ventilated area, if you aren’t already. Remember: the process produces flammable hydrogen gas. And, if you manage to overcharge the battery, it will end up producing toxic hydrogen sulfide gas.
Next, attach the charger to the battery terminals correctly. Plug it in. Wait for it to charge (and monitor it) according to the manufacturer’s instructions.
5. Re-Install the Battery
Once you’ve charged the battery, it’s time for you to return it to place.
Secure the battery with the hold-down. Connect the positive terminal first before attaching the negative cable.
As long as you’ve charged the battery correctly, your bike should be all juiced up. If not, you may have to consider getting the battery, stator, or rectifier replaced.
Conclusion
The stator charges the battery on a motorcycle. It produces AC power, which is transmitted to the regulator rectifier through three yellow/white wires. The regulator then converts this energy to the DC voltage the battery needs to charge.
If you find all of these confusing, there’s no need to worry! I will answer any of your motorcycle battery-related questions, just post your comment below.